3D Printed Brackets for the Level 1 Techs 4x PC 2x Monitor KVM

This will be a quick post! First, thank you to all my supporters who allow me the resources to do these projects! Thanks to all the subscribers skipping social media by signing up for emails of these articles. We are proudly ad-free!
As for the project, it's a pretty simple one- I am a huge fan of Level 1 Tech's KVM's. Some may call them pricey, but their functionality is hard to top- and they are a high performance product made by a small shop. They've allowed me to go down to a single pair of monitors for the entire lab, putting 4 PC's behind those screens and a single mouse/keyboard too. For those that aren't familiar with a KVM, it stands for Keyboard, Video, Mouse, and essentially is a switch between those K's, V's and M's to a number of computers.
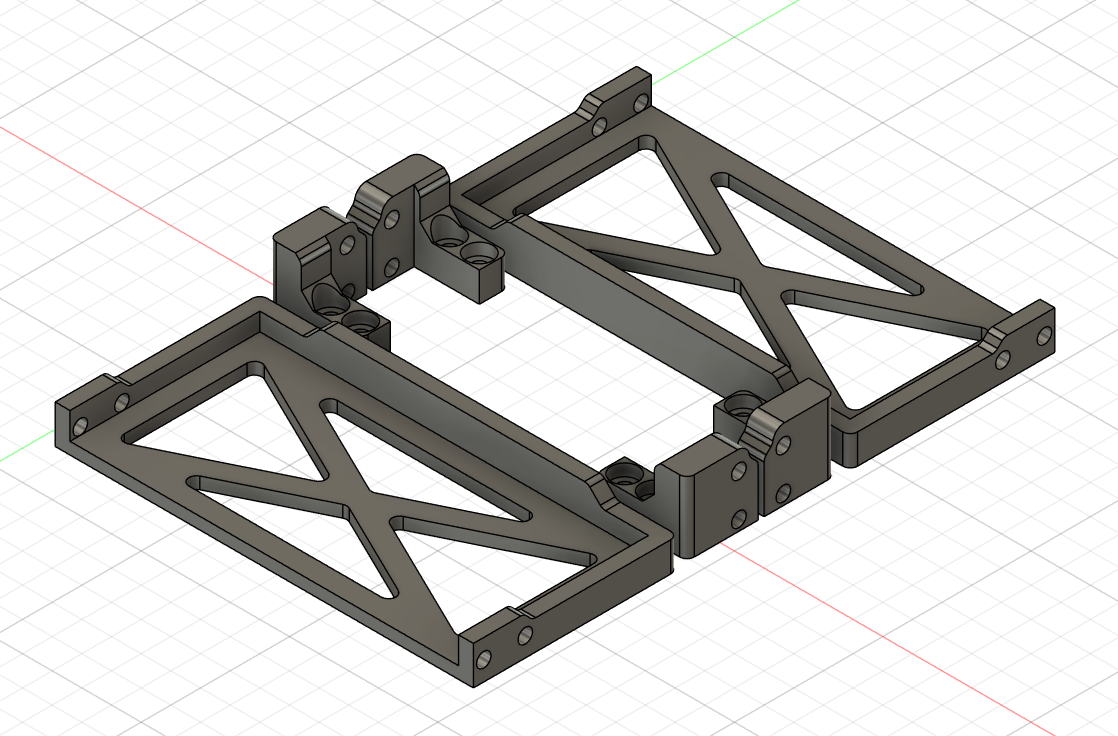
The challenge with any KVM isn't the box itself though- it's all the cables! For 4 computers, each with a USB cable for keyboard/mouse connection to each PC, 2 DisplayPort cables to each PC, and connections to the monitors themselves, you have a ton of cables. I like to (try to) keep my desk clean, so all those cables can be an issue. I ended up making a cage to hold the KVM under my desk. The first one I modeled looks like this, and while neat it didn't fit between all the other management under my desk. I printed them and they are plenty strong. As a holiday treat, this design is free and available for download below, as well as on Bambu's Maker World, Prusa's Printables, and... yeah Thingiverse too. As a special treat, I am including the Fusion 360 design files too!

The under desk bracket is the post's title image, but I needed to keep going. I actually needed one that could essentially hang off the back of the desk. It's between the desk and the wall, so I can always reach back to press an input manually, but I haven't needed to yet- and just use the hotkey feature to switch inputs.
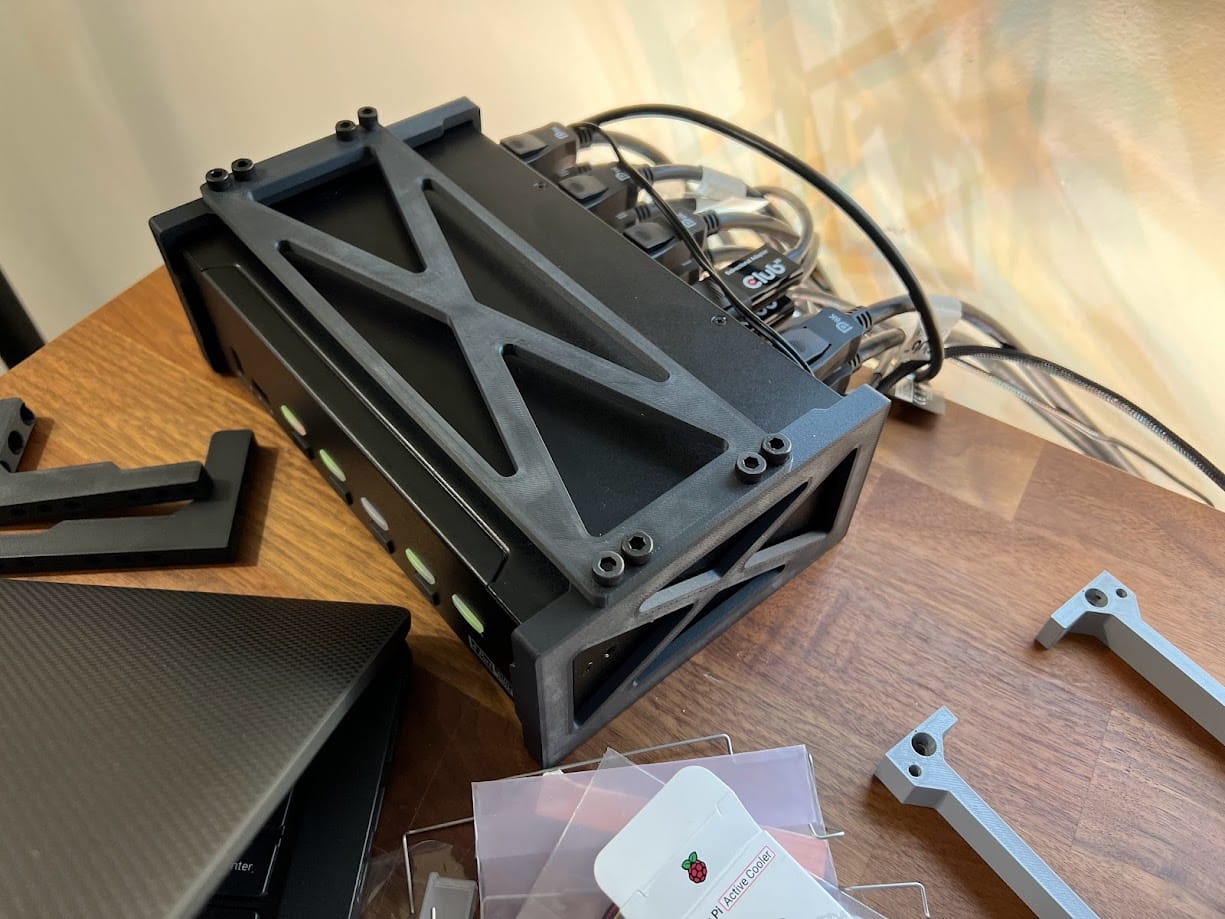
The "behind the desk" version is actually a little trickier because there's going to be quite a bit of leverage on the mount to the desk. As a word of caution, if you smack or grab this thing, it's not going to be too hard to tear it off! That said it's been very stable for me, especially since it's next to a wall. you can see the KVM with the 3D end braces on- I did not need to interface with the screw holes for the rack ears, though that would be a solid idea too.

Next up, I made a cross brace to keep the two ends from separating and dropping the KVM on the floor- it is precious cargo!

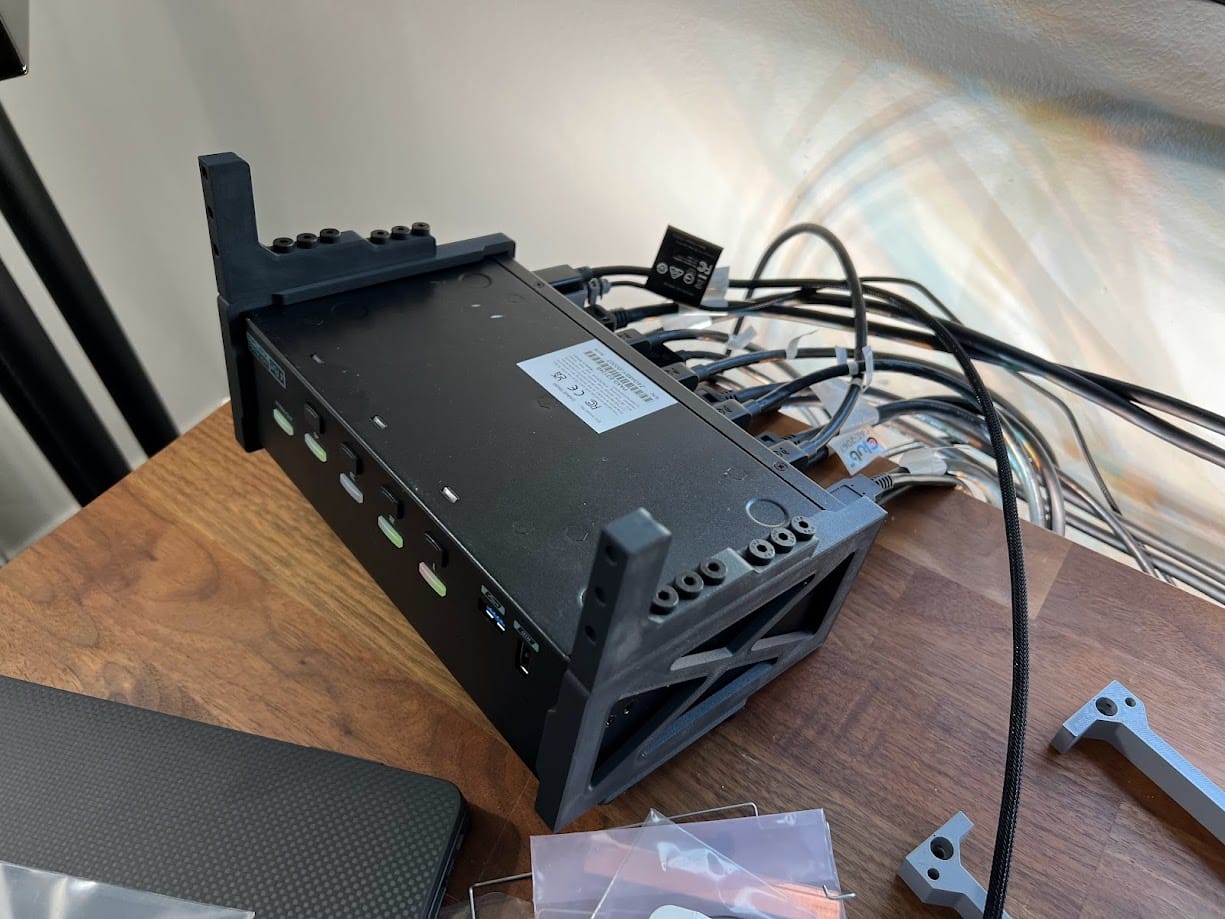
Finally, I needed to mount the brackets that attach to the desk. You will notice I used a comical amount of M5 bolts! Some of this I think is needed, some of it is overkill, and some of it is to be silly.

With it all screwed together, I used some stainless steel wood screws to attach to my desk. Here's the finished version!

Thanks to my paid subscribers for supporting this build! Also a big shout out to Wendell and the Level1Techs crew, this KVM really is excellent! No sponsorship or discount was provided (or asked for), but I think it's important to call out great tools.
Comments ()