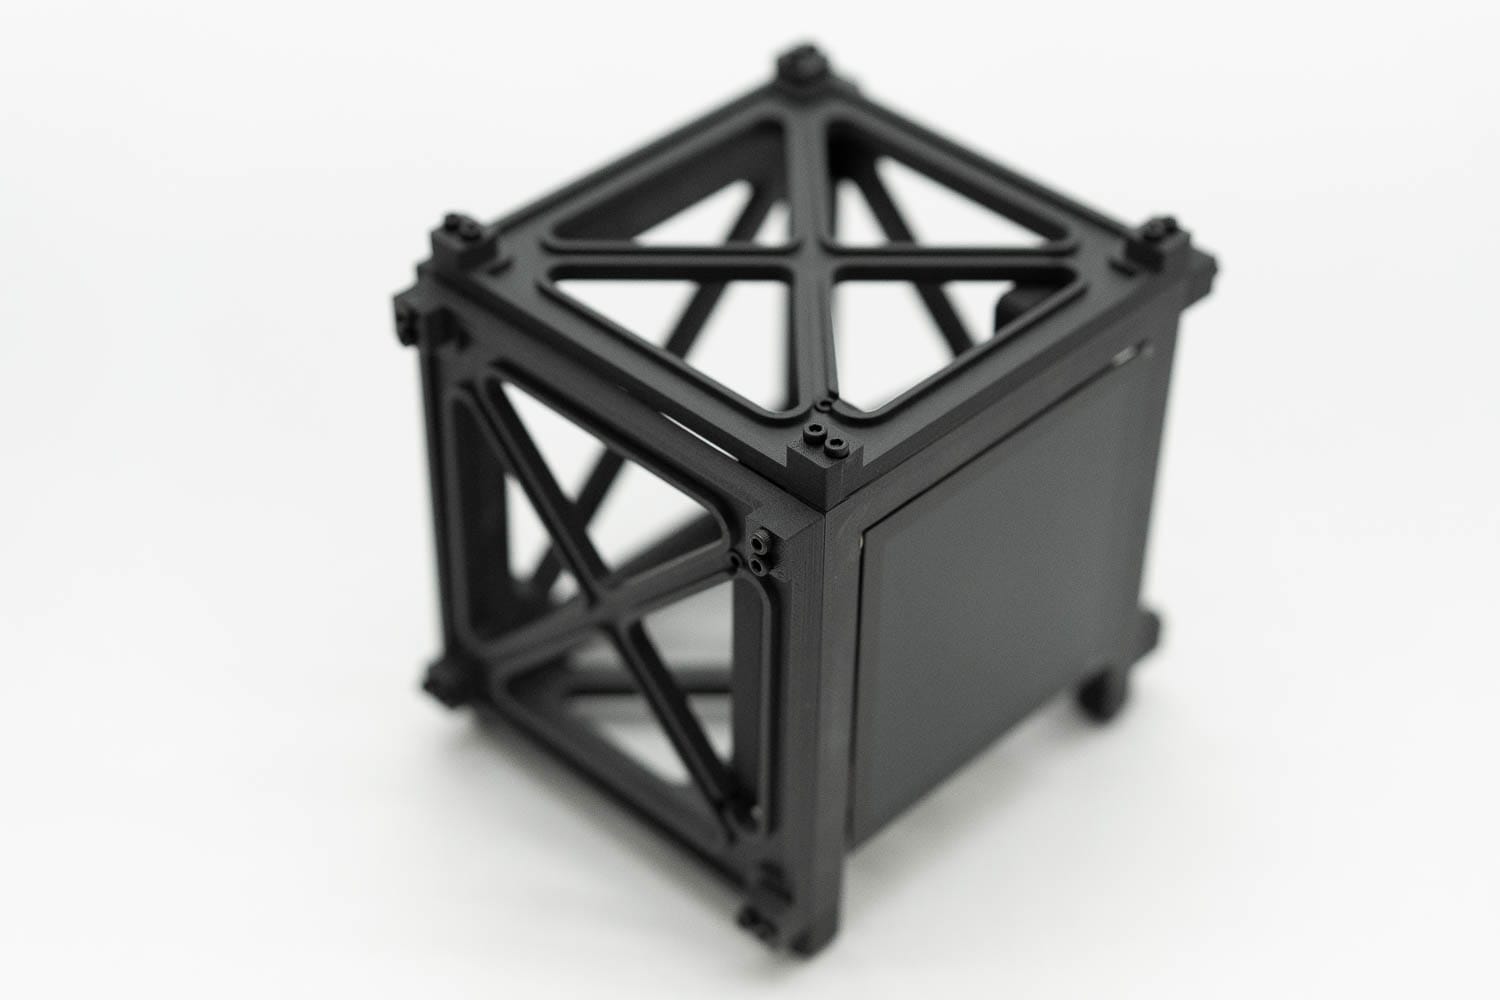
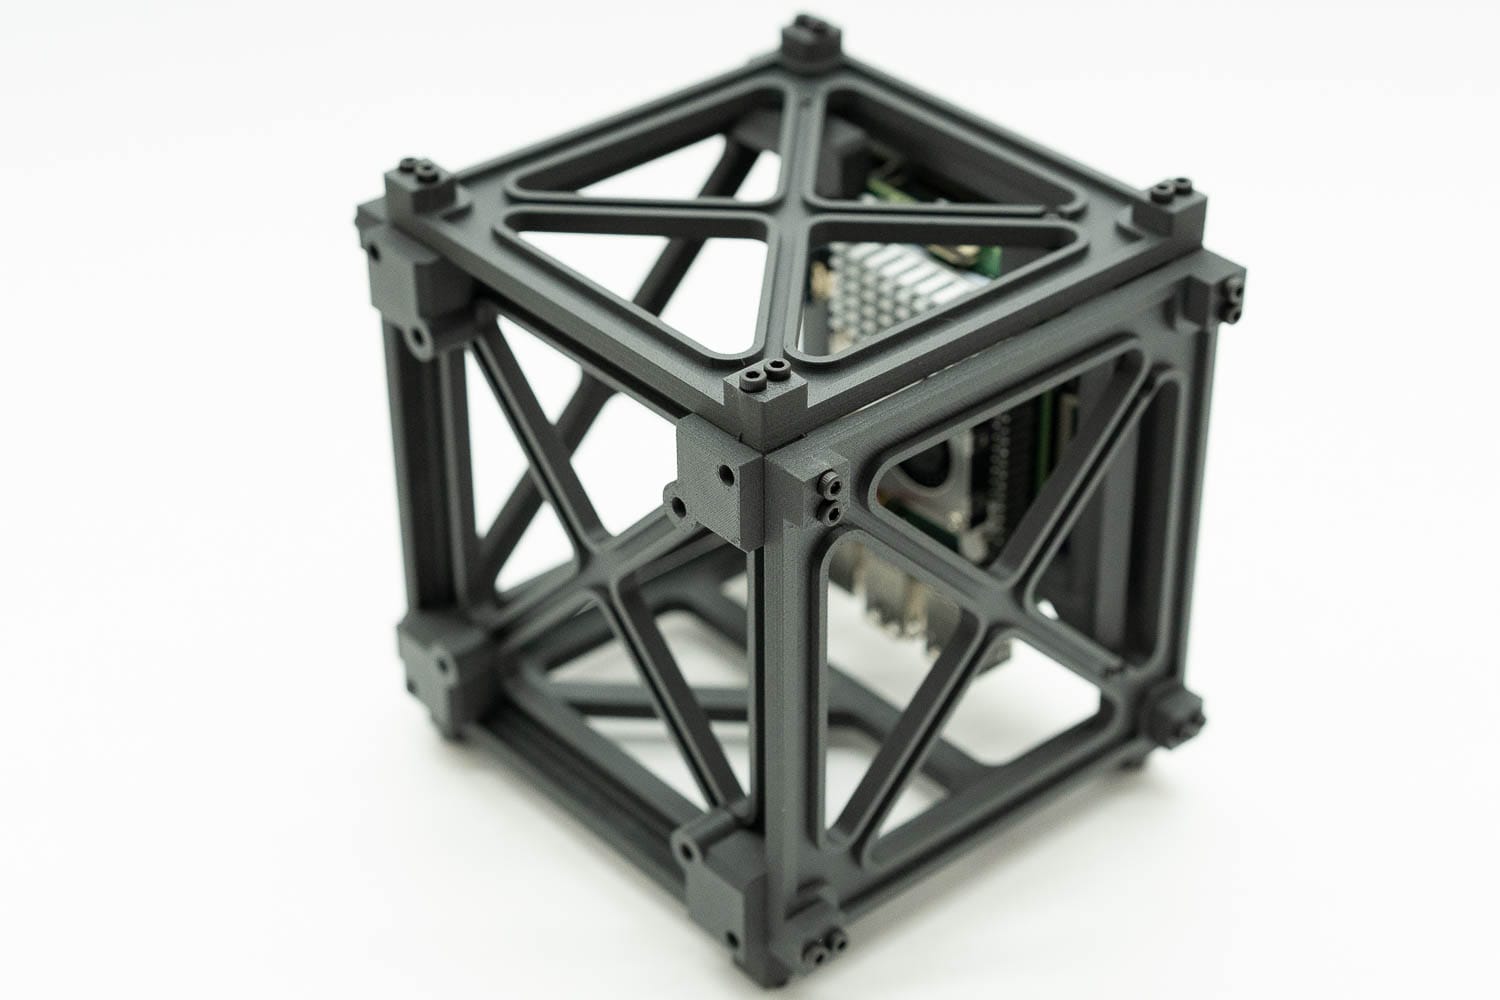
ARM Terminal 2 - The Cube
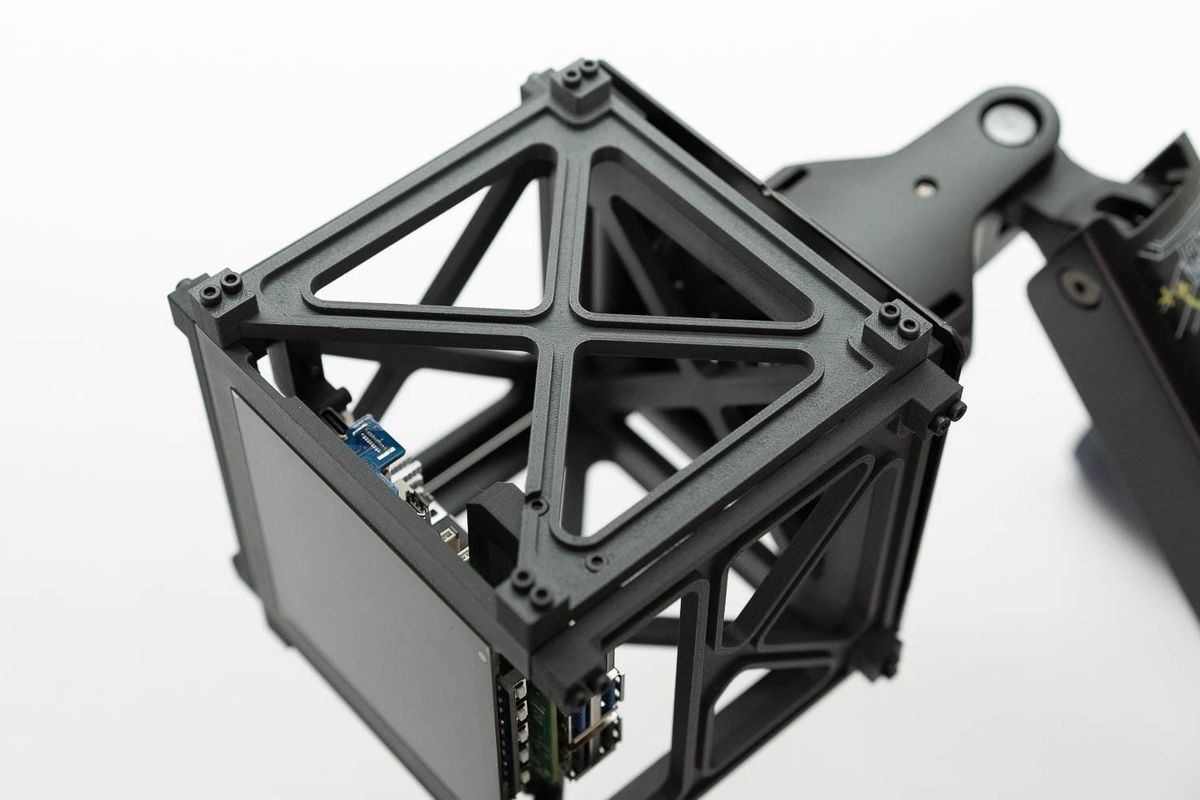
Several years ago I had the idea of a flatpack-like design for a Raspberry Pi that allowed for 6 panels to make an enclosure-like frame that could be modular and changed for what people want. It's the ARM Terminal and you can read more here.
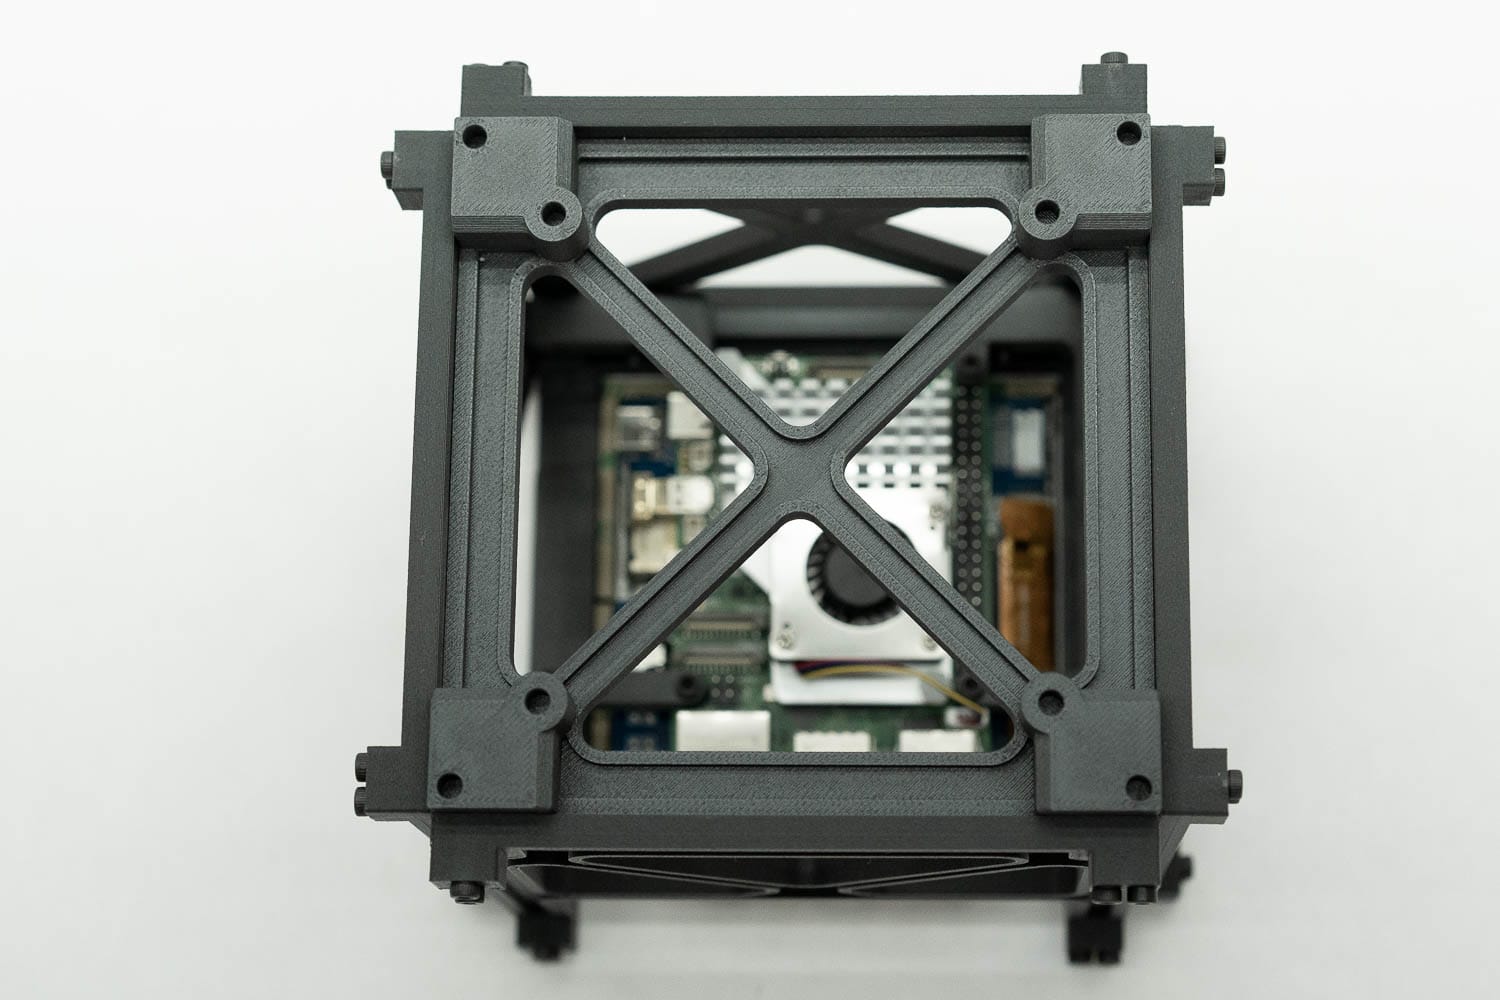
Some made CNC controllers, some did other things, but one of my favorite things was seeing how people modified the design. One user made this!
I'm doing it again, and thanks to the support of my paid subscribers, I've had the materials to play with a quirky 4" display and a Raspberry Pi 5! As a holiday treat, this design is free and available for download below, as well as on Bambu's Maker World, Prusa's Printables, and... yeah Thingiverse too.
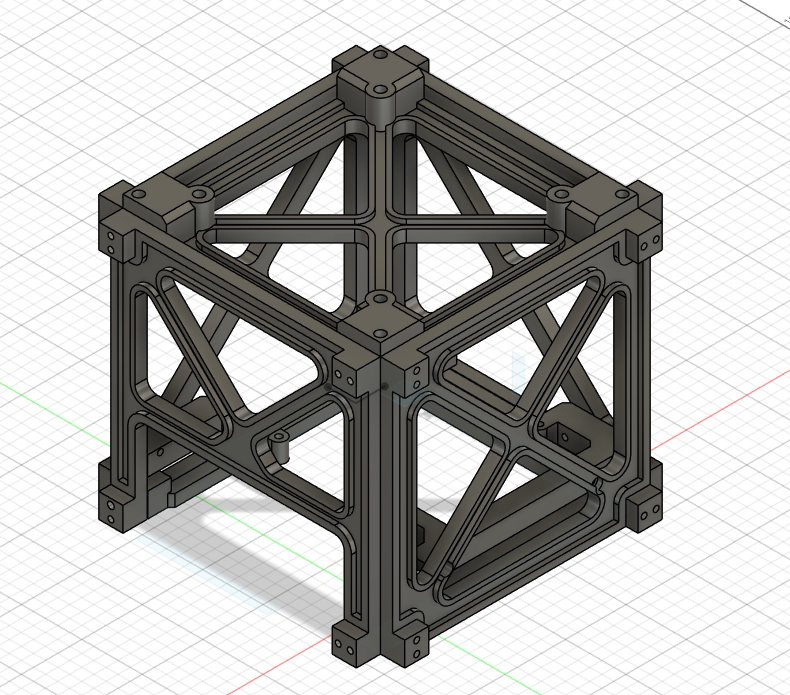
The idea is simple- a short parts list, a few different panel ideas, and lots of openings for wires, sensors, and zip ties too if you like. Here's a quick tour:
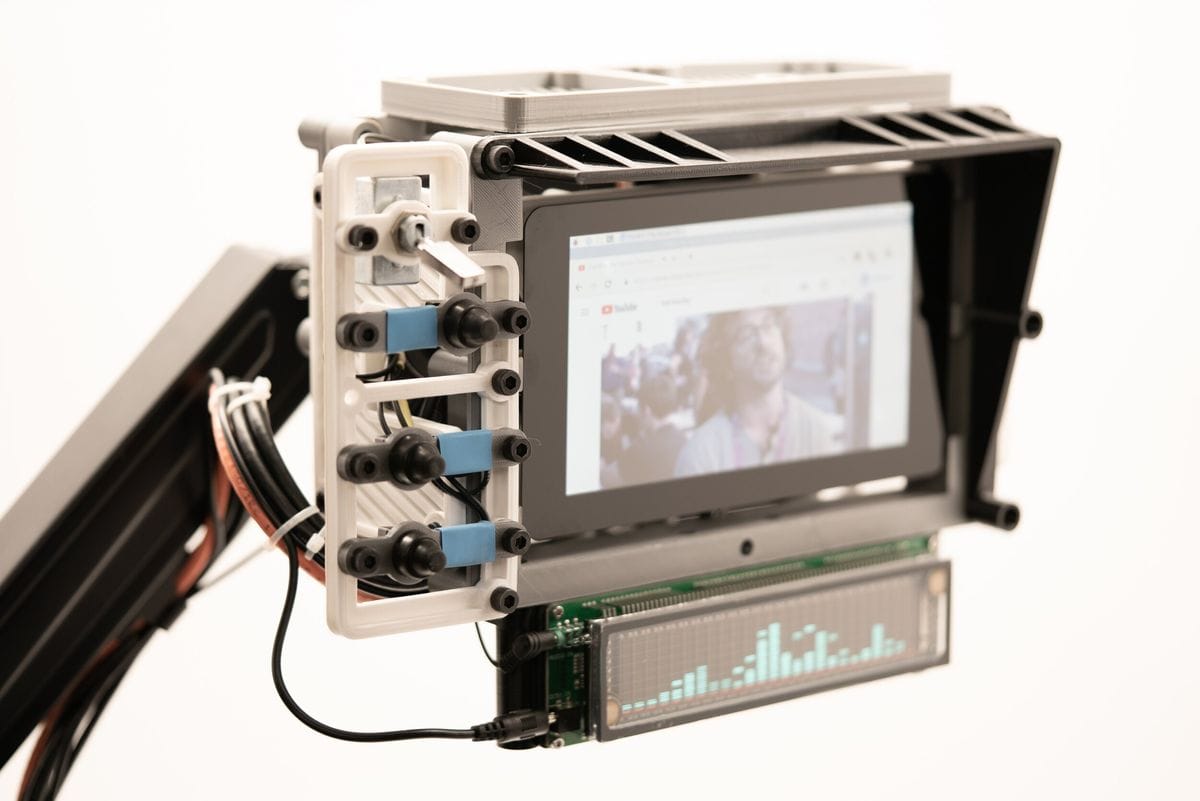
Waveshare 4" Display
This weird little display works fine on I2C mode with a Raspberry Pi 4, but for my Pi 5 I needed to flip the little toggle from I2C to HDMI & USB. The circuit isn't picky with a Pi4 and you can plug the USB cable into the display to power the Pi4, but on the Pi5 you need to plug the USB power into the Pi5 and let it power the display. I also found the through-hole pads on the Pi5 a little shallow for the display's pogo pins, and just needed to harness 2017 Jay to add some nasty little globs to the power/ground pins on the bottom of the Pi5.
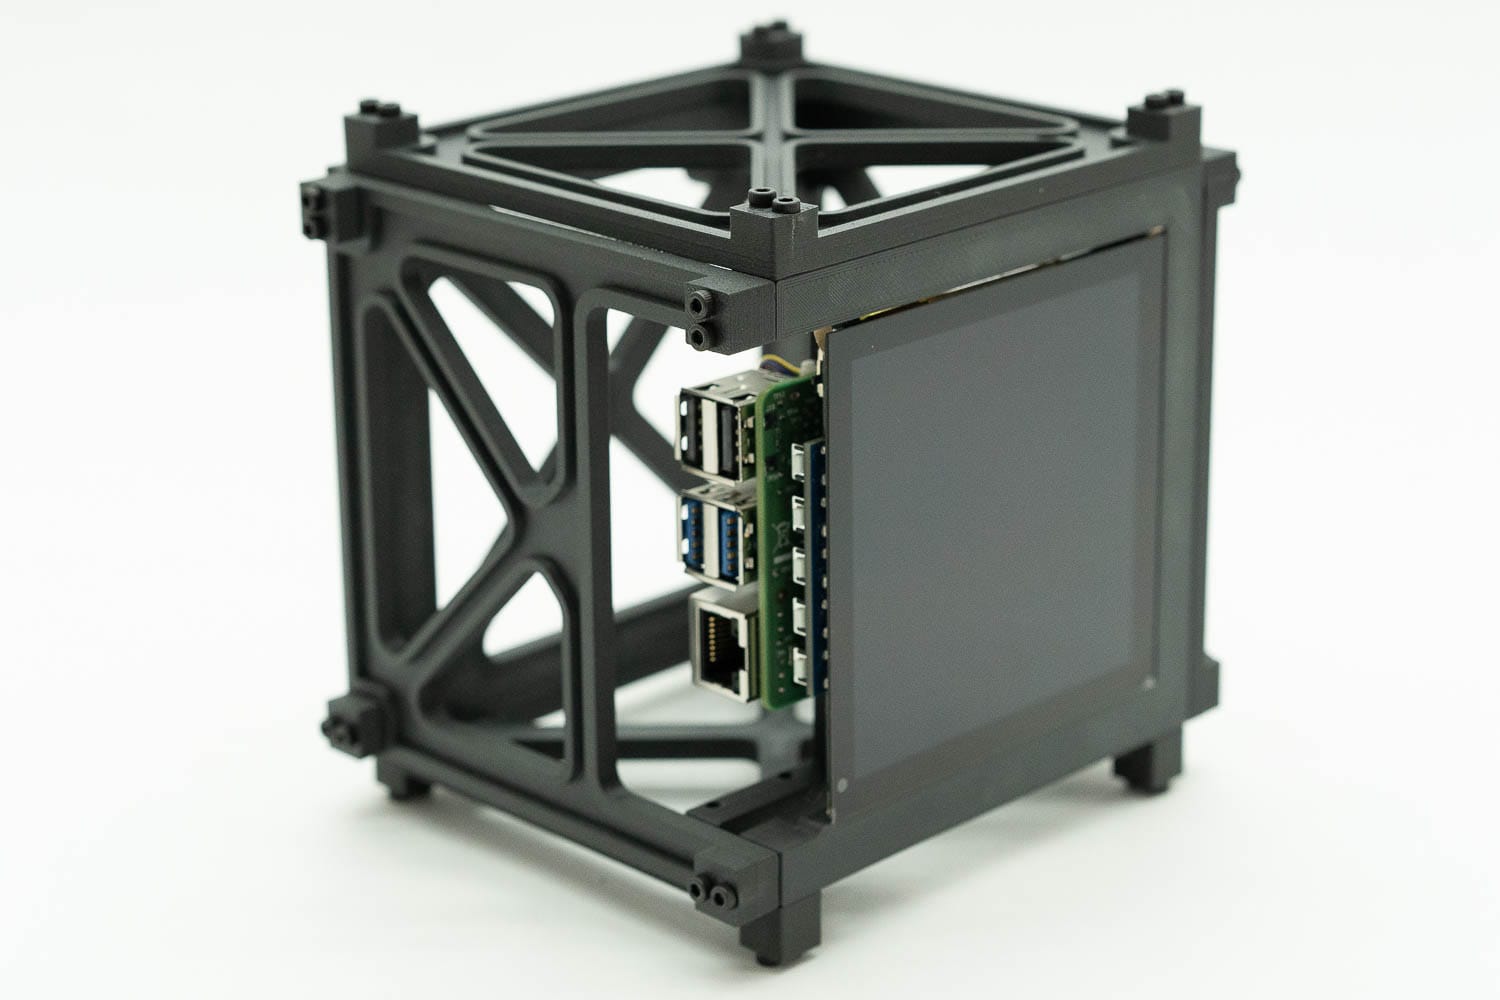
Raspberry Pi 5
I really don't like the fan on the Pi5! Yes, it's reasonable. Yes, it's optional for this cube's job of running a stats screen. Yes, it's also louder than a fanless heatsink, and when you have a computer collection like me, you have to resist more fans. I am tempted to add a large passive heatsink later, but for now I am happy to report the Pi5 is pretty much a drop in for the Pi4 on this build.
You know what is cool though? The holes for the heatsink are aligned with the traditional Pi mounting holes, making it very easy to measure and build around. It also leaves plenty of room for all the other components, so none of the connectors on top are blocked by the fan. There's also a tiny little fan power connector cover that's already in my office carpet somewhere.
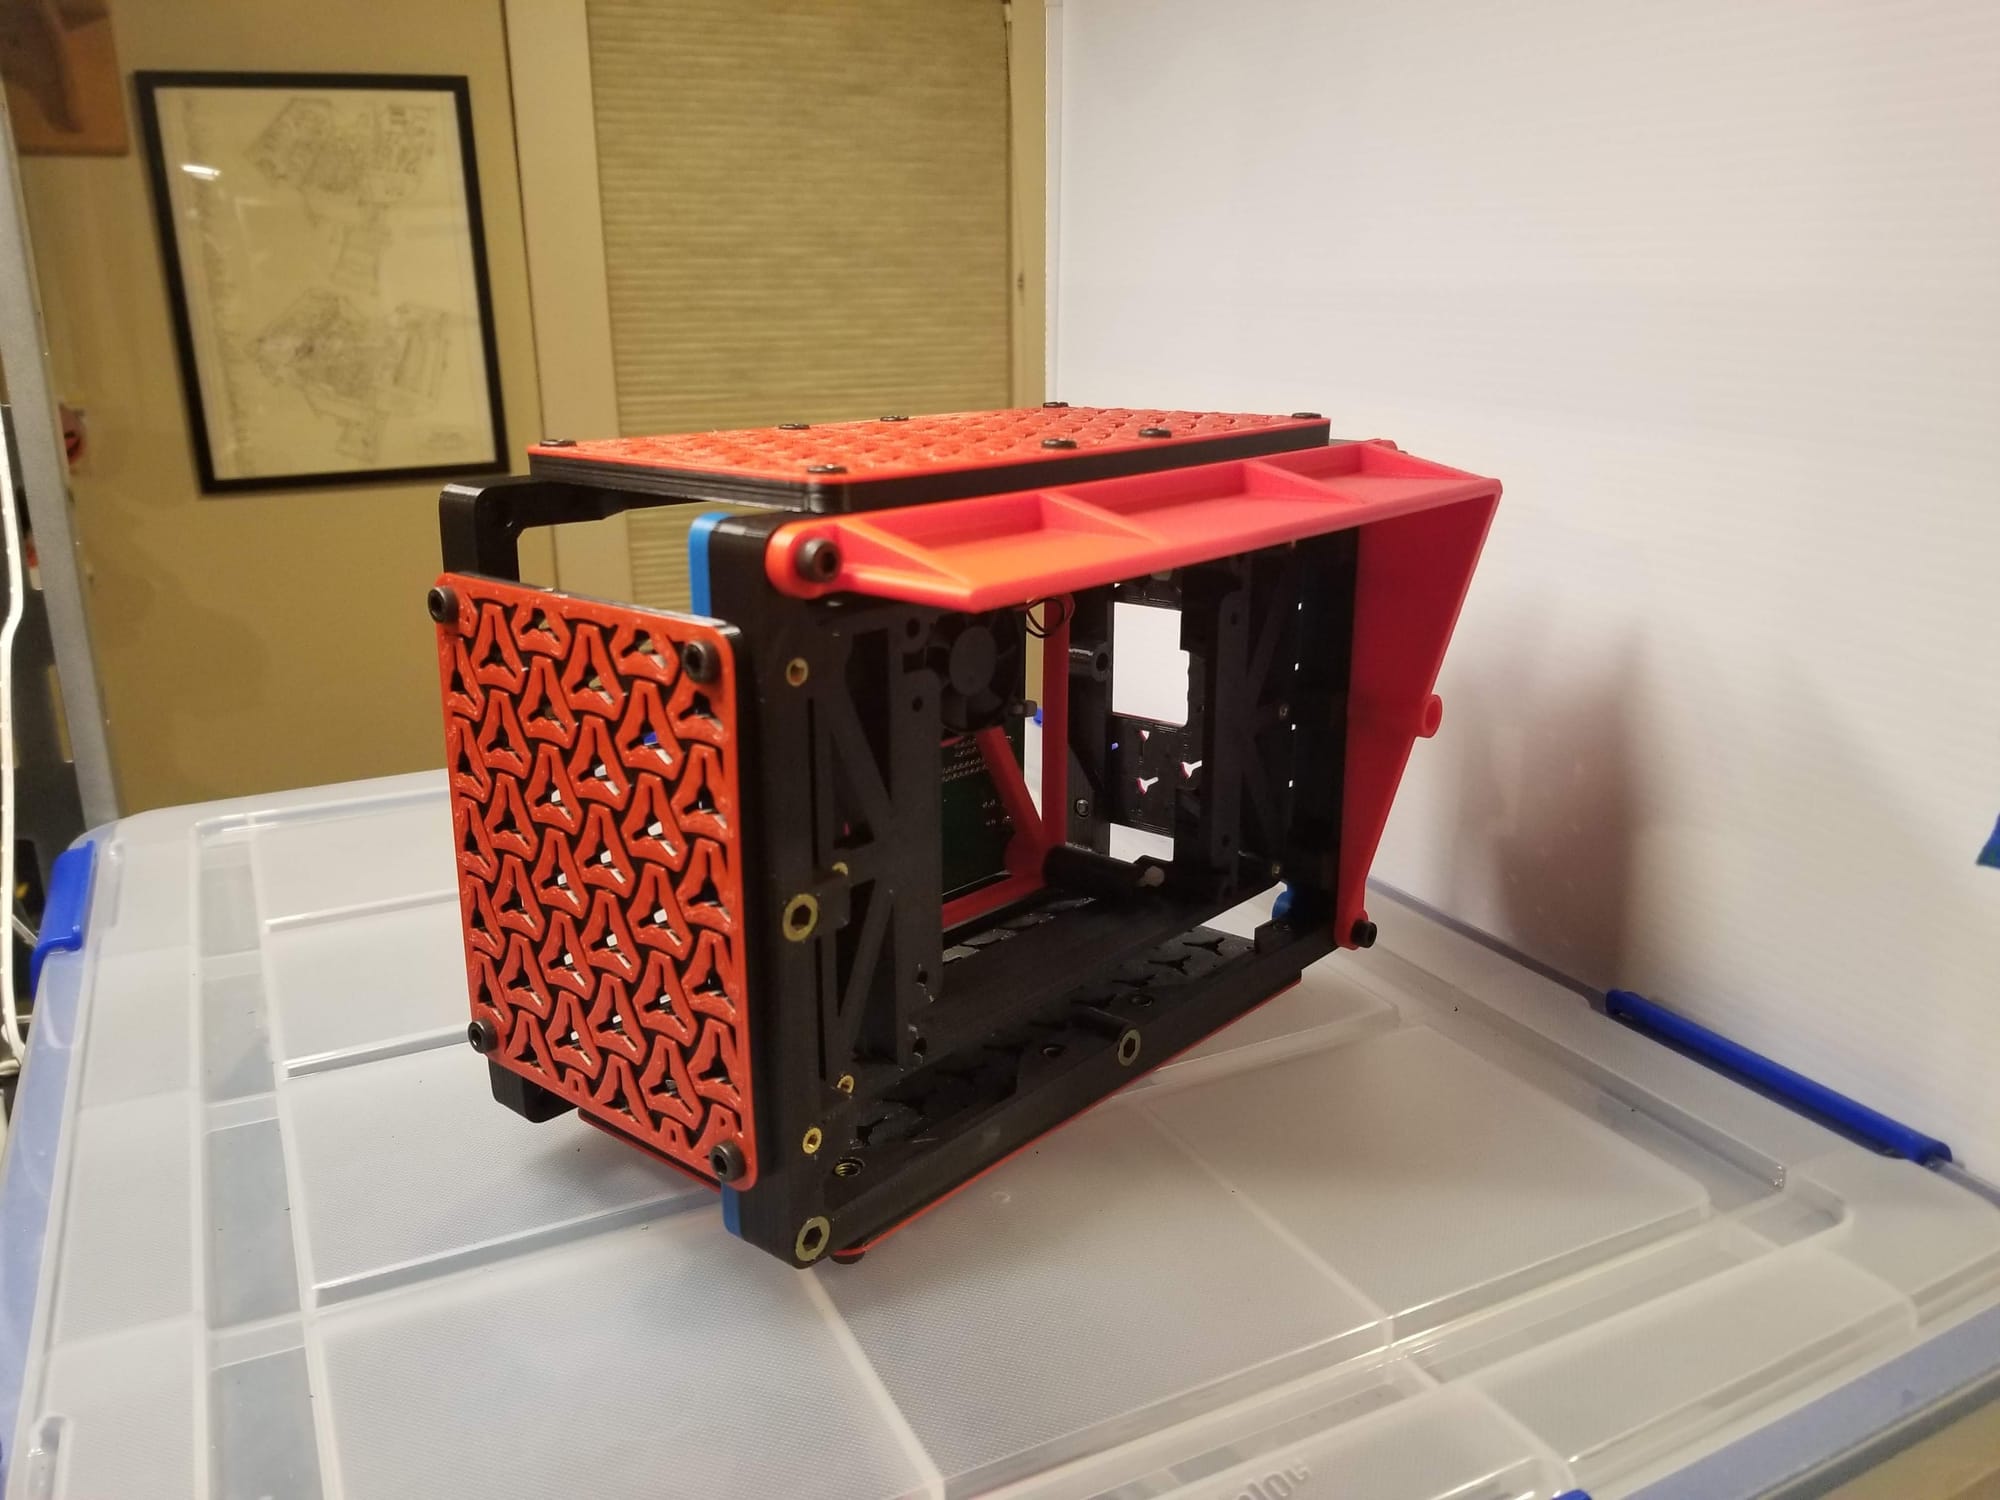
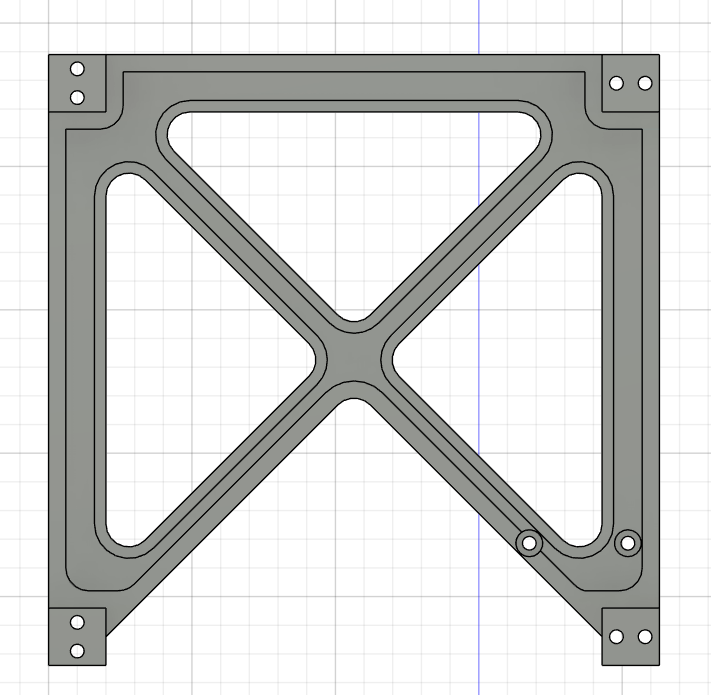
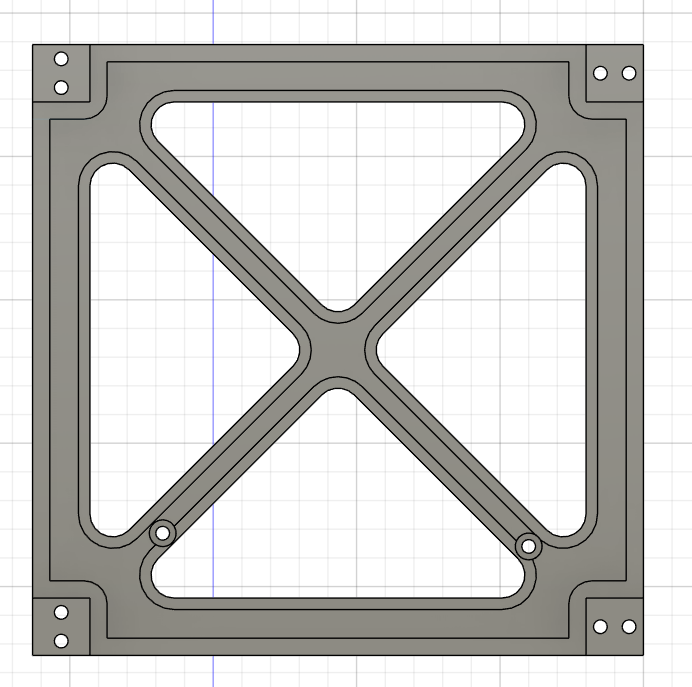
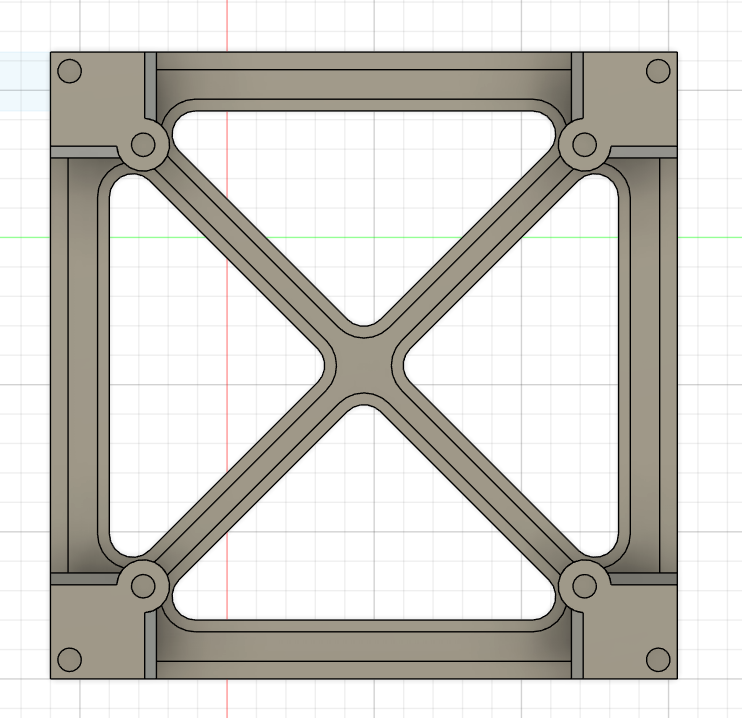
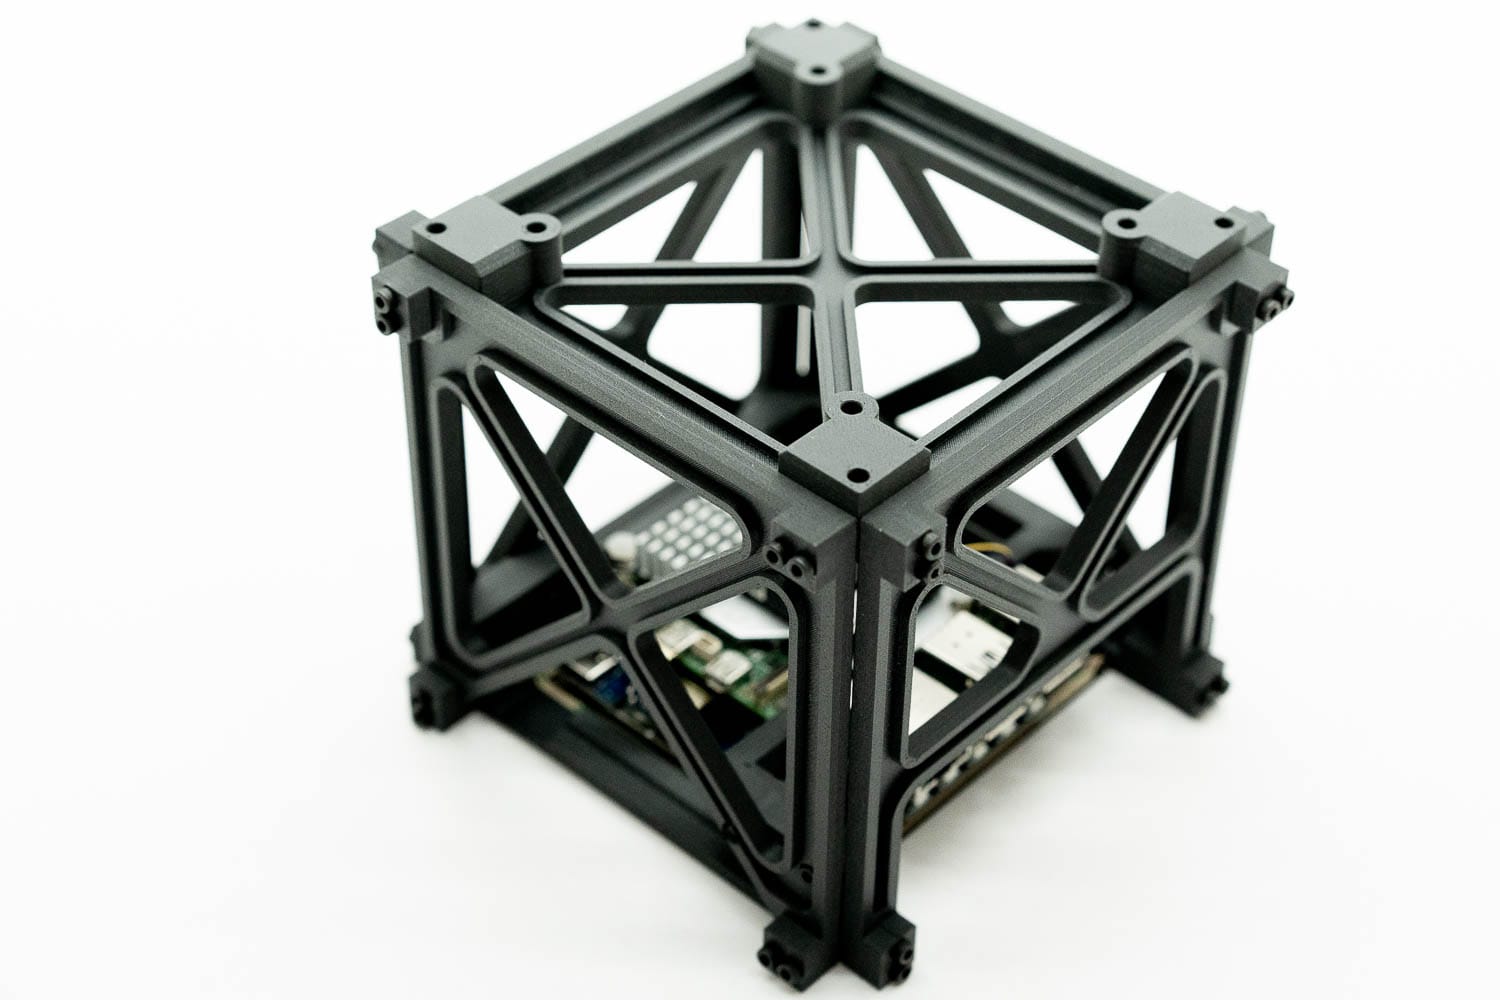
Panels
The bottom (?) panel where the display is maps pretty close to the edge of the display, so it's a unique part. The brackets that mount to the side of the enclosure means you can take off any 2 sides without having to worry about it falling apart. The side panels are all the same size, but have a couple different examples of holes for cables:
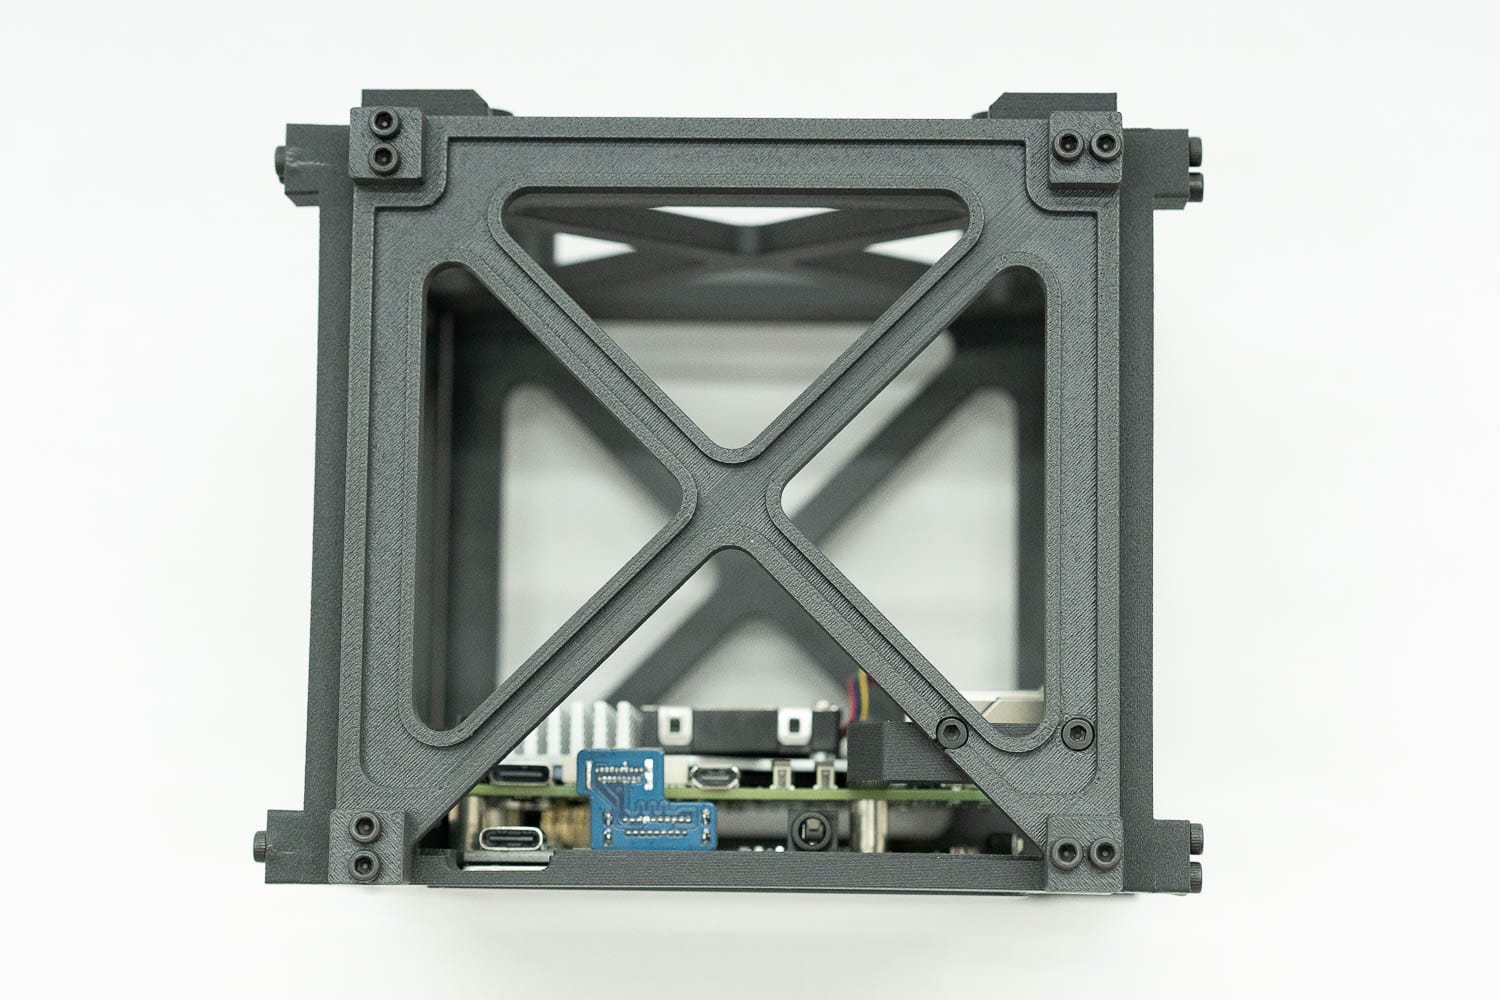
Rectangular Hole
Good for the Pi's traditional Ethernet and USB ports:

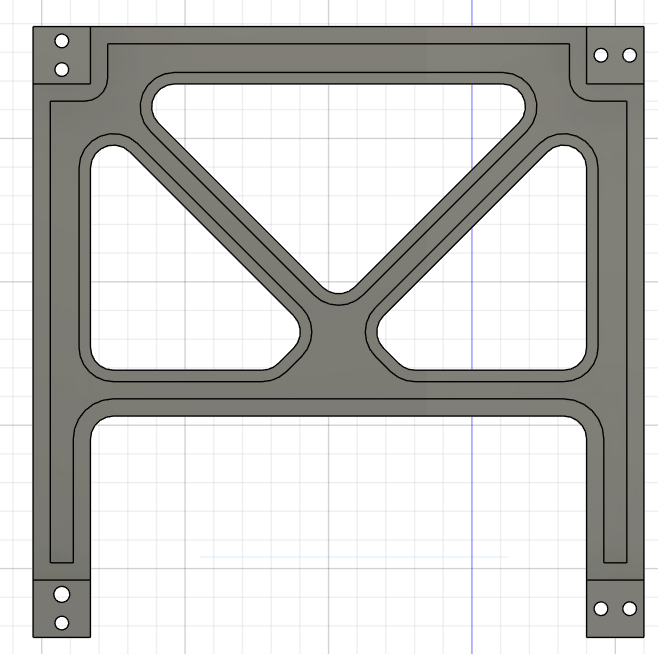
Triangular Hole
Good for a few cables without having to sacrifice much in the way of stiffness.

Traditional Panel
Two sides have these, but there's some screw holes for the Pi mount. I include in the design files a blank one so it's easier to mod yourself.
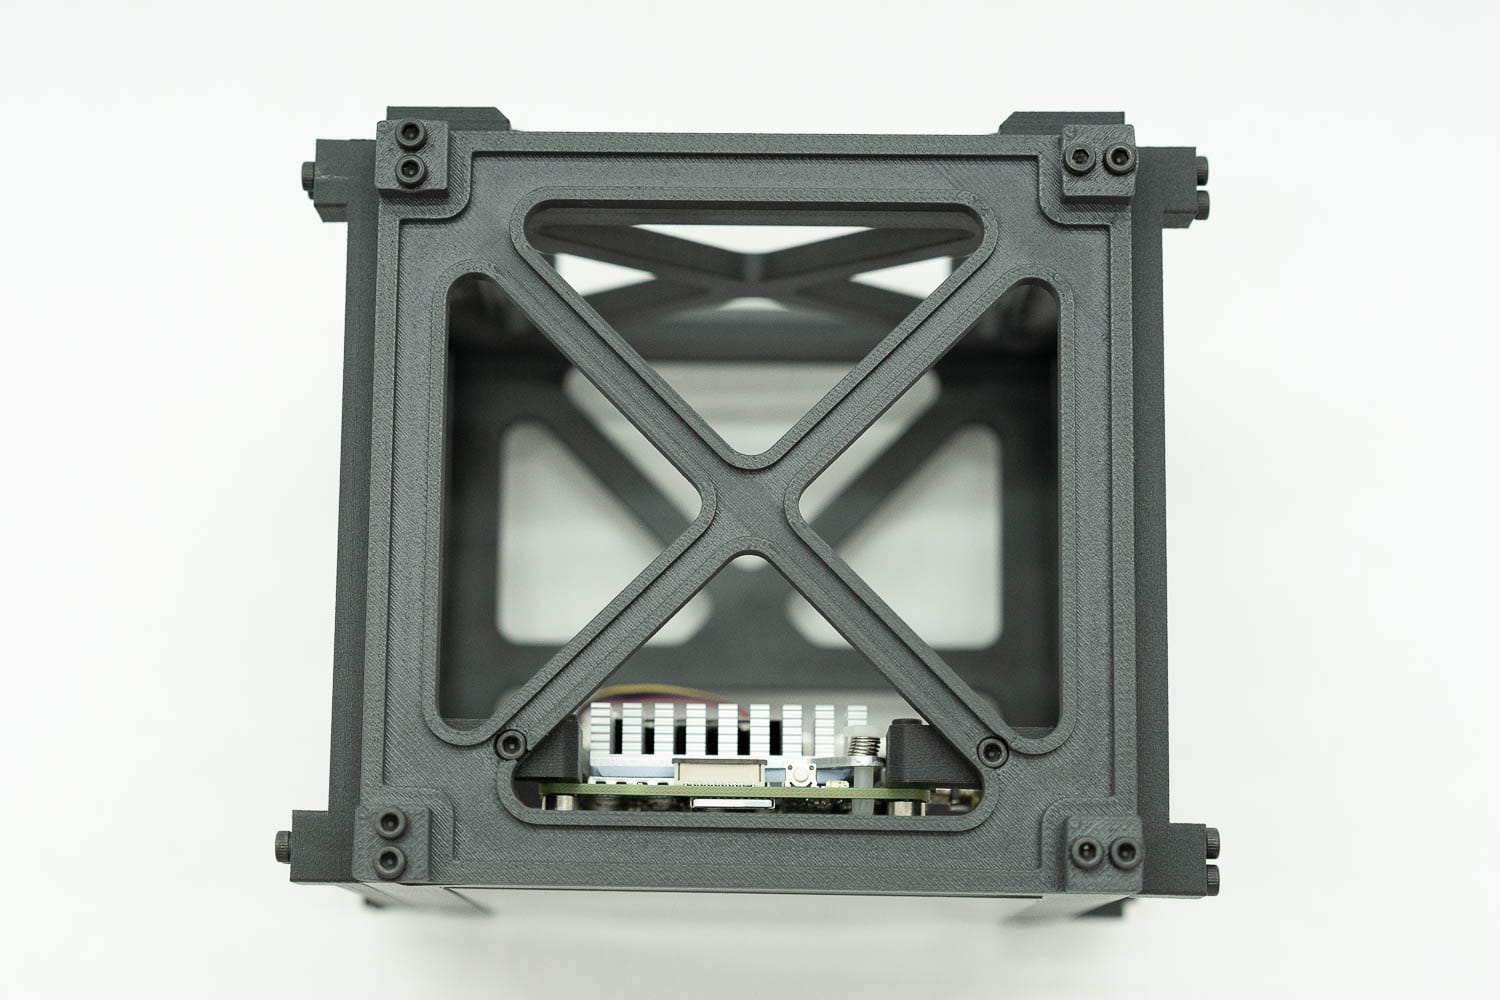
Top Panel
This wouldn't be the ARM Terminal v2 without VESA holes! This one allows for other 75mm or 100mm spacing, and accepts the standard M4 screws via pressure fit.
Hardware
I'm happy to say this entire build used 14mm M2.5 screws... just many of them since each side uses 8 of them or more. I actually ran out of 14mm, went to order 15mm and saw they are far more expensive, so I used a couple 10mm here and there. I don't recommend 10mm for the whole build, but you can get away with a few here and there.

And that's it! I will continue to tinker with my Pi5, and may use up all the empty space in the back with a massive heatsink, or just let it sit on my desk. In the meantime, here's a gallery of the completed build, as well as the parts needed to make your own. Thanks again for my paid subscribers! Consider supporting my weird projects!
Gallery


Parts List
I earn commissions on some of the links below, but it doesn't cost you anything, and supports my projects.
Design Files
Parts
- Quantity (34) M2.5x14mm Screws (I used black oxide socket head)
- Waveshare 4" LCD Screen
- Raspberry Pi 5
- Raspberry Pi 5 Heatsink
Made With:
- Bambu Labs X1C
- Bambu Labs Carbon Fiber PETG Filament
Comments ()