the MIL-plastic deck

This is a project that I’ve been working on for a few months over the quarantine, and I’m happy to share it here. The idea is a simple one- many Makers asked me over the last year about printing smaller parts for the Raspberry Pi Recovery Kit, and I started playing around with options. I knew I didn’t want to just re-hash the old deck, and I knew I really wanted a better display for this year. Let’s jump in with what’s different:
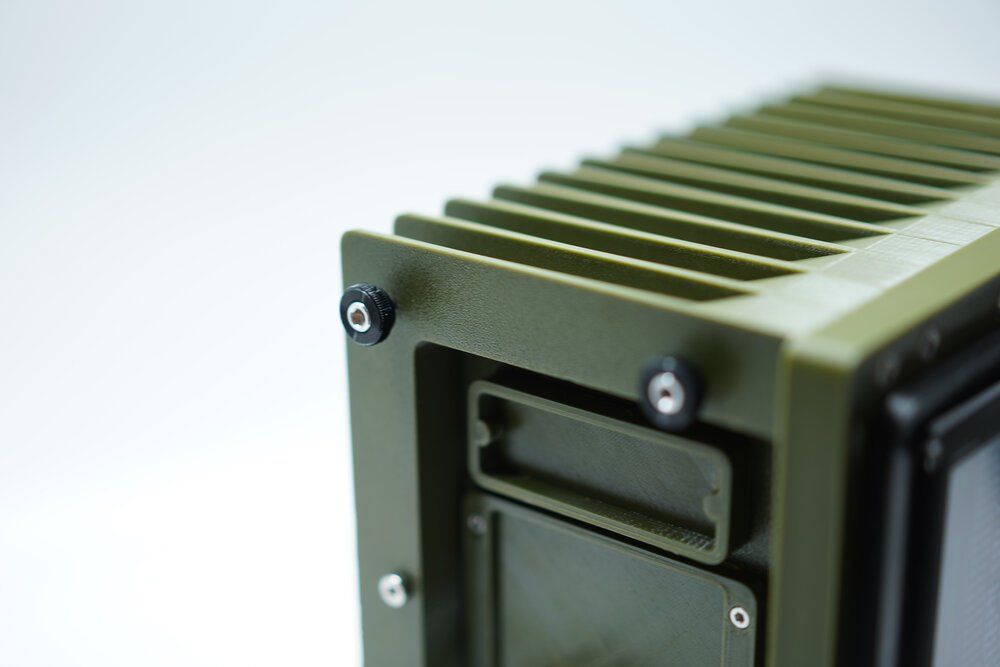
- No Pelican case required! It’s pretty obvious from the photos that you don’t need to spend $50 or more on a case, especially if you are going to drill holes in it, or don’t actually need a waterproof case.
Smaller Bill of Materials (BOM). The original Raspberry Pi Recovery kit was very expensive to build, primarily because I sourced the coolest looking parts I could, which can be expensive or just hard to get (like the keyboard). This project has a much simpler BOM, so simple that here it is:
- 1 kg spool of Paramount 3D’s Olive Green PETG - Amazon Link
- (Optional) 1K spool of Carbon Fiber PETG and hardened steel nozzle - Link and Link
- Low profile, stainless steel M5 screws - McMaster Carr Link
- M5 threaded rod - McMaster Carr (bolt cutters are optional, but use safety gear)
- Four threaded inserts - Amazon Link
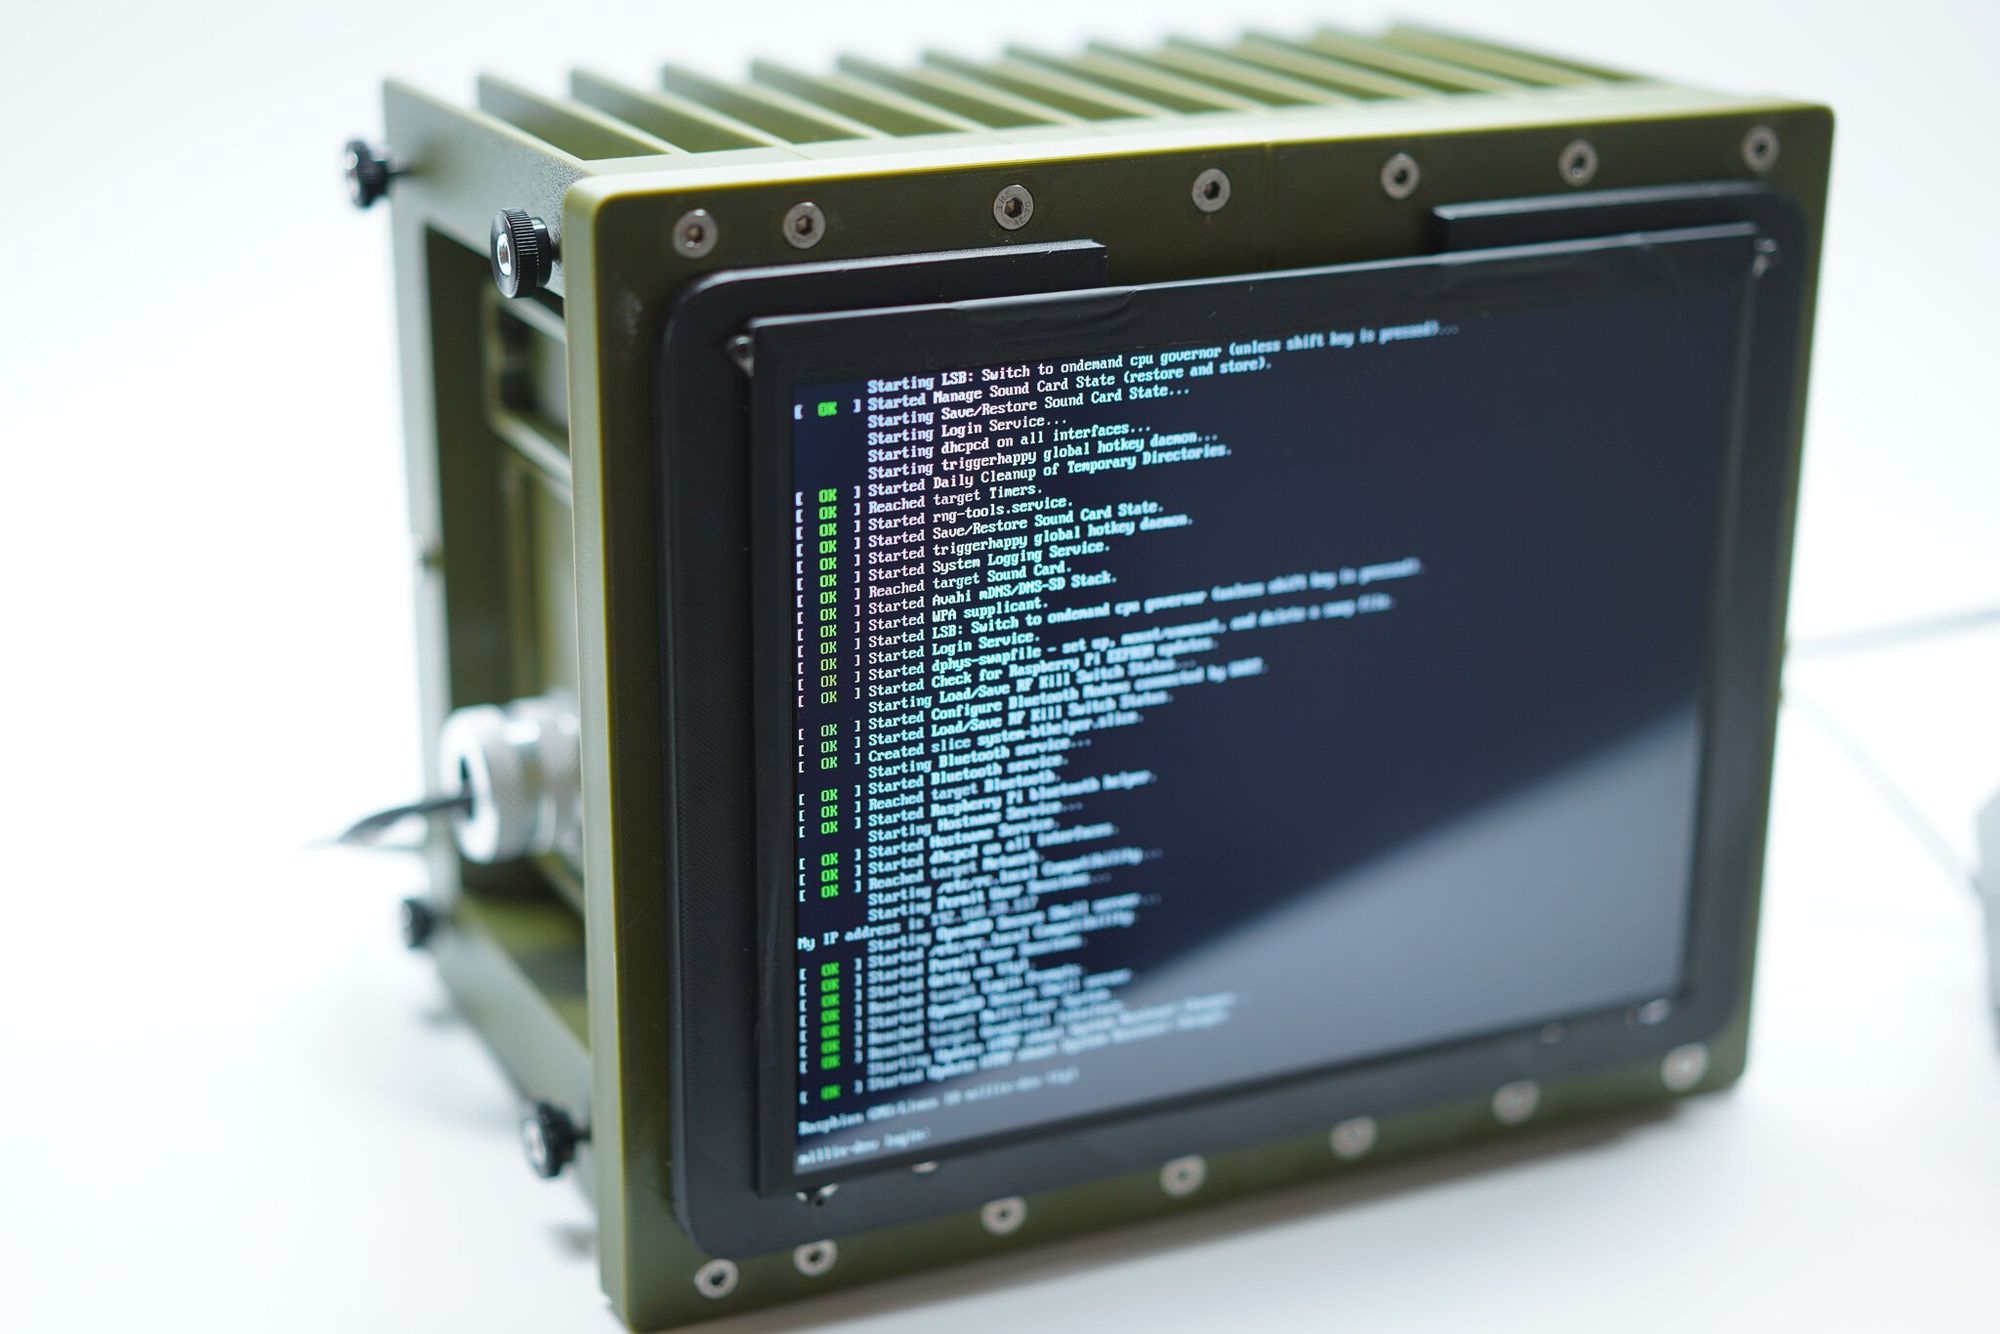
- Pimoroni HDMI Display - Adafruit Link
- Short HDMI Cable - Amazon Link
- Four brass M2.5 standoffs - Amazon Link
- Raspberry Pi 4 - Amazon Link
- Core Design - Tinkercad Print Layout, Tinkercad Assembled Version, Thingiverse
- Thumb Screws - McMaster Carr
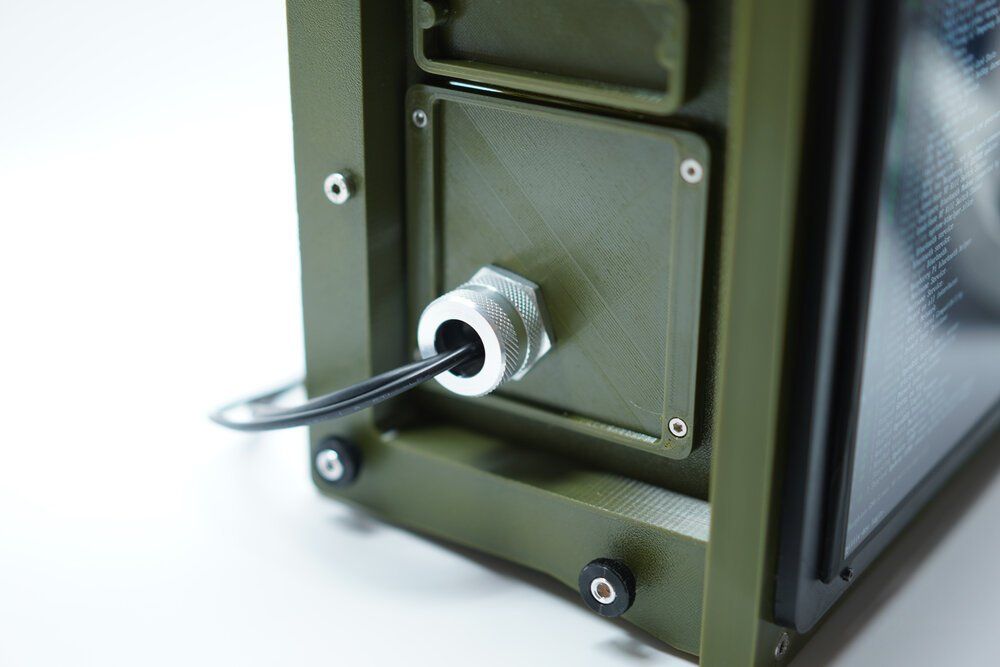
- Cord Grip - McMaster Carr
- Something easier to modify/hack over time. The RPRK was designed to be a “finished” product and execution on an idea, and with people making their own, I thought it would be more fun this time around if people could swap out parts for their own, even ones to radically change the look of the deck.
- I abandoned panel mount ports on this project. Panel mounts are often for looks only, at least on many of my older builds, and to keep costs down I just ditched them. Big, rounded rectangle holes work for me, and don’t cost $15 each time I want to change something.
- Finally, I wanted a design I could continue to refine and modify for my own projects. Hopefully I’ll have more of those to share soon!
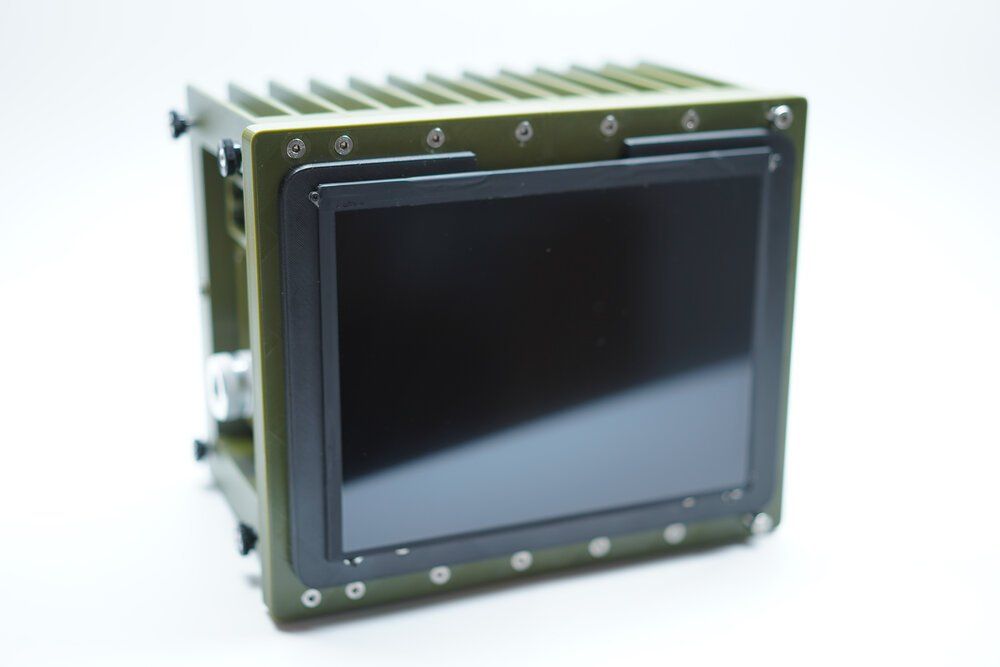
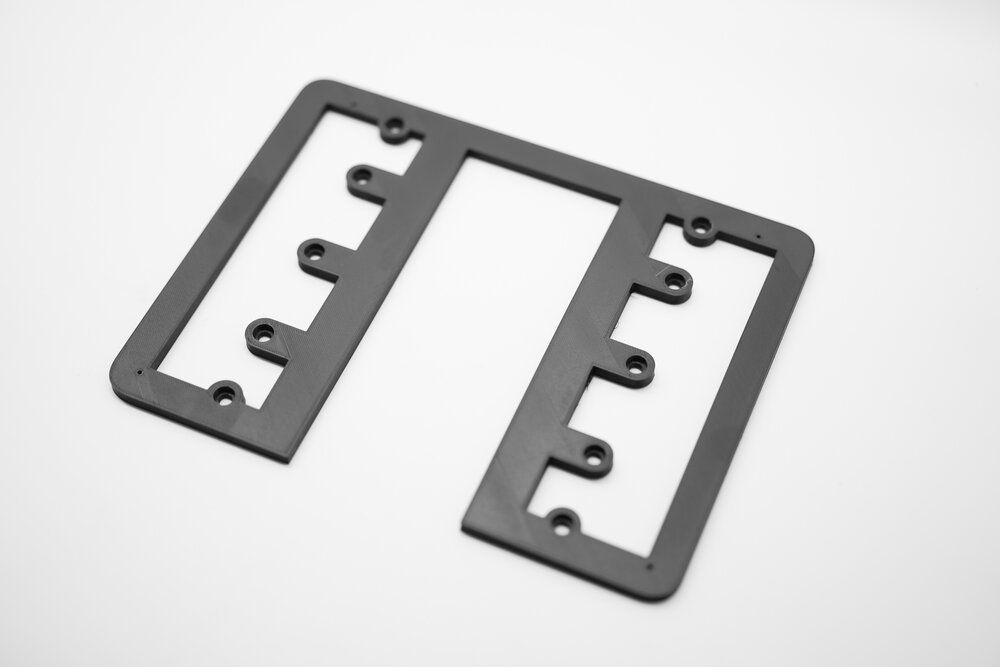
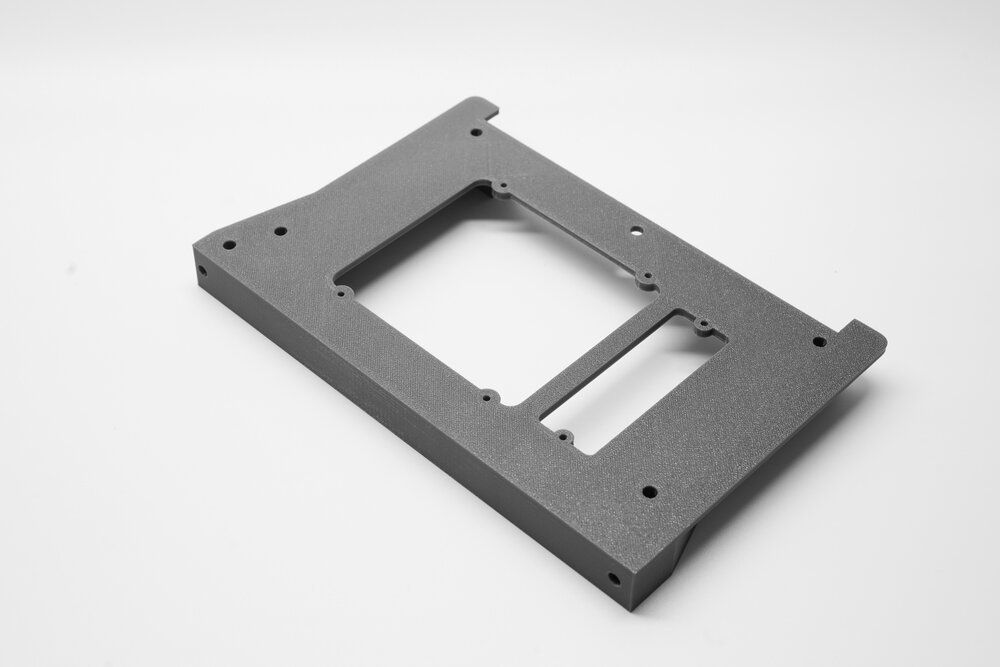
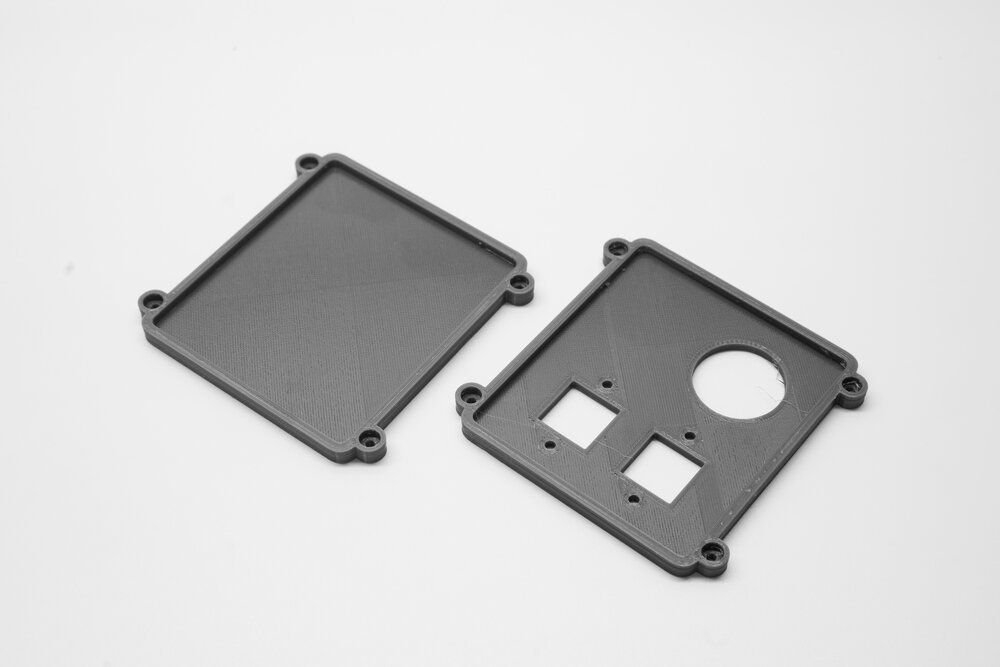
With that out of the way, let’s go over the basic design. This can be used as assembly instructions in a pinch too. Here’s the front frame, which the Pimoroni display will connect to. That’s really done last, so we won’t see this part again for a while.
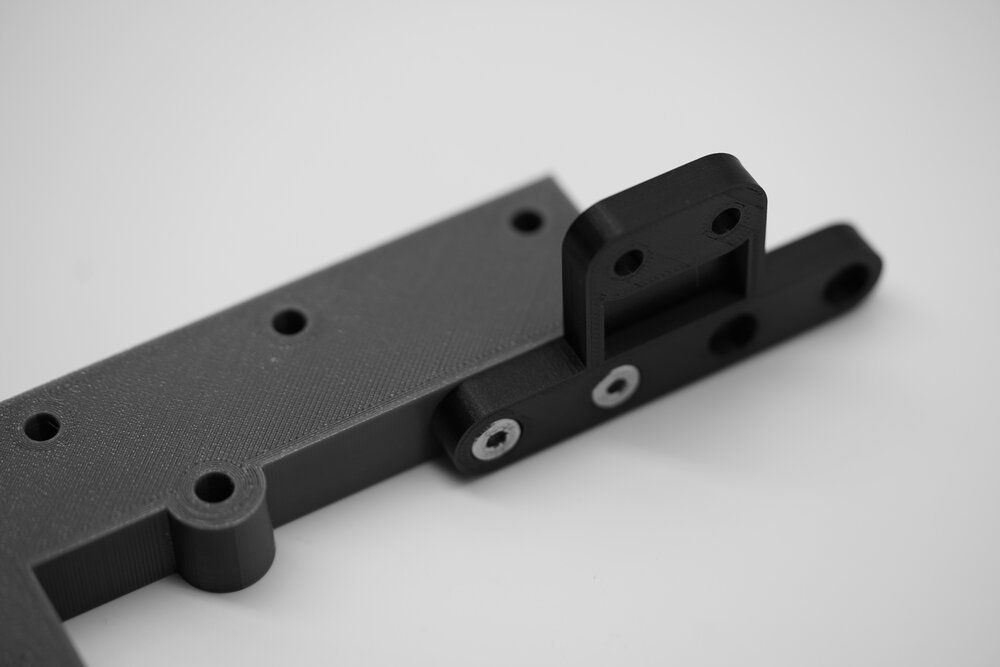
The design is simple for the front- there are four threaded inserts for holding the display on the front. Make sure they go on the front of the front frame. There are two halves of the front frame, which is held together by the “joiner” part, which has spare M5 holes in case you want to mount something here. I was still on a carbon fiber kick (read: I still had the hardened steel nozzle installed) so that part was printed with that stuff. It’s great, but not required if you don’t want to deal with a second and somewhat picky filament.
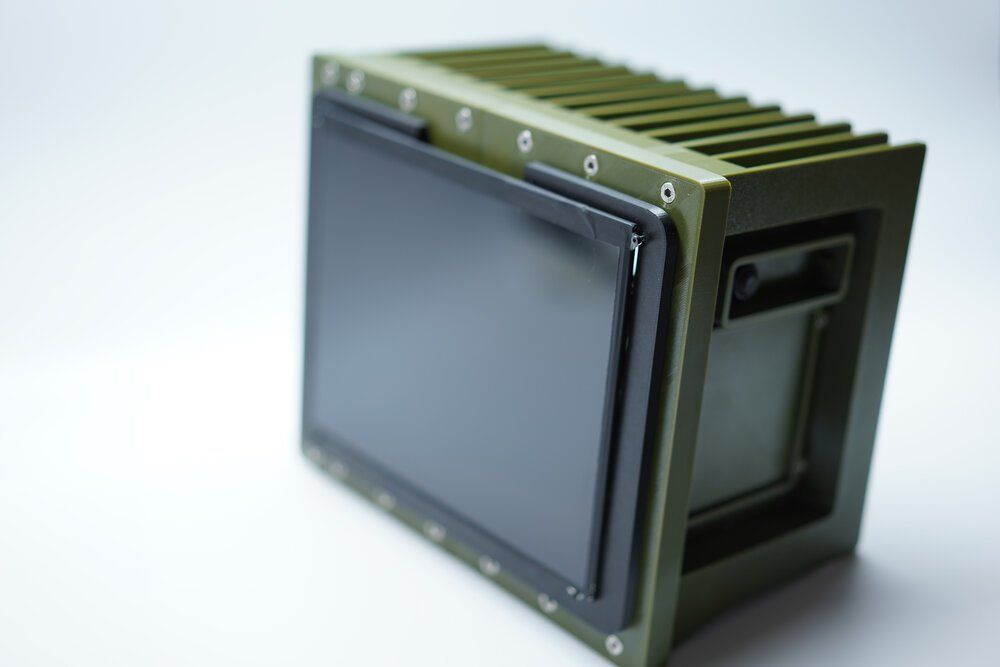
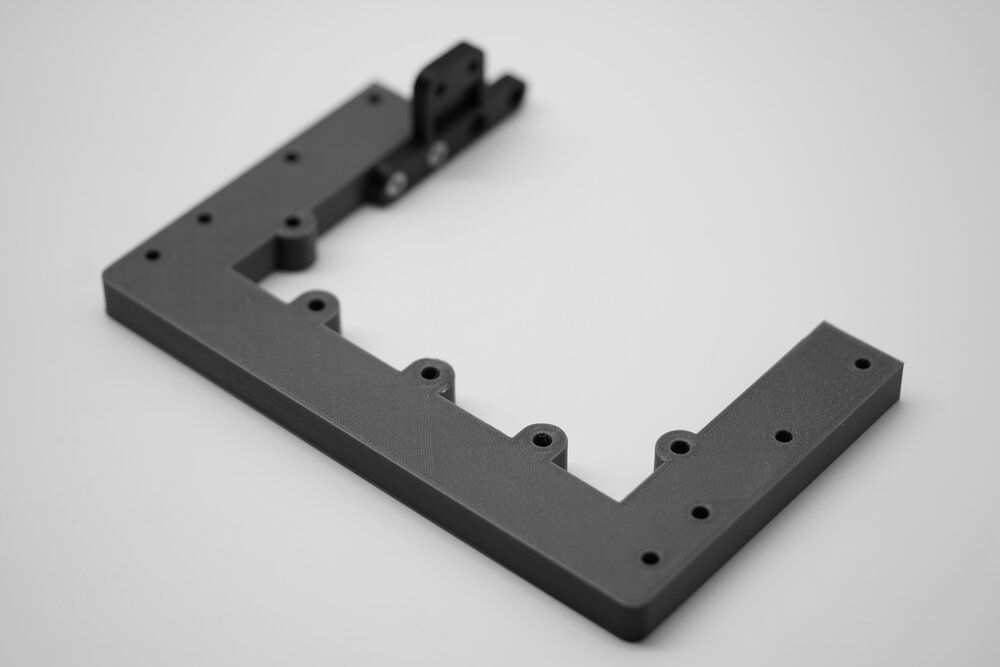
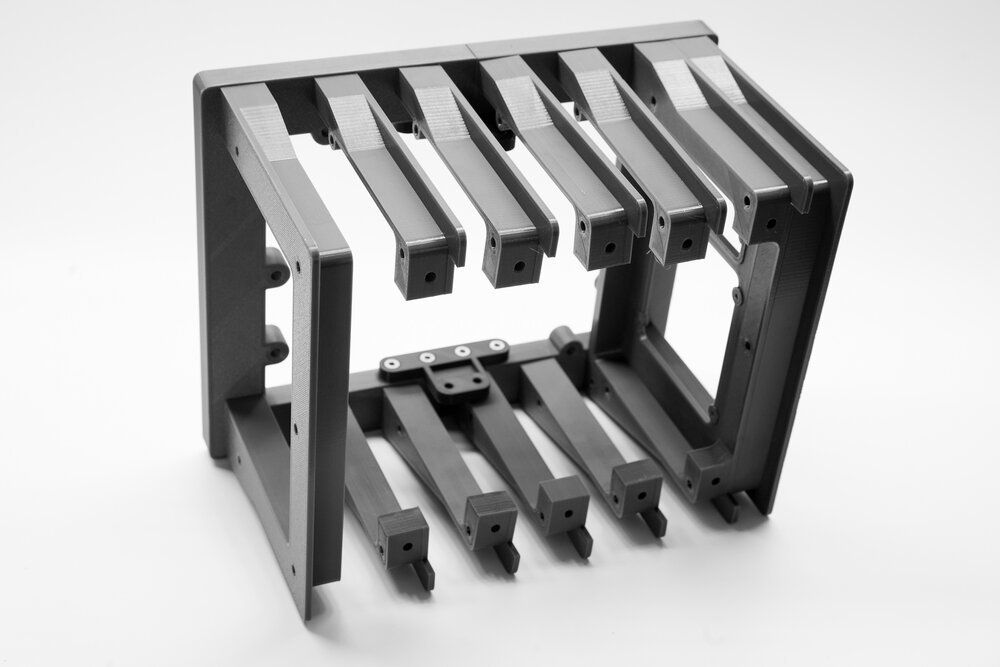
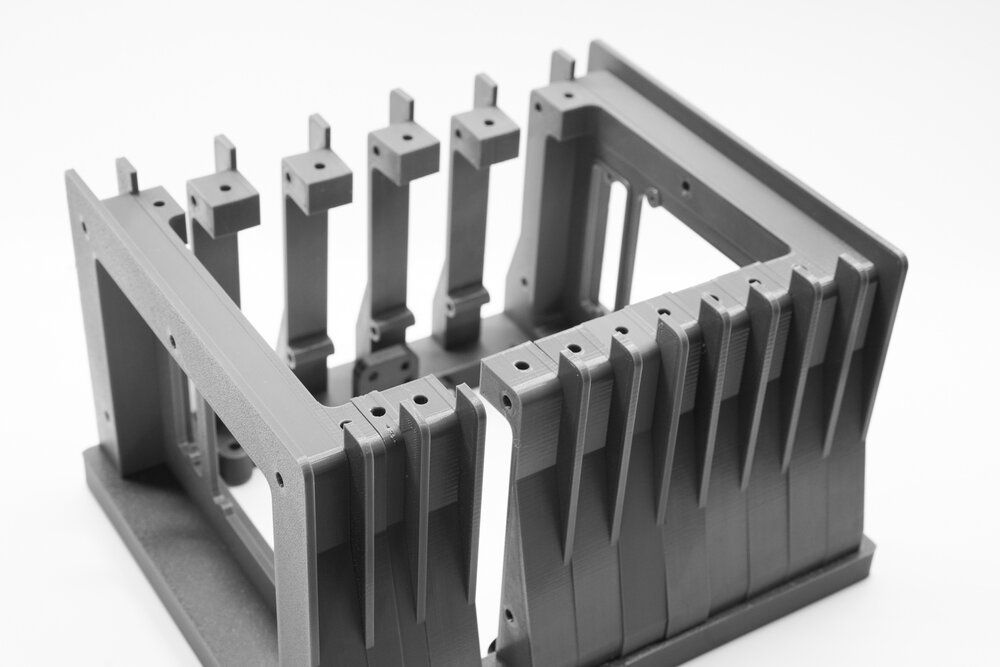
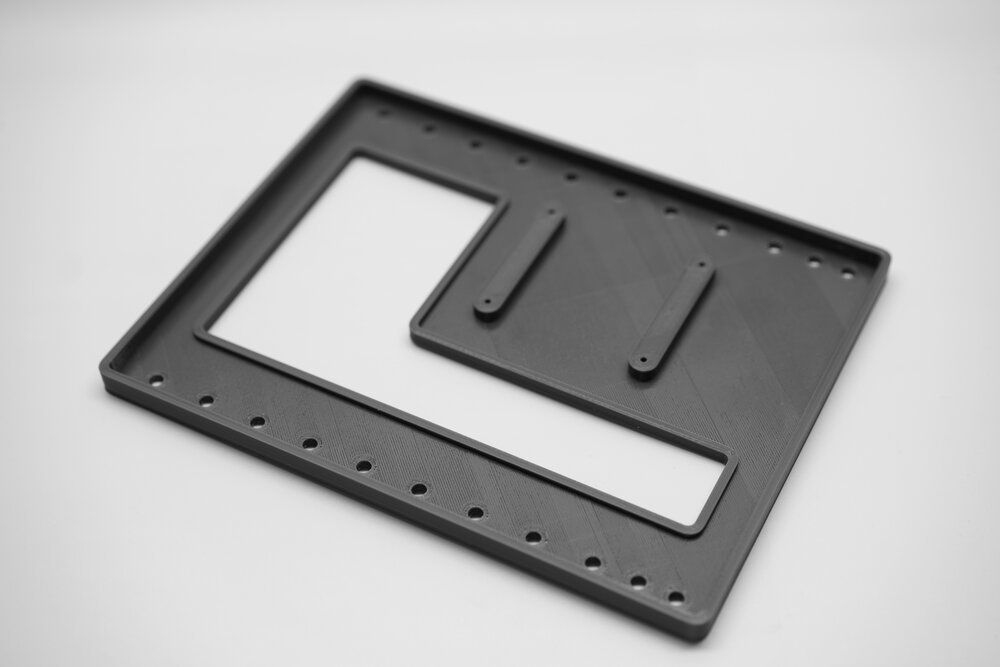
Next it’s all about printing all of the rear parts, including what I call the ends and the top/bottom. The top and bottom parts are not interchangeable between top and bottom, they go on one orientation only. This will likely take a while to print!
CAUTION:
As you start to assemble be careful of the resistance of some of the deeper holes that screws and threaded rods are going into. If you feel too much resistance you may need to drill or tap some of the holes- this depends a ton on your printer. This is especially true of the M5 threaded rod in the next section, which can get bound in the many parts and get very difficult to move. If you think that’s happening, back out the M5 rod and use a power drill to drill the part holes. You really only need threading on the parts on each end of the enclosure, and even if you drill it all out, end caps/nuts will do fine to hold the whole thing together.
The way I assembled it was to drill out slightly some of the upper/lower parts where the M5 screws go, then bolt the main frame to the uppers and lowers that have screw holes to line up. Not all the uppers and lowers will need to be bolted in, but each of the uppers and lowers has the screw hole just in case. This just makes it easier to keep parts organized.
Again remember, if the threaded rod gets too hard to screw in, back it out and drill out some wider holes, or else it’s time consuming to deconstruct it with the rods in place. Also be careful to measure your threaded rod- push too far in and you’ll get a bulge on the end.
Finally, a few words about this project and why I built this one. This design took about 7 months to design, including a 3 month break due to life and COVID impacts. I am lucky so far to be able to continue to work on these projects, and it’s been a great relief to “finish” it. Like all of my previous projects here, all of the design files and parts lists are in this article so people can make/modify as they see fit. I would remind fellow makers that it’s licensed under a non-commercial license, so while you can print/modify, doing so commercially is not supported under this project. Want to do that? Just reach out to me and we can figure something out.
Going forward though, many of my originals like this one will be for sale in my shop. They will be more expensive than making it yourself, so if you’re willing to try- make one! Commissions are limited and not guaranteed, so the items from my project builds may not last. Check out https://back7.co/store to see what’s in stock.
With that out of the way, here are some quick FAQs on my projects related to this one, the Mil-Plastic case:
- Aren’t these just Raspberry Pi laptops? Actually, they’re a bit more than that. This is part sculpture, part functional electronics, and part exercise in design and DIY. If you want a laptop, then that’s probably the option for you. These are meant to be hacked/modded/upgraded and redesigned. I don’t know of a laptop that comes even close to that.
- Do you realize this isn’t waterproof? Yes, this is closer to a desk toy than a field computer.
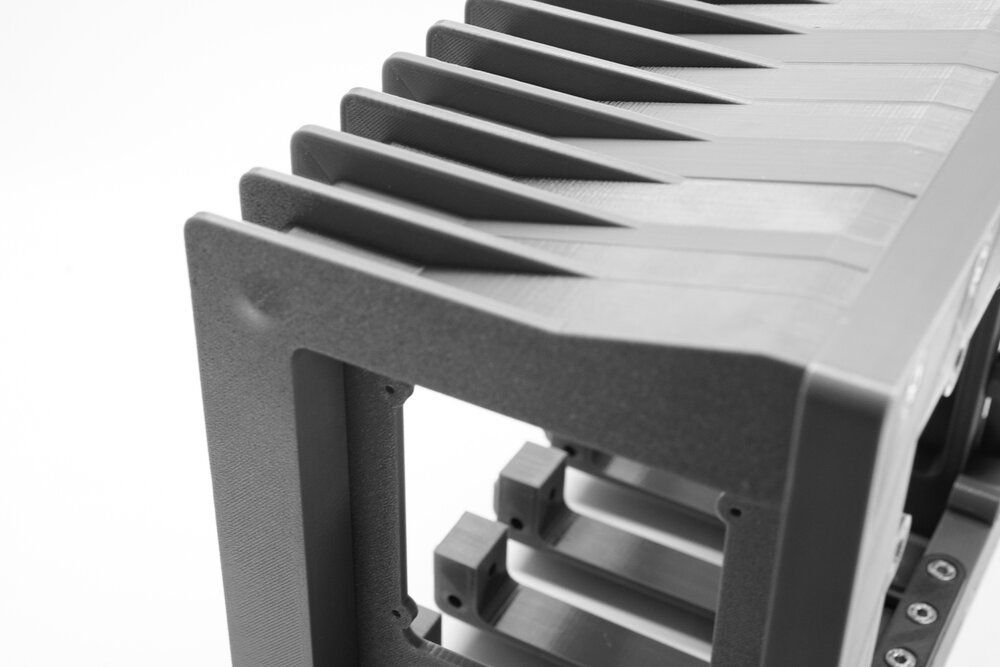
- How do you get your prints to look like that? One simple answer- slow prints (no faster than 45mm/sec), a clean build plate, and no supports.
- Are you open to commissions or building these for sale? I am doing very limited commissions, and they are more expensive than building it yourself.

Comments ()