the Raspberry Pi Quick Kit
I’ve been fortunate to see many people remixing and making the Recovery Kit since I introduced it last year. It’s been a fun project for many, but one thing I didn’t expect was the number of people wanting to make their own. While I documented all the parts, I never thought about how much it would cost others to recreate it, and it was very tough for some to assemble with all of the soldering.
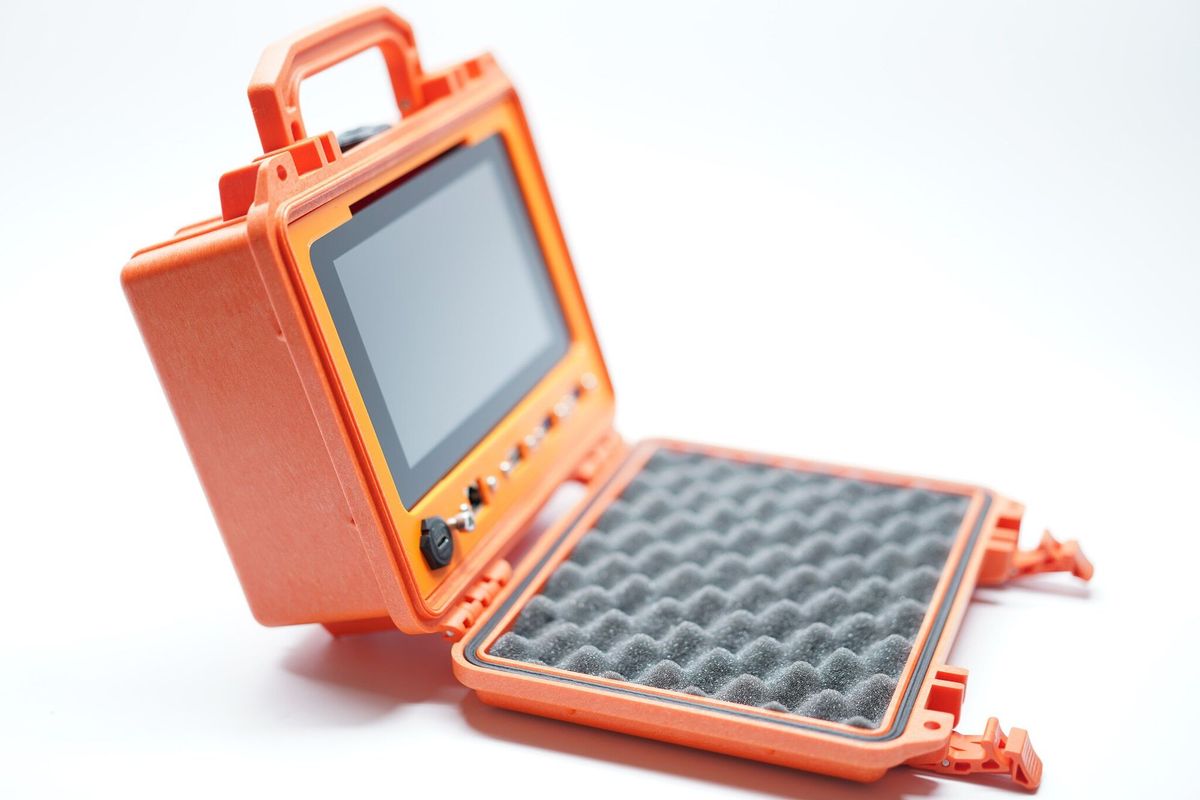
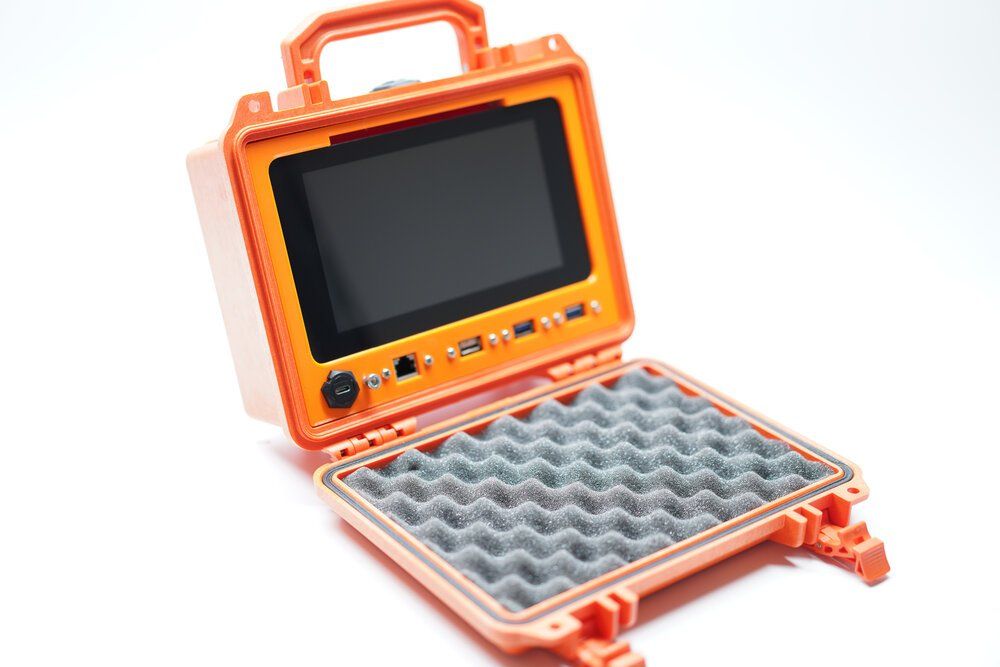
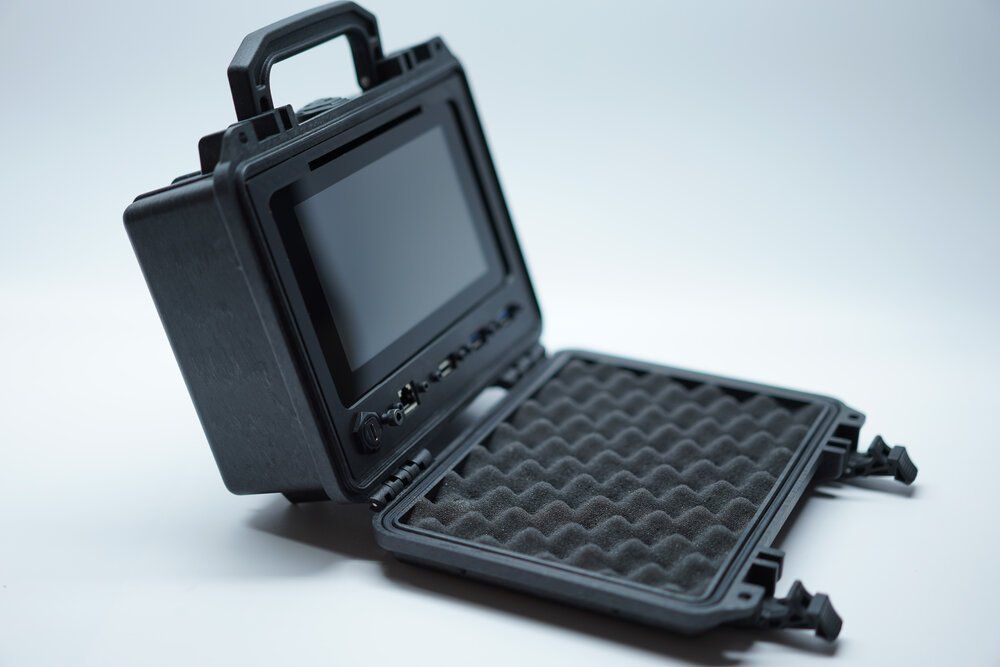
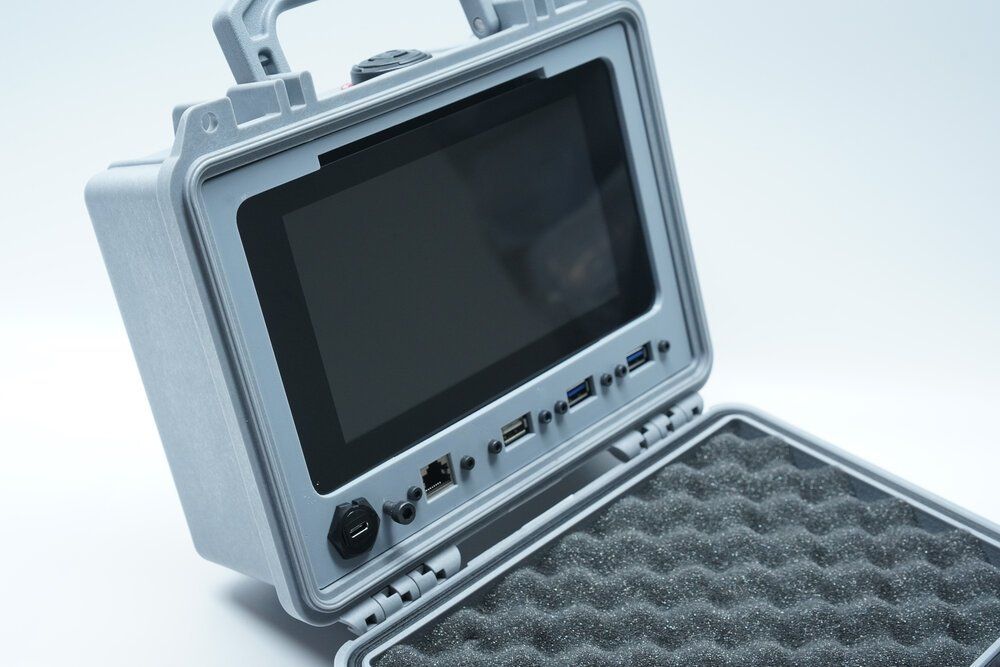
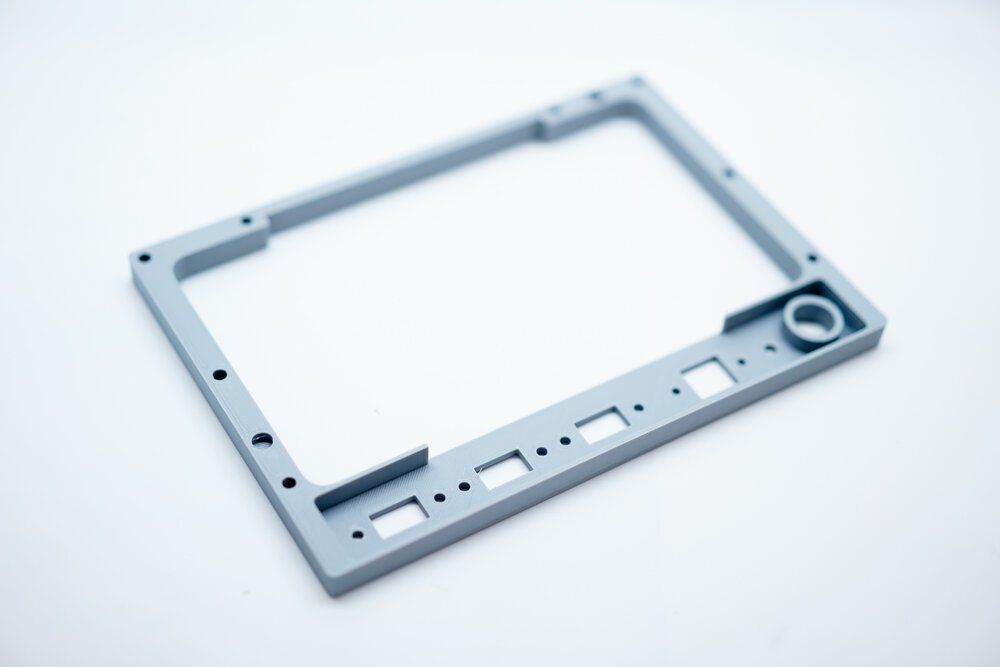
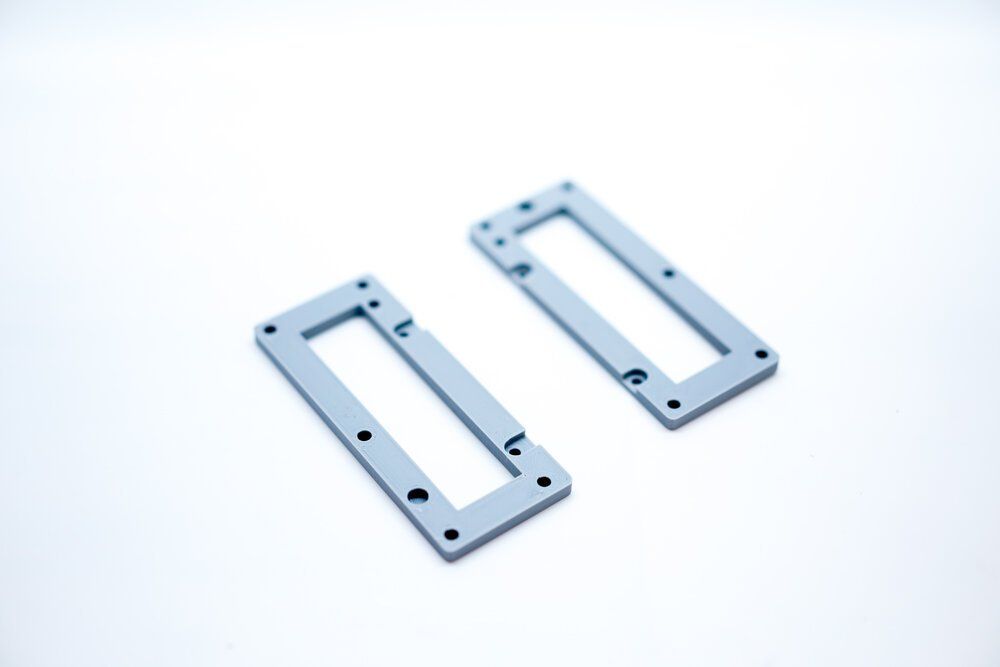
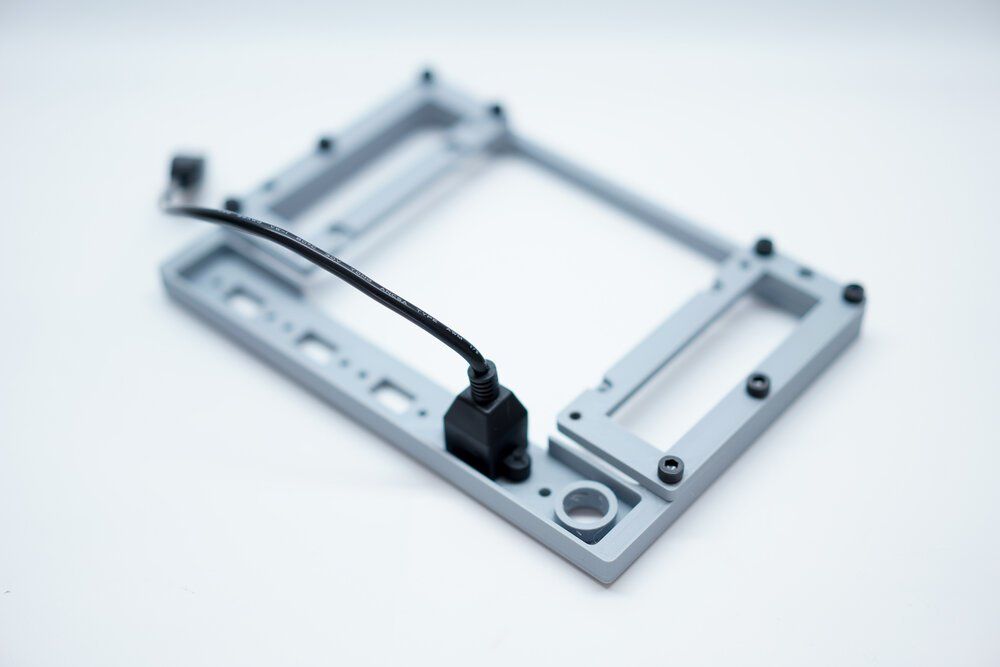
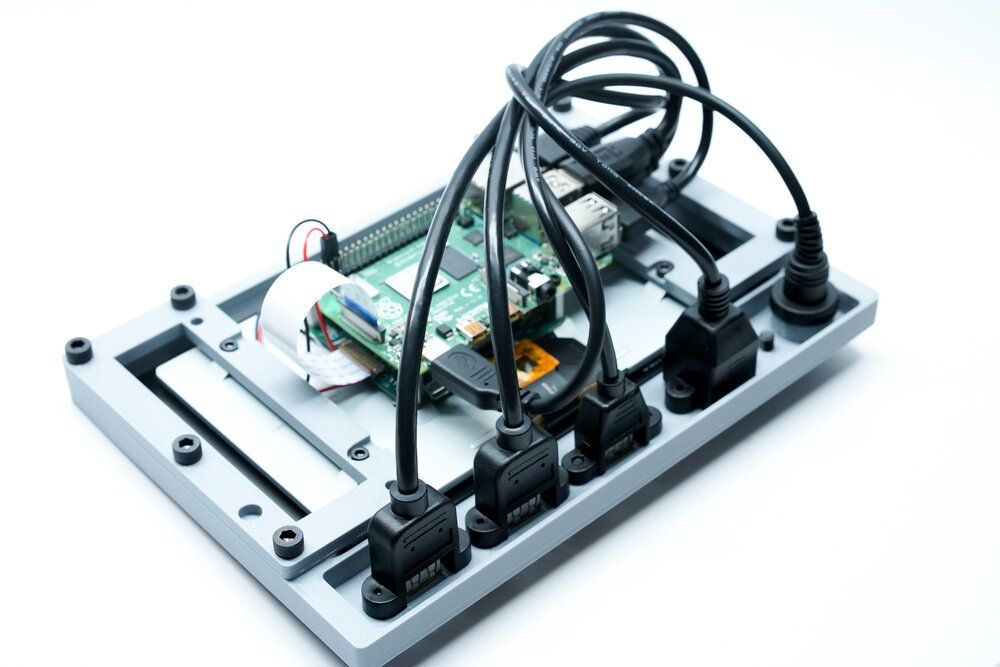
To help newcomers and beginners, today I am releasing the Raspberry Pi Quick Kit. It is far simpler, cheaper, and easier to produce. There are only three 3D printed parts, and they should be able to print easily on most user-friendly printers. You can get the design files on my Github page here.
Making Your Own
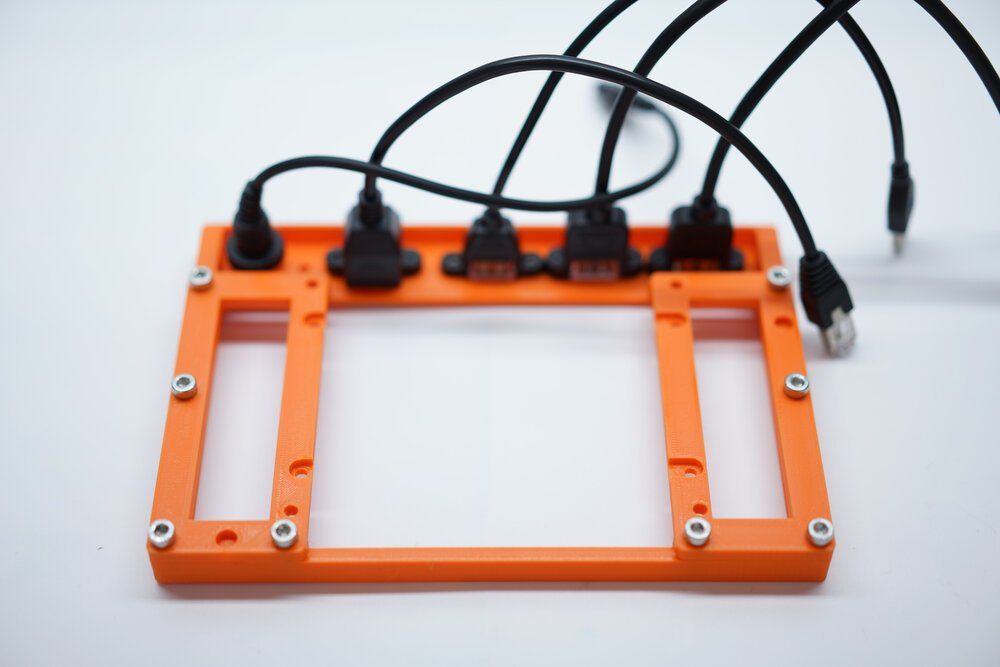
I read many responses over the last year and I heard from many folks that the original was simply too hard for them to build. Several parts were hard to get over time, so I focused on inexpensive and easy to find parts. It’s easy to build too, with no soldering- just 3D printing. Here’s the build list:
- Raspberry Pi 7” Touchscreen Display - Amazon
- Raspberry Pi 4 4GB - Amazon
- PETG Filament - Orange or Grey - Amazon - Amazon
- M5 x 10mm Screws - Amazon
- Parts Files - Tinkercad and Thingiverse (Edit 10/2/2020: Production design here)
- Edit 10/2/2020: The revised and final version is on Tinkercad and uses a simplified design and universal brackets, so they are reversible with alignment dots.
- M3 Screws for the panel mounts - Amazon
- M2.5 Screws for the Pi - Amazon
- USB 3.0 Panel Mounts - Amazon
- USB 2.0 Panel Mount - Amazon
- Ethernet Panel Mount - Amazon
- USB C Panel Mount - Amazon
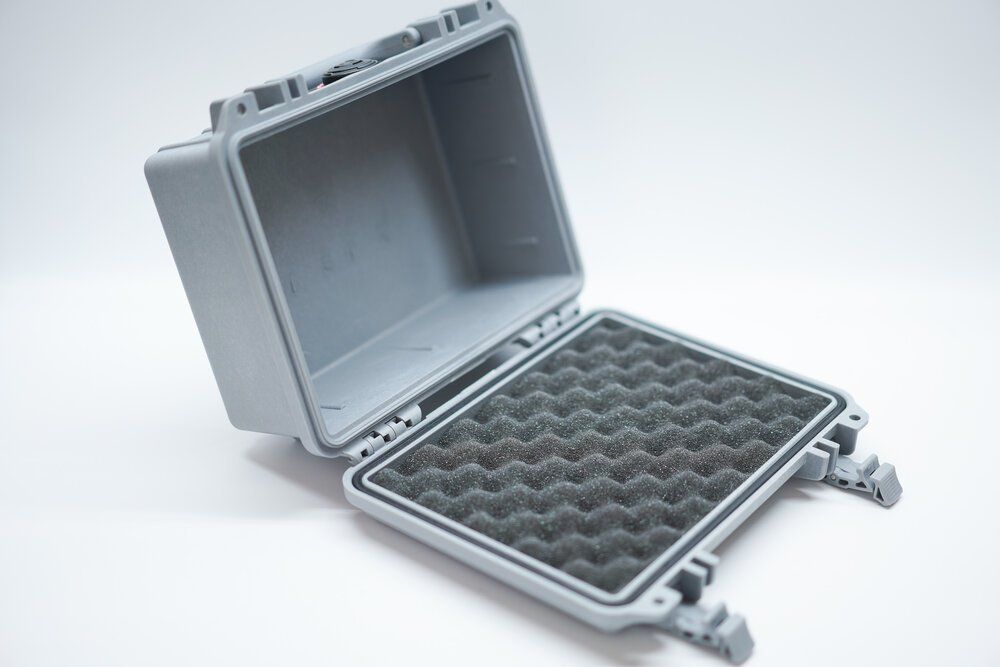
- And of course, the Pelican 1150 Case - Amazon

Comments ()