The Recovery Kit 2B
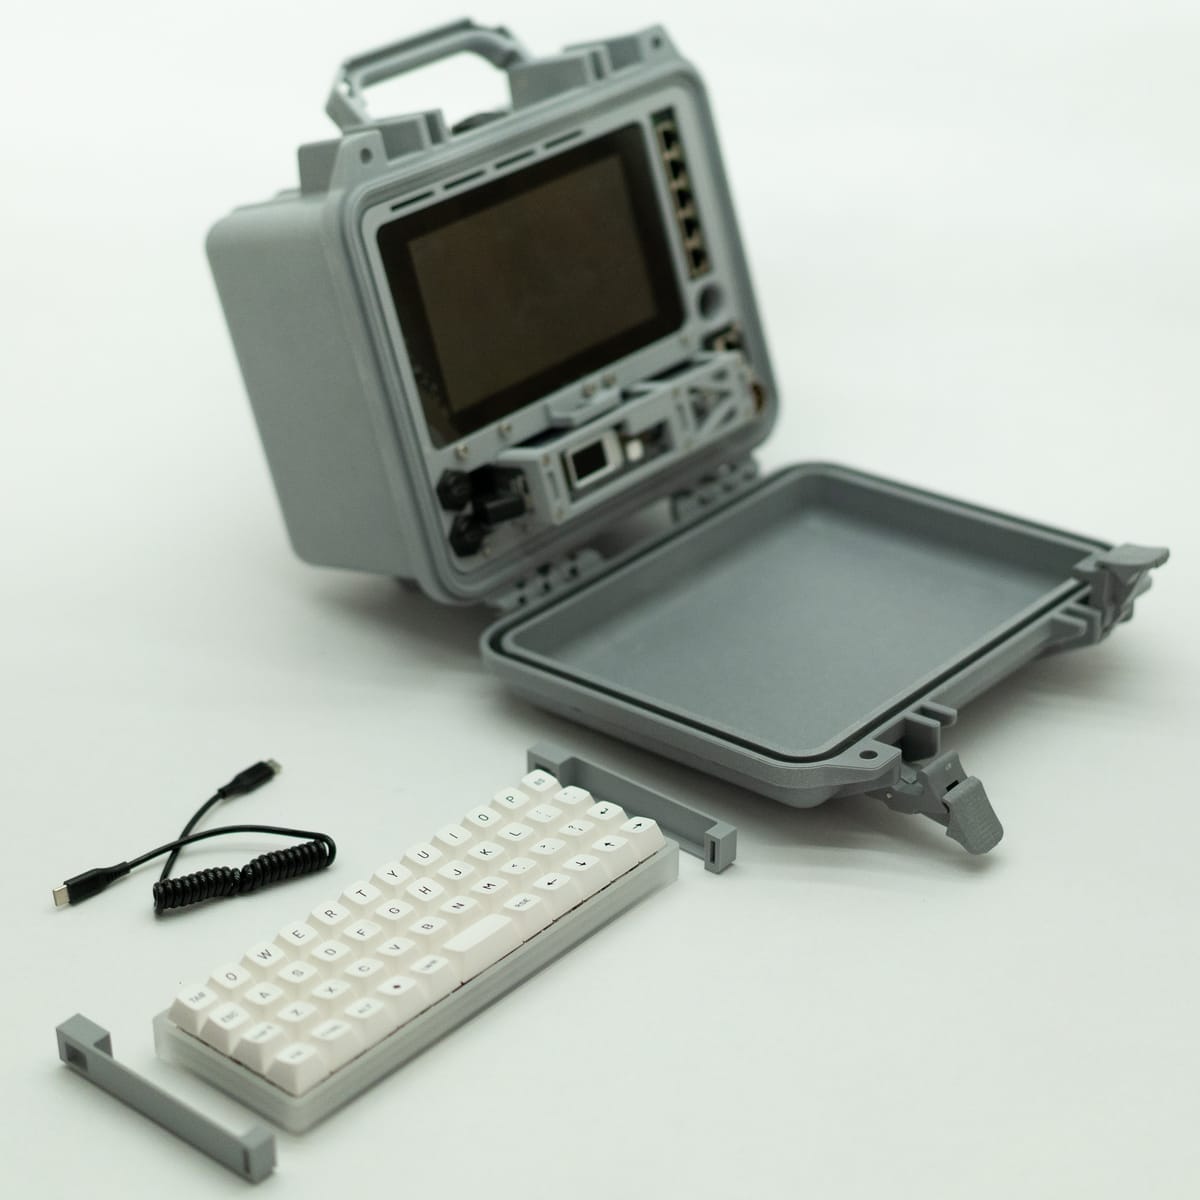
This is the Recovery Kit 2B, and it's got a longer story to go with it, so if you're a paid subscriber, check your inbox with the details on how to get the 3D files. If you're an email subscriber- thank you for skipping social media and reading this directly in your inbox. This is a longer read that usual, and covers more than just the kit itself. I hope you enjoy it!
The Build
The build is as you'd suspect from me by now, starting with the Pelican 1300 case and throwing in that same old tiny screen and Netgear switch, but there's a bit more here. The original Recovery Kit had a battery, but it could barely support the Raspberry Pi at the time, and you needed to wait until the Pi was booted to power on the network switch. That battery was on Amazon but was mysteriously pulled the week before my post went live, and I was very worried there was something wrong with it. I had already taken all the photos, which I do prior to any build. I left it in, and just had a sentence or two saying it was not available anymore.
The original site was picked up by The Verge, and while it has a different staff and different feel to the site and their reputation today, that article helped me find the beginning of my audience- but with a missing battery. Those issues are really going away now that devices are starting to standardize around USB C power banks, so it was far easier to bring a battery to this build. I had originally planned on doing a Raspberry Pi 5 build and have a slim build without a network switch, but when I read the power specs on the Pi5 I knew it wasn't going to be with this battery.
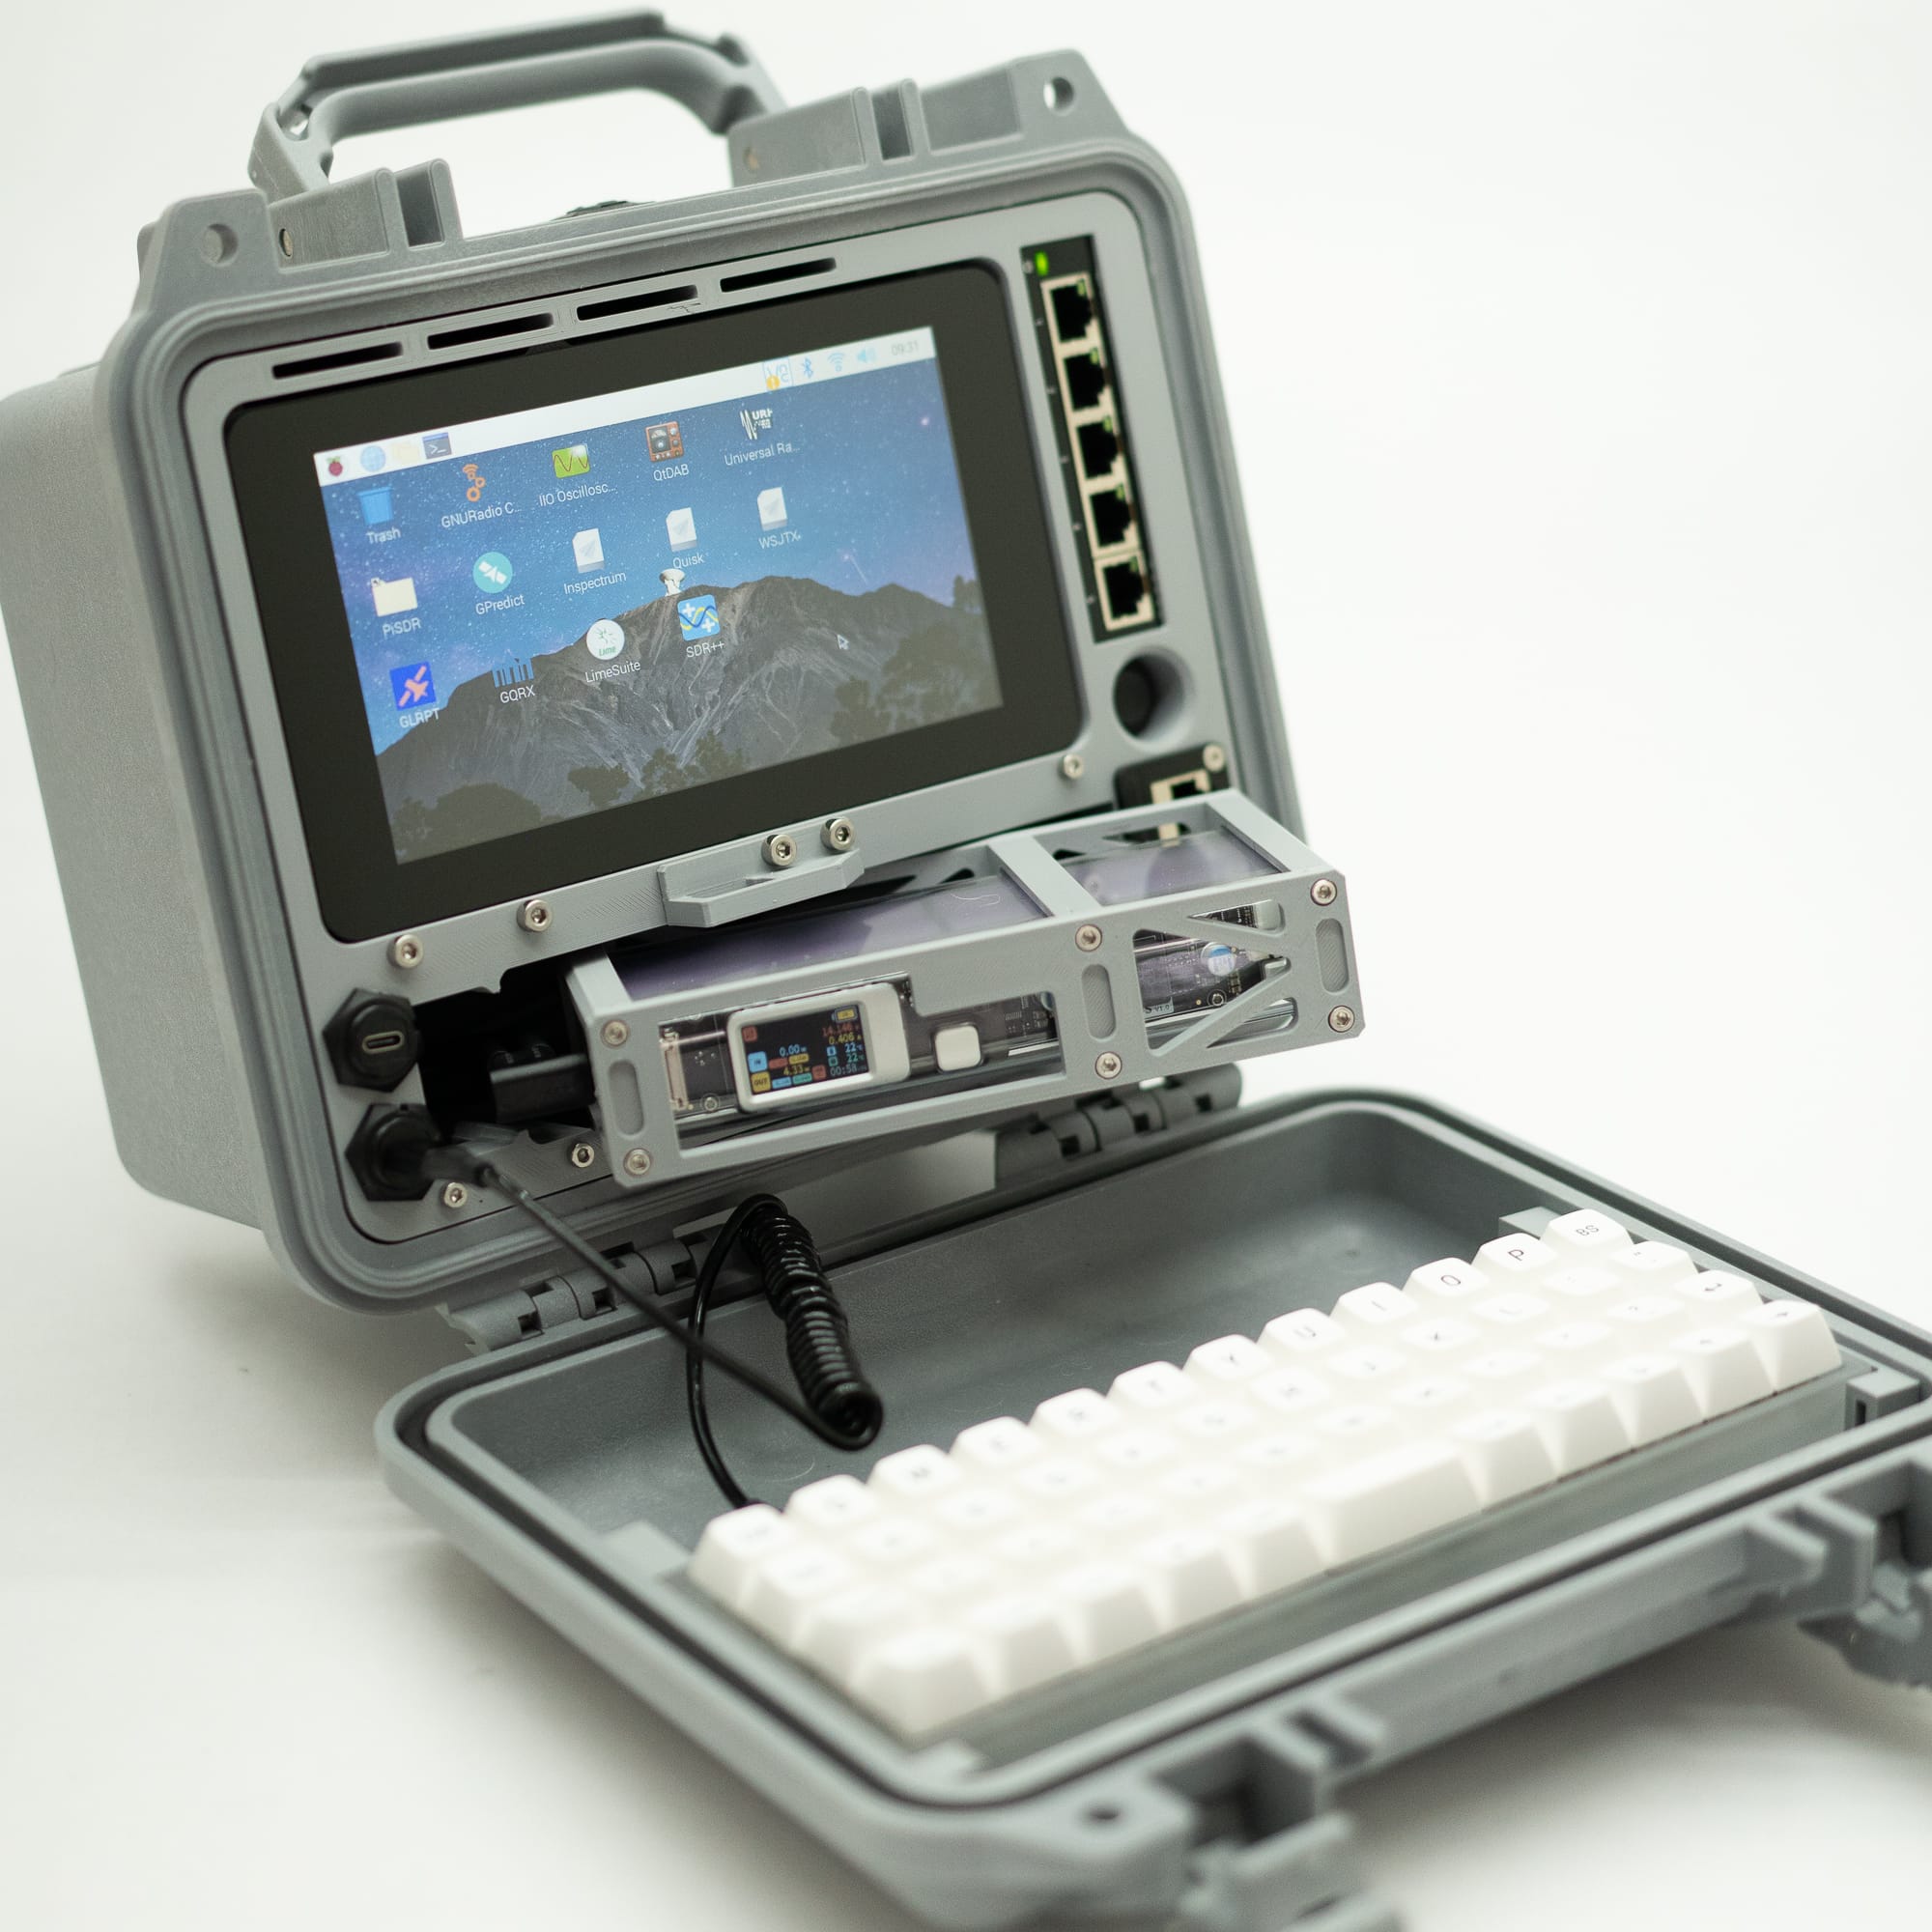
The Recovery Kit 2B has a different approach from the RK2, which needs screws to remove. Not too bad, but I wanted something a little easier to swap- and this one is held in by a simple loop bracket. A Velcro cable tie does OK, but leaves it a bit loose- a small zip tie works perfect for keeping it in place.
This also means no Raspberry Pi5 on this smaller battery, and no NVME either. Instead, this uses the traditional MicroSD card slot, which is much slower but certainly still usable. The battery still gives a quick warning on boot about undercurrent, but it's actually just the OS/board doing a test- the display on the battery confirms the Pi4 never hits the battery ceiling- the Pi5 does though.
As you'll see in the rest of this article, this is a bit of a simpler build, but I developed it side by side with the RK2, allowing this to take a different path in terms of looks and functionality.
The Keyboard
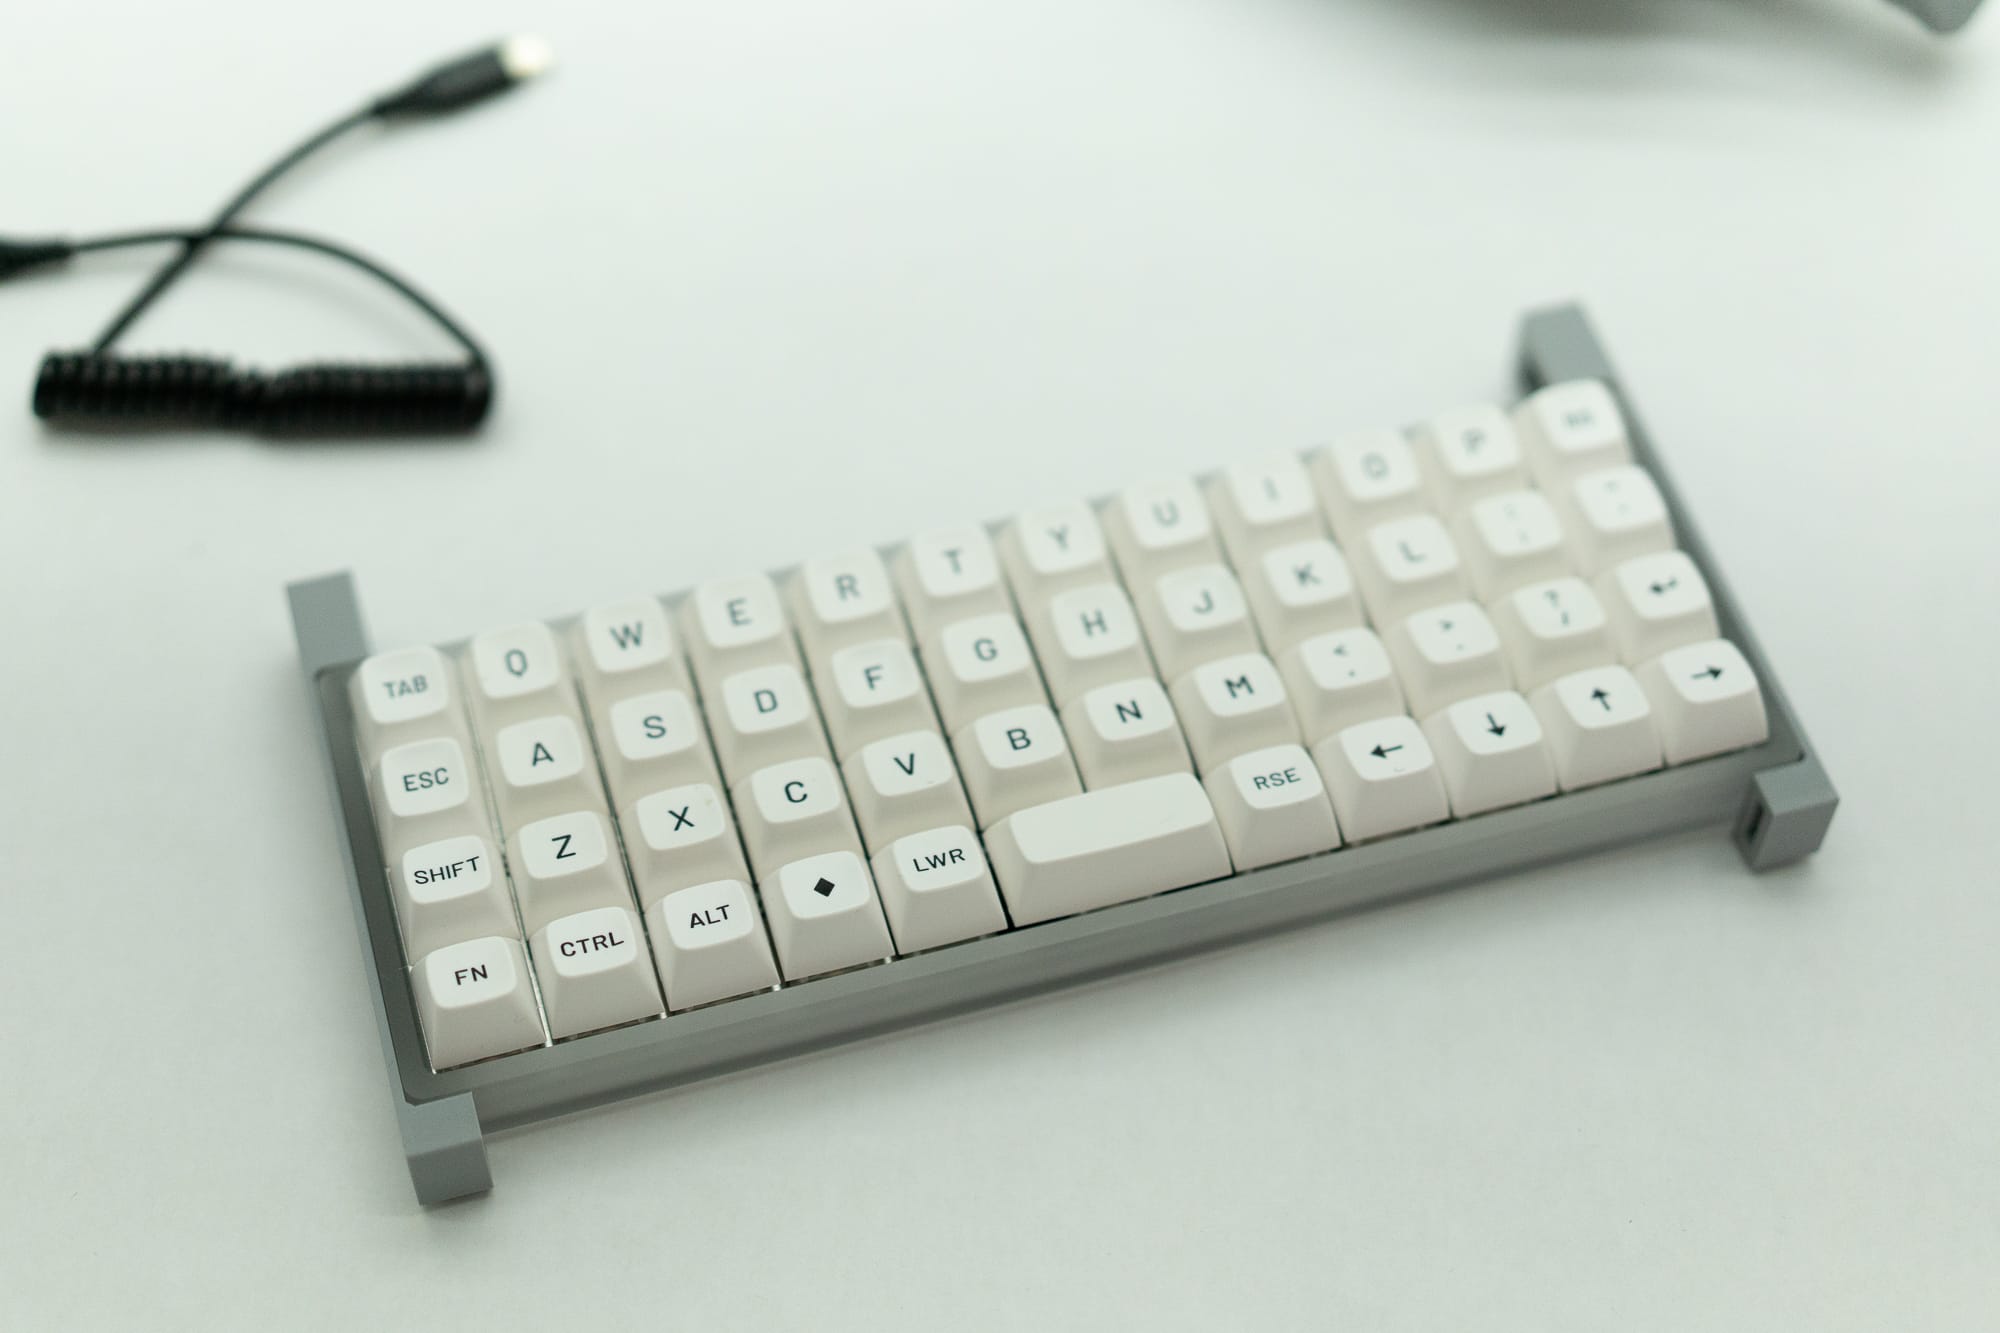
The keyboard is still the same 4 row Ortho, which always draws excitement- a reader and supporter actually found a 5 row, and it's in a future article- but for now we have a slightly different take from the RK2, which used a carbon fiber keyboard tray. Here we're using some shims to pressure fit the stock acrylic tray into the lid of the Pelican 1300. It's easy to pop in and out, so you can use this keyboard as your daily if that's your thing. I'd love to one day do a larger build, but these builds already push what I can get done in my spare time. You can see the shims next to the keyboard below:

The shims don't pressure fit on the keyboard tray itself, so there's no scratching or anything, they just help add those few millimeters of space needed to wedge gently into the Pelican lid.
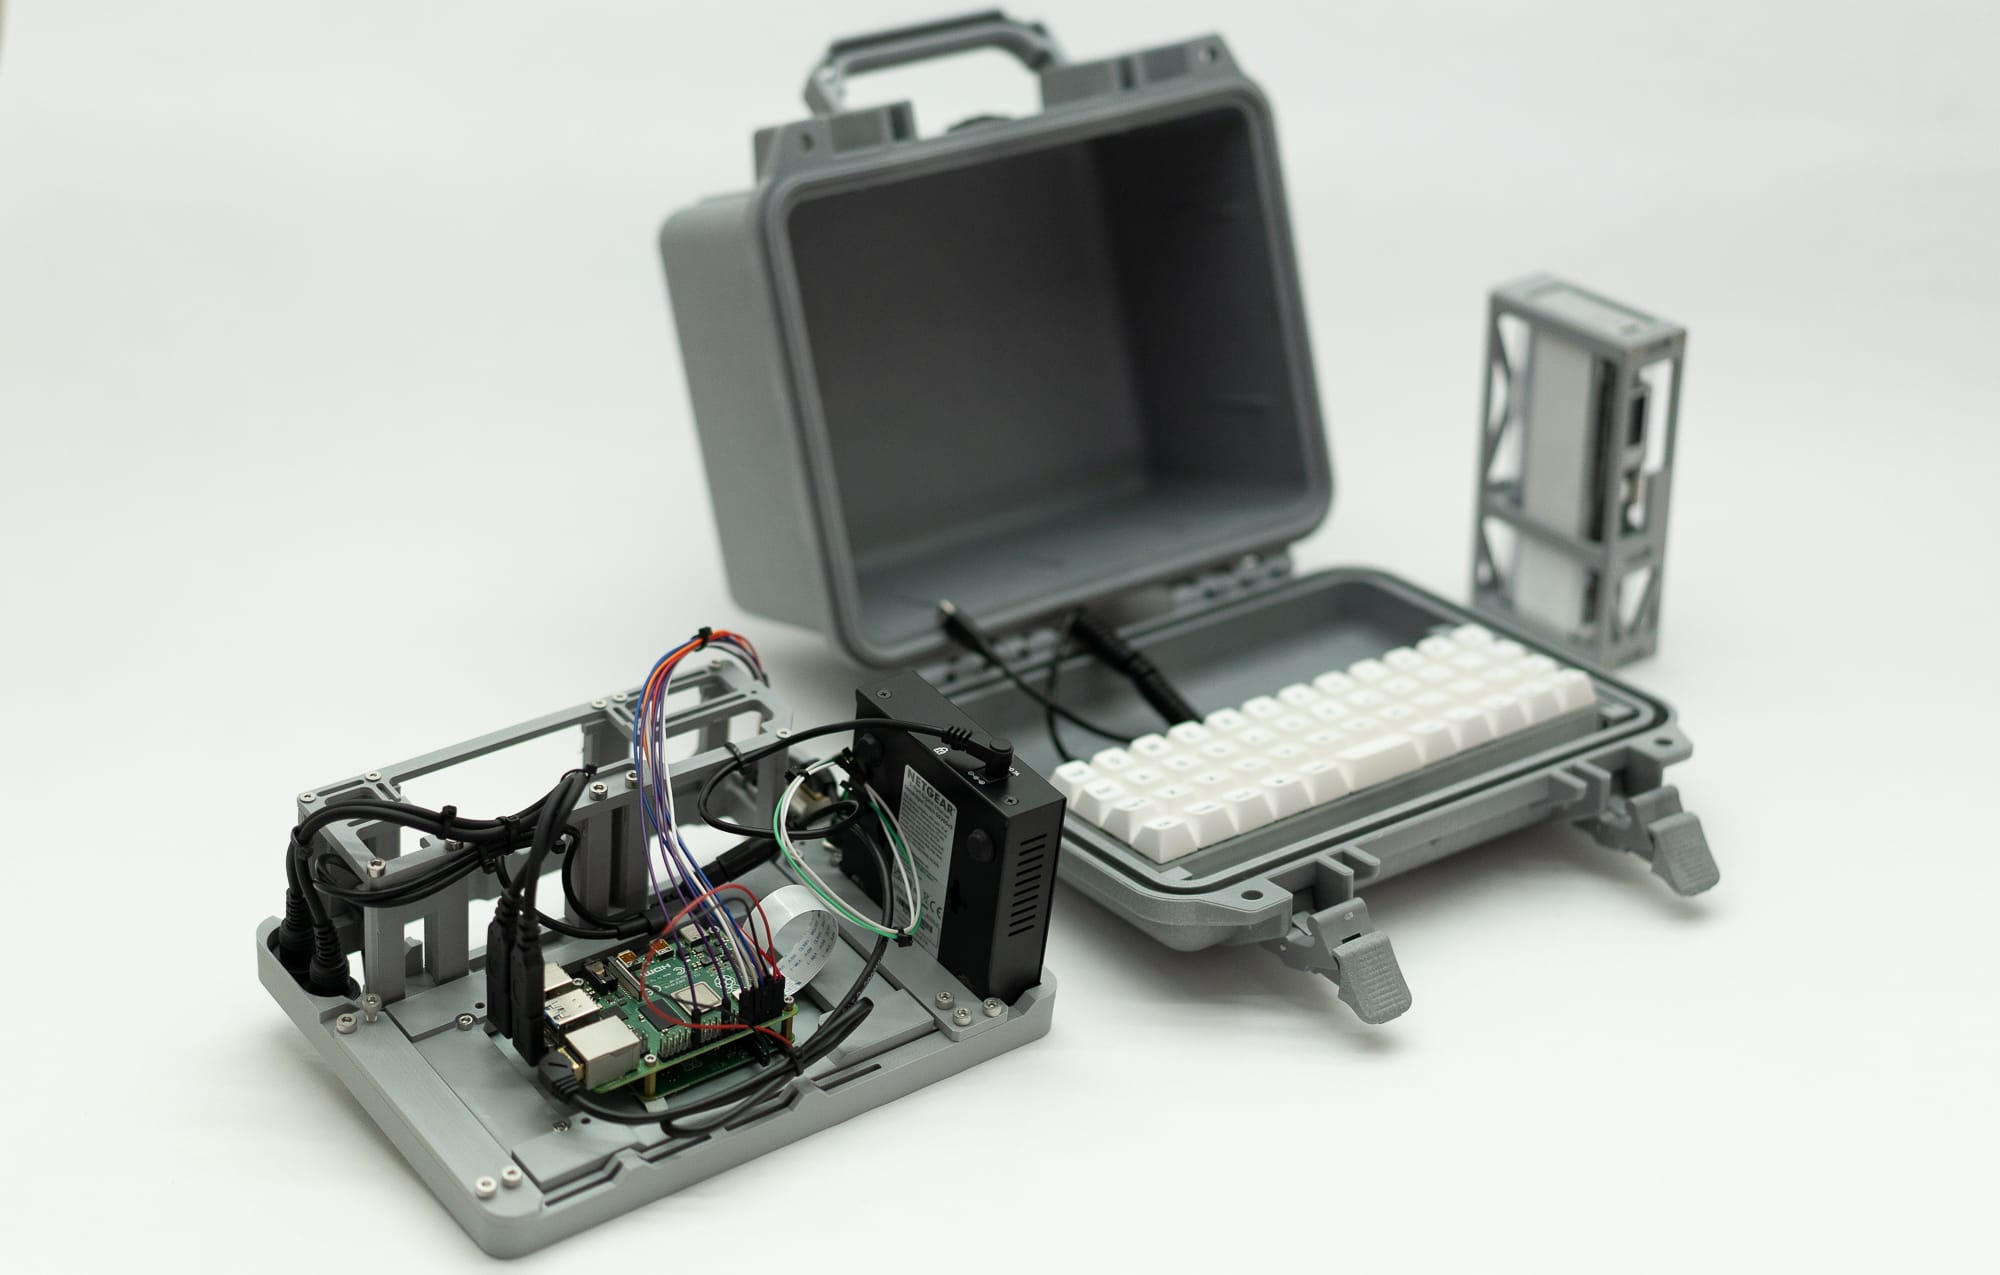
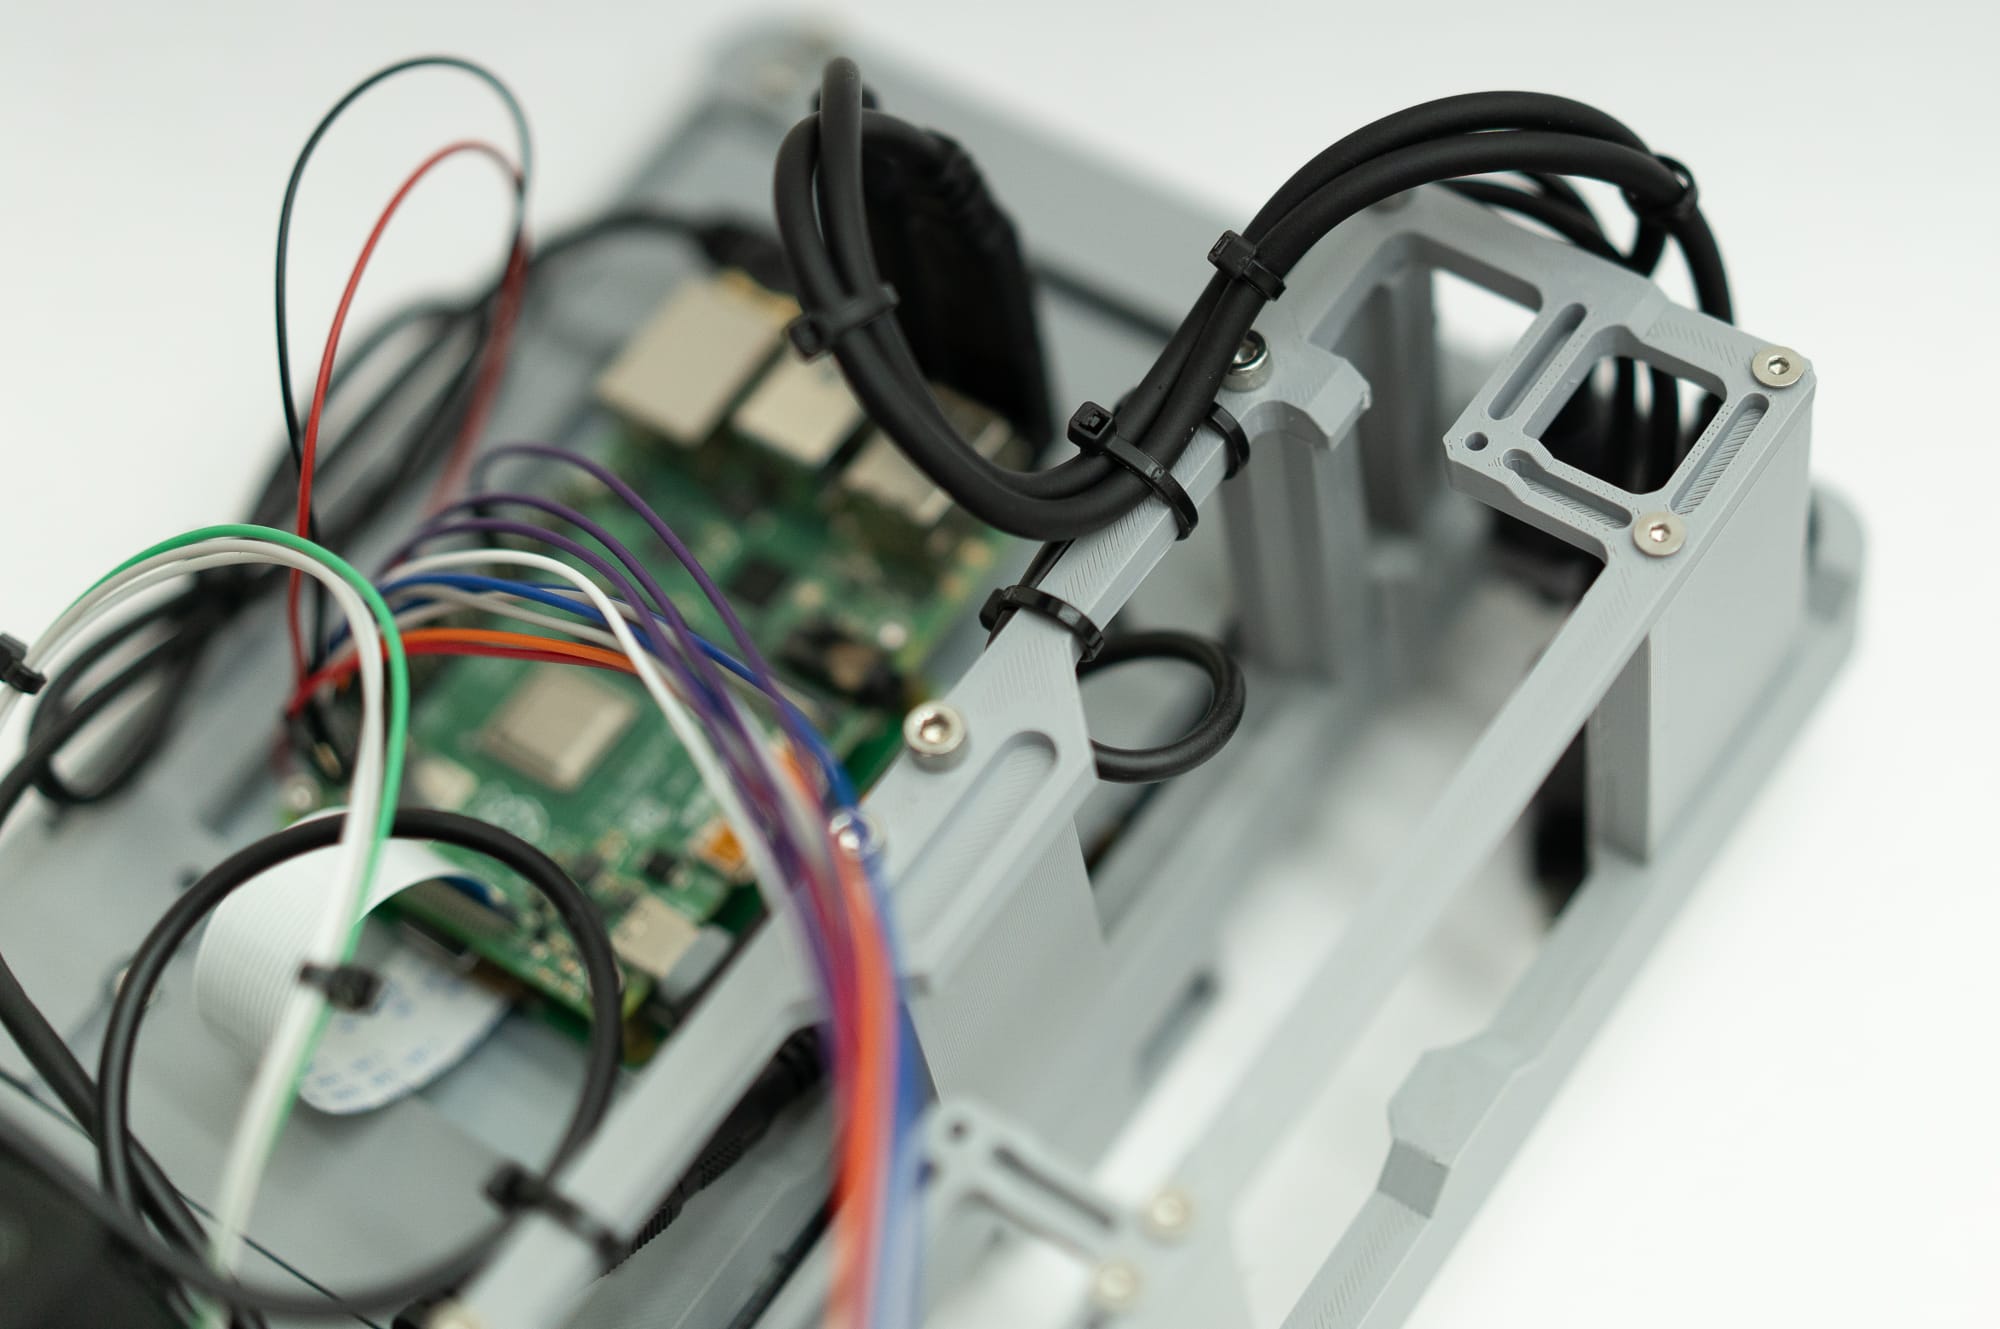
The build frame is a little more ornate that the RK2, but it also is a little more simple visually. Here you can see the assembly popped out of the case with the battery detached. You will notice that the cables are mostly just zip tied on- no soldering, and really the only crimping is for the GPIO connector.
Zooming in a bit more you can see the Bambu PETG Grey filament. No carbon fiber this time, I wanted something similar to the original Recovery Kit.
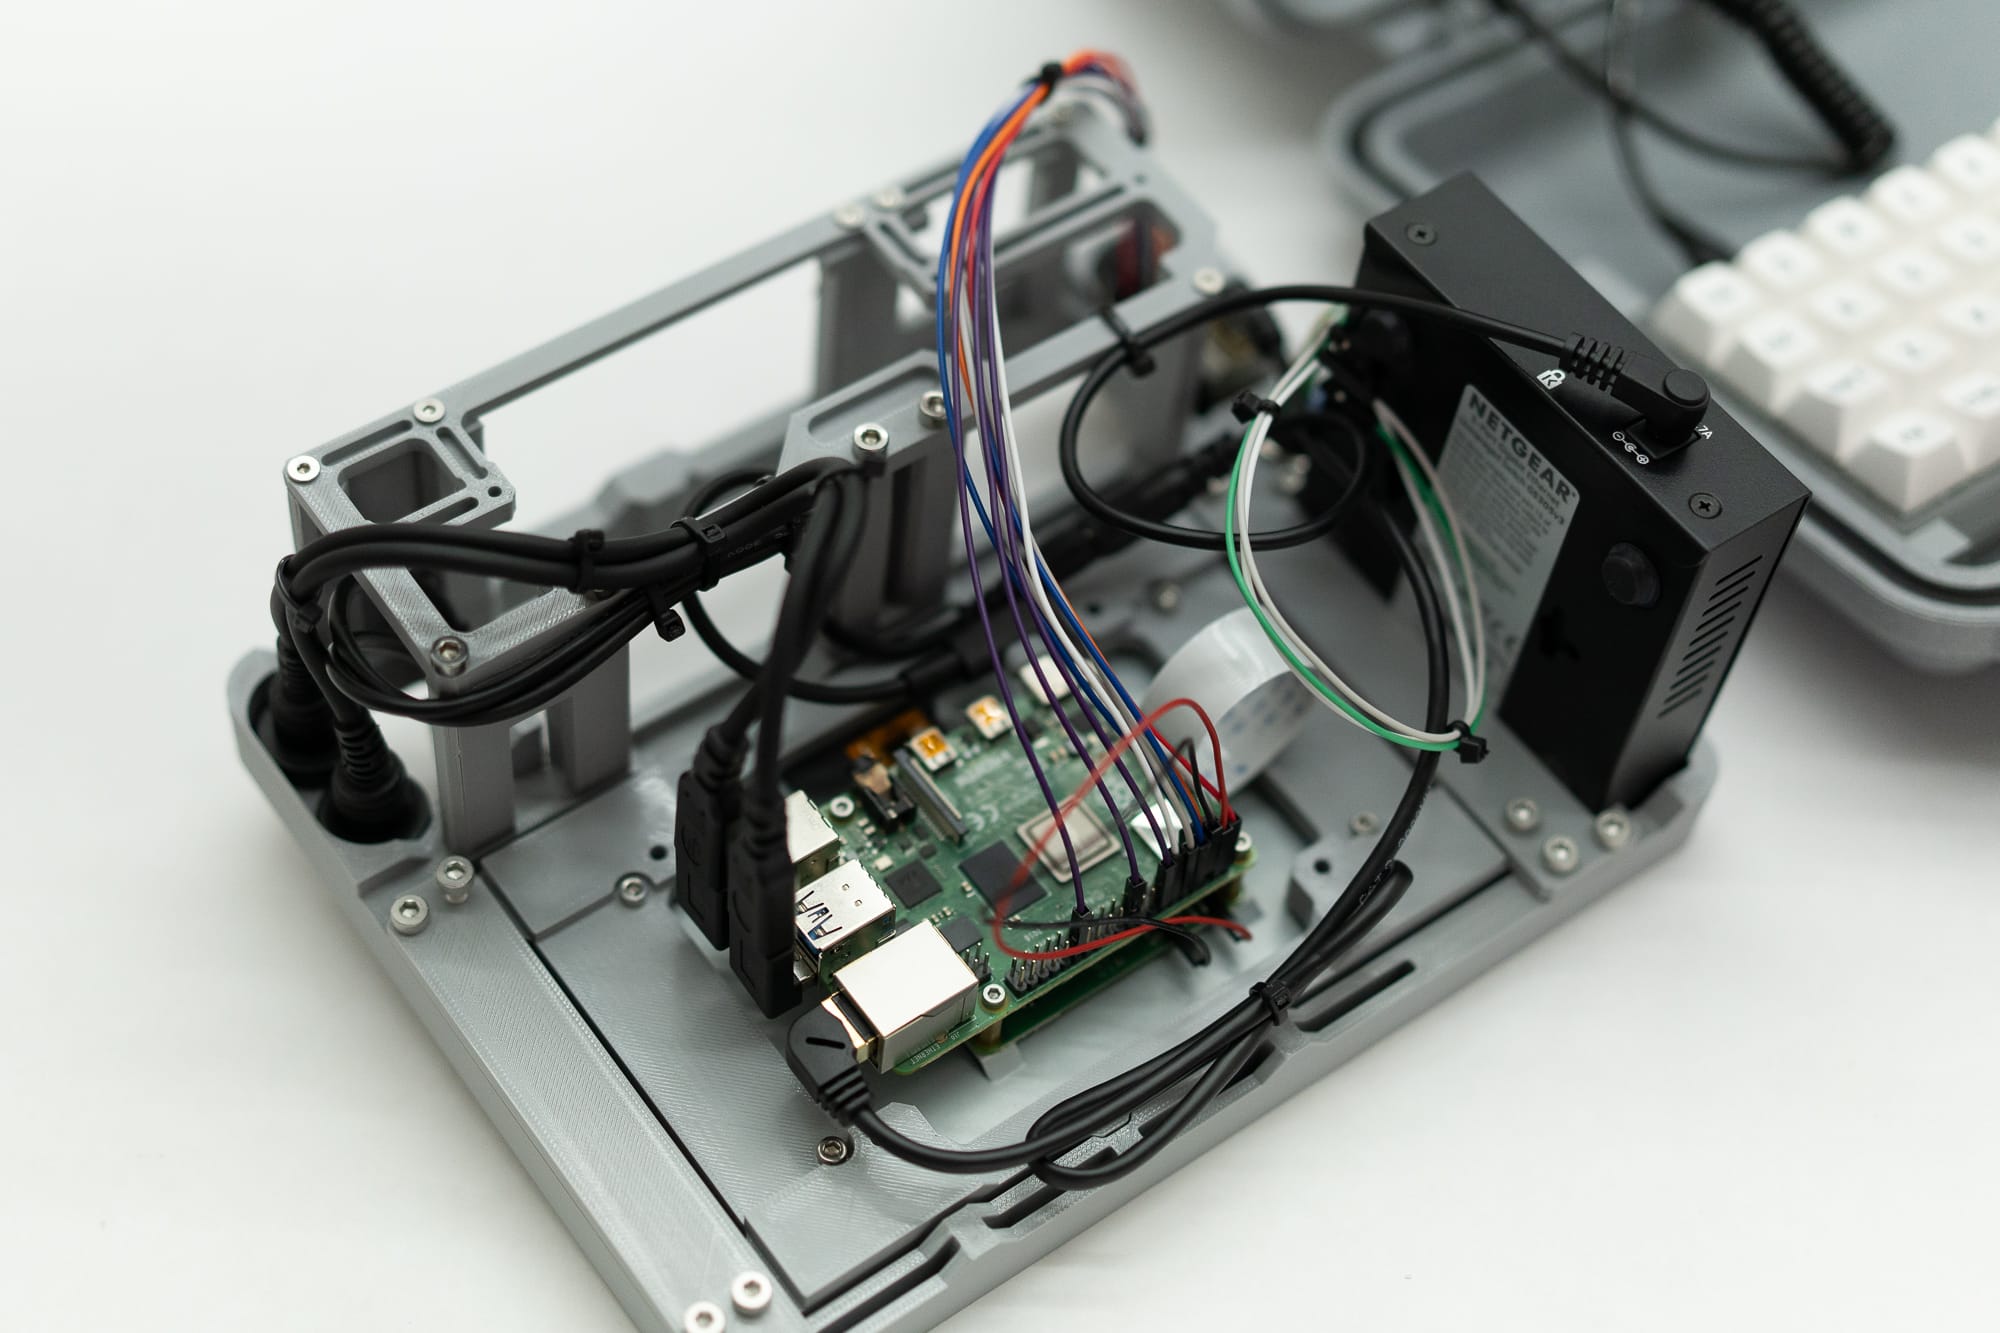
In theory the switches are optional- you could easily skip them both and make a part that just covers or repurposes those holes. After all, the power button on the RK2 has been repurposed here to GPIO switching, since the Pi4 doesn't have the power switch like the Pi5 does. You may also not need the network switch as well. There's a single bracket to modify to re-use those holes.
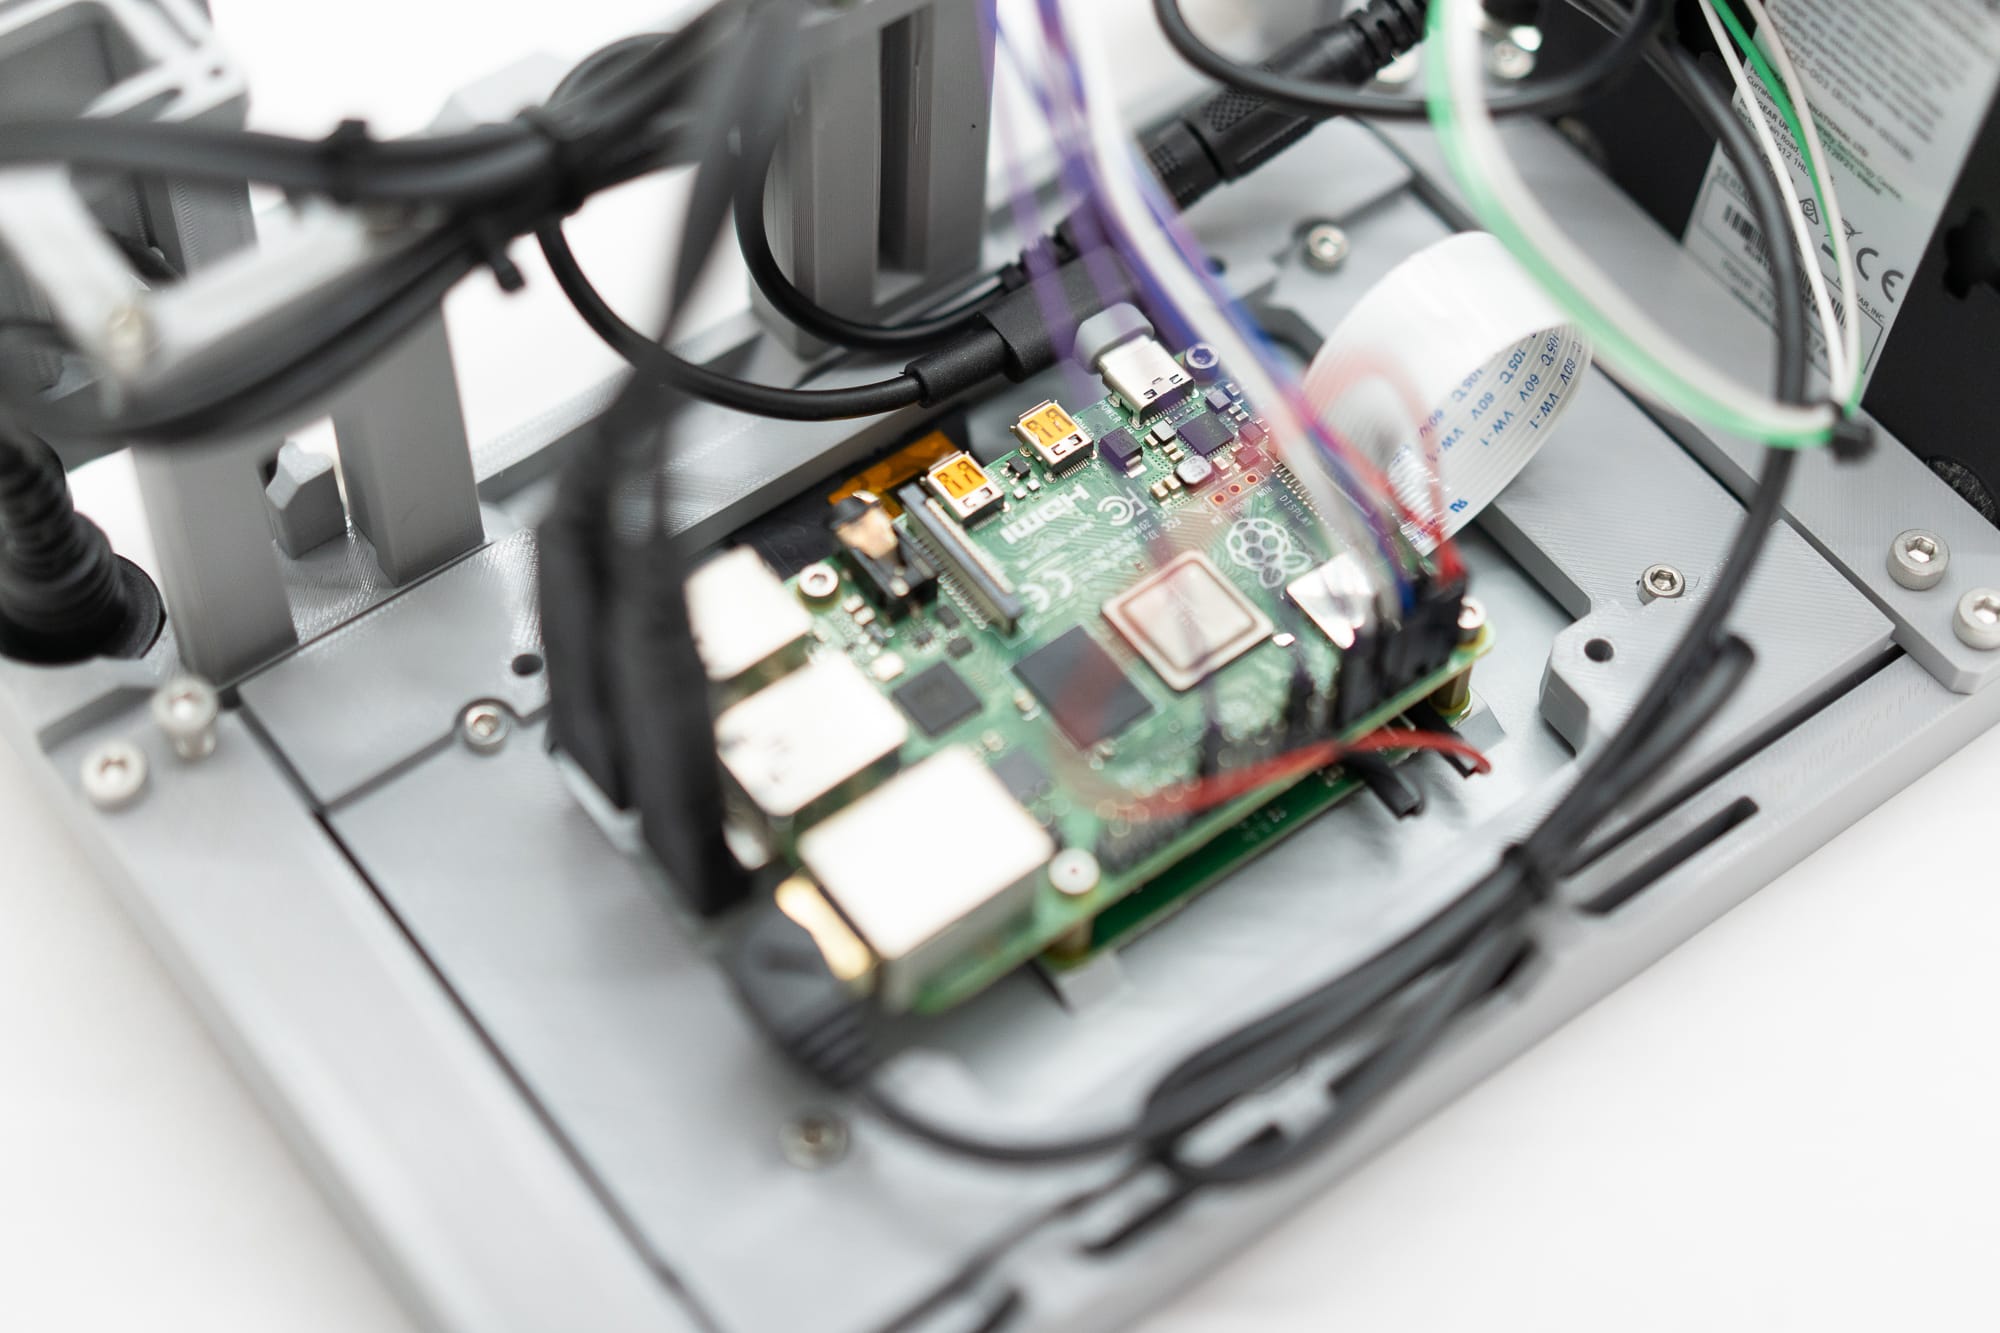
There are plenty of Pi4's to find, and while I wonder about how many more builds I will do with a Pi vs. the Intel N100, it's a pretty easy to use board, and simplicity really helps here. You can connect those GPIO pins to whatever you want, and I have spare holes on the display frame if you want to mount more stuff back there- there actually is a fair bit of room. That room helps make this a pretty easy build.
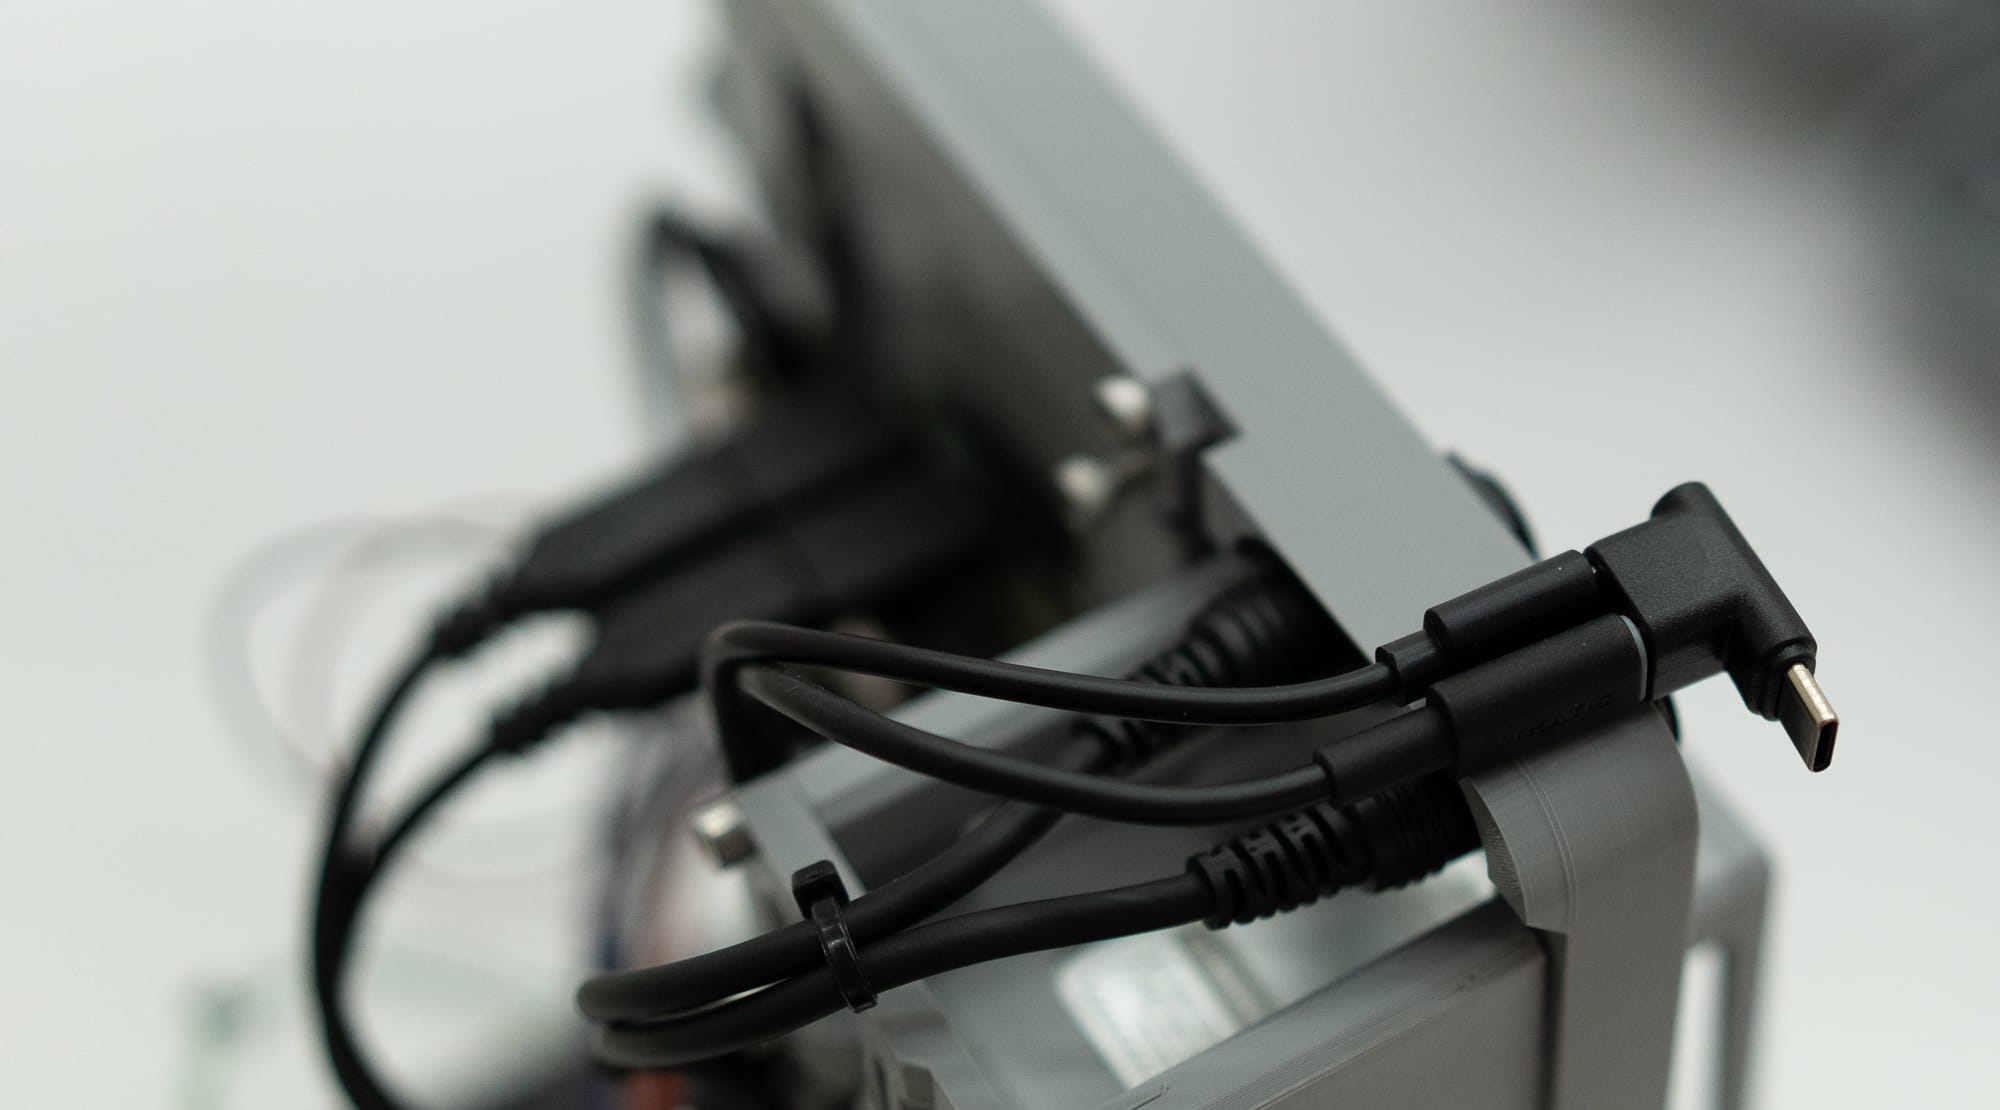
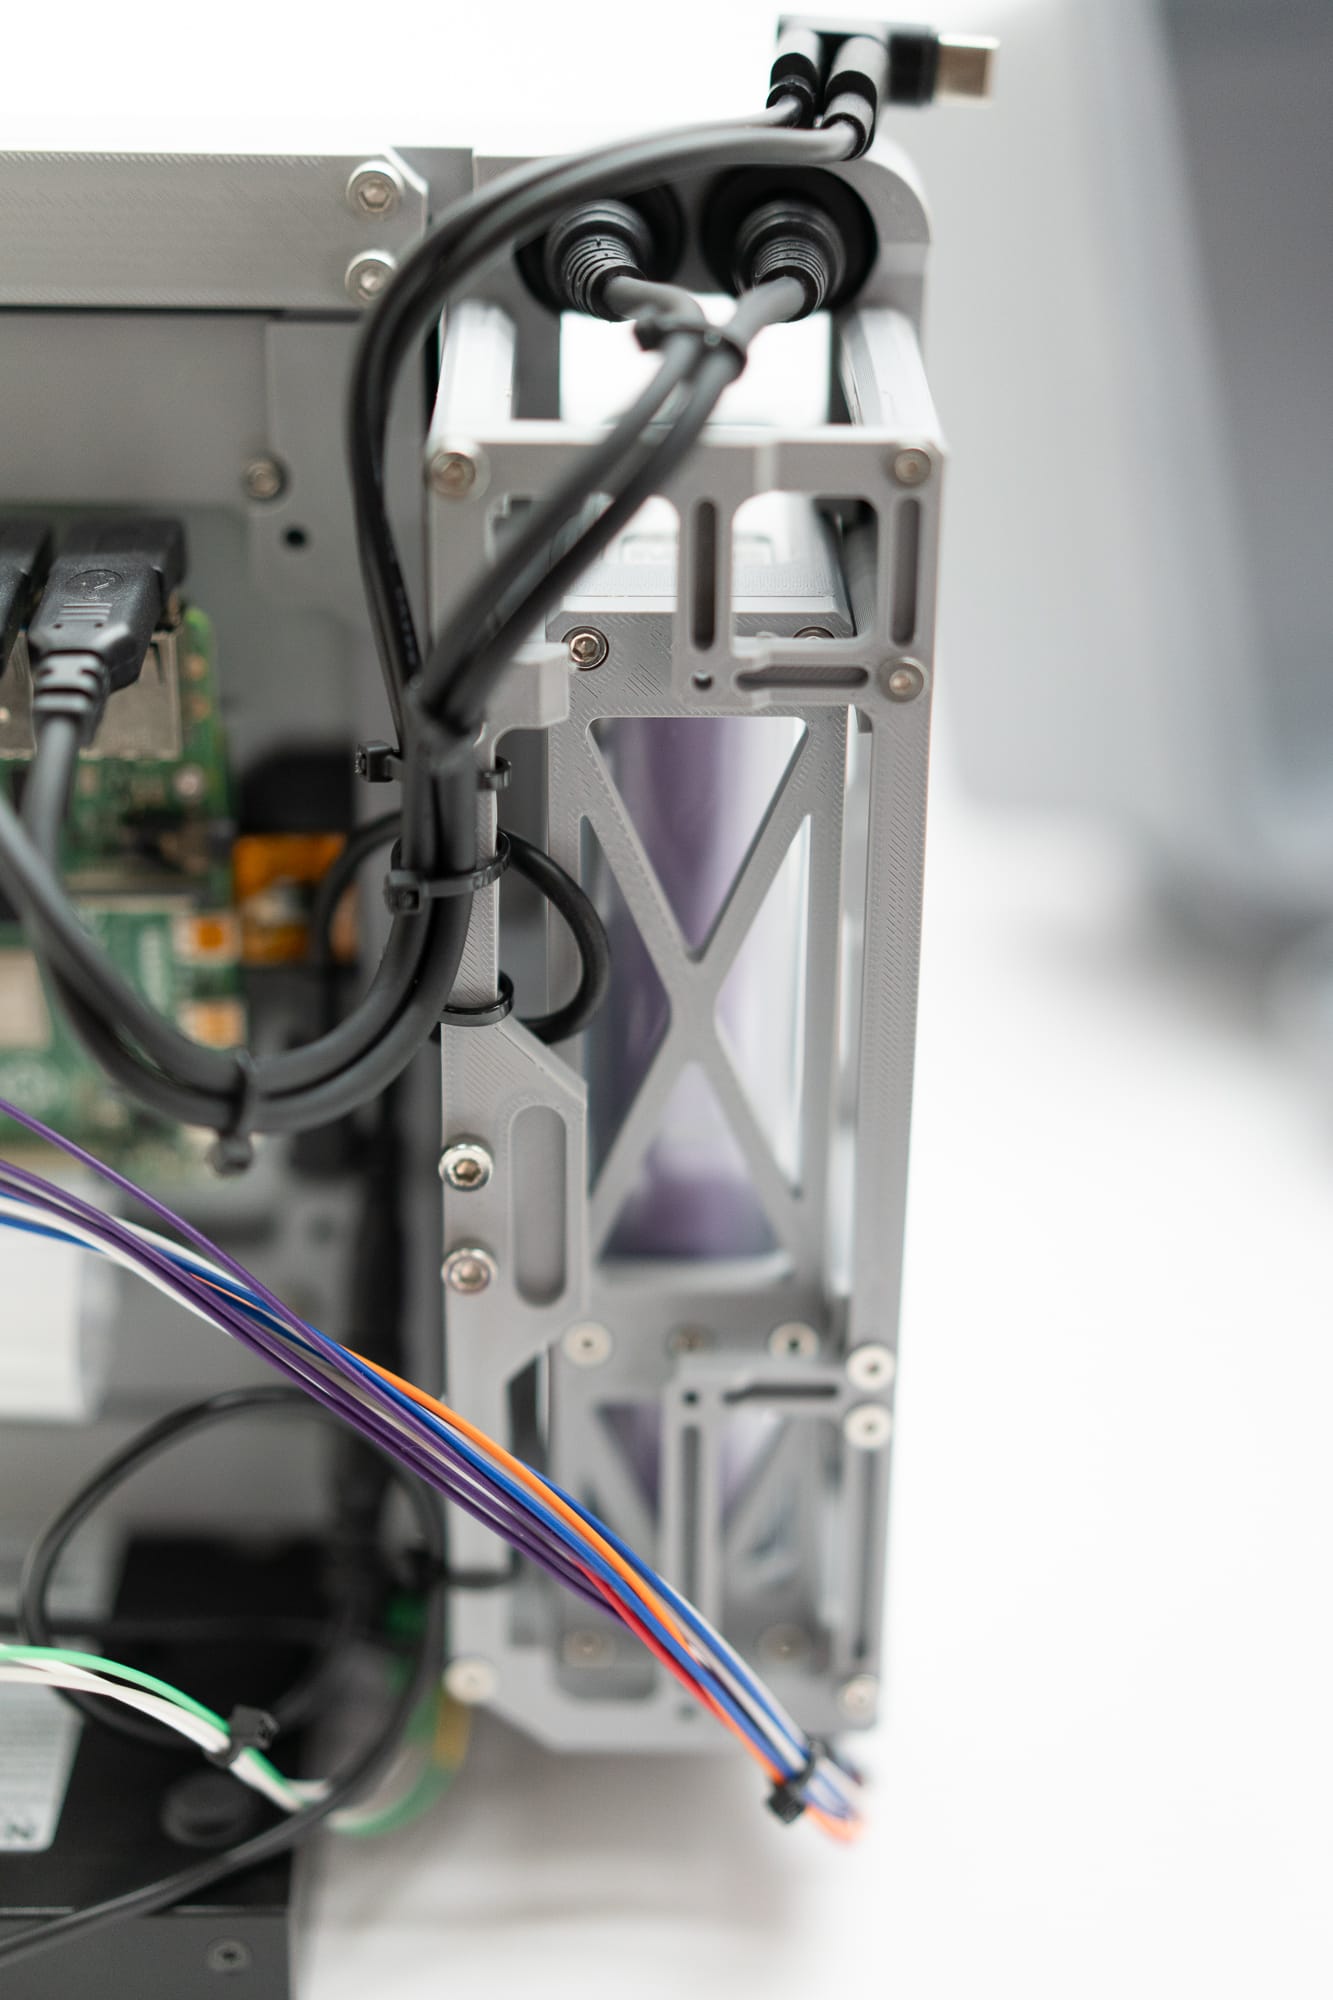
The power config for this build is easy too- a single right angle USB C male to USB C dual female, which lets me connect the Pi4 and the network switch each to the battery with this one adapter. The display draws its power from the Pi's pins, so no need for a separate power connector here. As you can see below, there's not much more to it- just the zip ties to route and manage the slight excess in USB C cable length. It would be cool to one day replace the cords with a PCB or custom cables, but that would move this towards being more proprietary than I'd like to. Which leads me to my last small rant...
A Quick Editorial
First and foremost, I write these articles for you, the reader. I do them without being corrupted by "vendor X sent me this for free", which usually implies they get to keep it after the review, or without ads and certainly without any of the more smarmy things funding blogs these days. Instead, this work is funded by my subscribers- each Recovery Kit build costs well over a thousand dollars each to build, and that doesn't include the countless spools of test prints, failed designs, and projects that just don't turn out to be cool enough to share. The paid subscribers are the heroes here. I recently saw some comments trying to "make money" off "proprietary" designs, and while I'm not hurt by Random Internet Person, it's worth noting some things. I don't make money at this- sure there is revenue that comes in, but what it does is offset the costs of these projects and lets me do a couple big ones each year, vs. small ones every now and again. There's no influencer mogul writing these posts =). Second, the designs shared with paid subscribers are actually released under Creative Commons Non-Commercial licenses, so people actually do own their designs- just not for profit. Want to profit from them? Just reach out!
All of my builds are available as STL's for $5! You can sign up for the month and cancel, but I do aim to do monthly builds, so the $30 ends up being a screaming deal. CAD memberships are also available, especially if you want to modify these designs.
Parts List
Core Compute & Display
Raspberry Pi 4 - Amazon, Adafruit (Amazon may be faster but is almost always a scalper or reseller, so beware).
Raspberry Pi 7" Touchscreen Display - Amazon
Ethernet Switch - Amazon
Cables & Adapters
Right Angle Ethernet Cable - Amazon
Zip Ties - Amazon
Hook and Loop Ties - Amazon
USB-C Cable (for the Pi) - Amazon
USB-C to Barrel Jack (for the network switch) - Amazon
Right Angle Barrel Jack (for the network switch) - Amazon
Short Ethernet Patch Cable - Amazon
30cm Jumper Wires - Amazon
Right Angle USB A Male to USB-C Female (2x kits): Amazon
Front Panel Connectors
DC Power jack - Amazon
GPIO Connector (Panel mount male) - McMaster-Carr
GPIO Connector (Female connector for any cable/IO you want to add) - McMaster-Carr
Panel Mount Ethernet - McMaster-Carr
Power Button - McMaster-Carr
Quick-Connect wires for the Power Button - Adafruit
Panel Mount USB-C (x2) - Amazon
Battery
Shargeek Storm 2 Slim Battery - Amazon
Right Angle USB-C to 2x USB-C - Amazon
Keyboard Components
OLKB/Drop.com Planck v7 PCB - Drop.com
Keycaps (MT3 White on Black) - Drop.com
OLKB Switch Plate - Drop.com
Coiled USB-C Cord - Amazon
Cherry MX Switches - (3x) Amazon
Screws, Case, & Misc Hardware
Pelican 1300 Case - Amazon
M4x10mm Socket Head, Stainless - McMaster-Carr
M3x10mm Socket Head, Stainless Steel - McMaster-Carr
(All these screws can be ordered from Amazon as well, but the McMaster-Carr tend to be much higher quality, and in lots of 100 or 50, so you have some for the next project!
Tools
HOTO Electric Screwdriver - Amazon
iFixit Mako - Amazon
Connector Crimpers (required for the GPIO connector) - Amazon
Pinecil Soldering Iron - Amazon
Digital Files
Digital files are for paid members only- signing up is very reasonable with membership granting you access to all my designs. CAD and Elite members can access the CAD and STL files here, STL members can access the STL zip file via this post.
Comments ()