LoRa Long Range Wireless Remote Control
There are many benefits to the LoRa protocol, and other sites are doing a slightly better job of explaining LoRa (or a great intro to LoRaWAN) all of the new details as the chips and products that use LoRa become more affordable. If you’ve ever used 802.11 or WiFi in projects than run off wall power, you’ll appreciate how easy and reliable they are. Even the Raspberry Pi series of boards have it native on many of their products, going back a few releases. Pretty easy, right? Type in your SSID, your network password, and you’re set. There’s even documentation on how to get a Pi working with 802.1x.
The real problem with WiFi comes when you need to run your project off of batteries. Without getting into weight or size constraints of batteries for big projects, even just having your project run for more than a few hours can be hard if you’re using WiFi. WiFi is notoriously power hungry in the small scale circuit community, and the longer the range needed for your project to broadcast, the more power you need. You may be able to turn the WiFi radio off, but then you’ve still got power-up and broadcast power spikes to deal with.
Enter LoRa: It’s been designed to be low power, run off batteries, and has exceptional range. The catch? Bandwidth! LoRa is far too slow to transmit audio or video, but it’s great for sensor arrays. Adafruit is one company that sells their CircuitPython-enabled boards with radios embedded in. This often means you can run everything you need off a single chip. For the US market the 900Mhz boards is what you want, and the 433Mhz boards are certified for Europe.
So with that intro out of the way, you’ve caught up to me- I was sold on LoRa and wanted to get started. I need two right? Great- I went out and bought a pair of these and used Adafruit’s sample code. How I needed to broadcast and listen to custom data. I didn’t want to spam the LoRa frequencies since the range means you’re going well beyond your home or workshop, and LoRa has rules about how often you’re allowed to transmit.
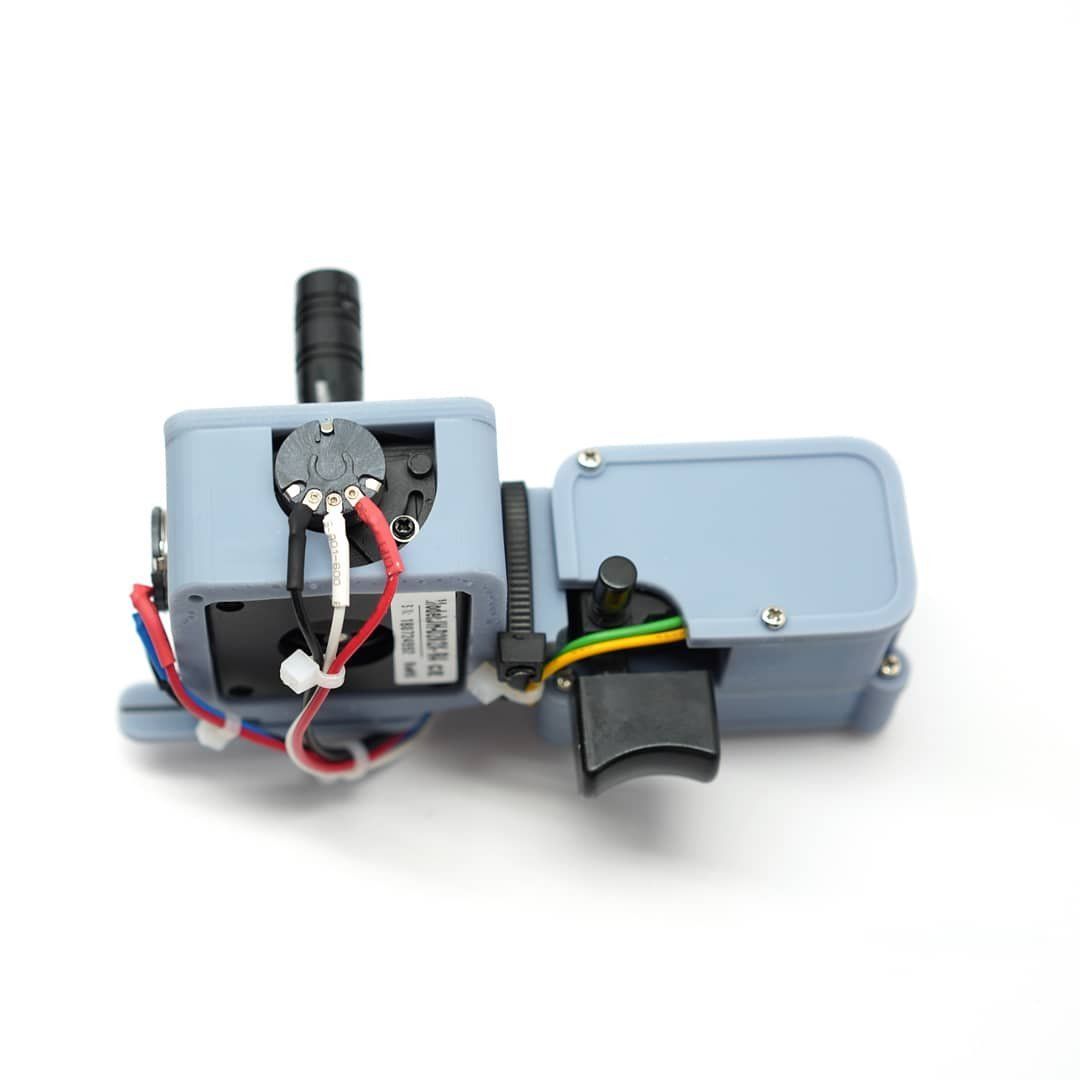
Since I have some robotics projects in mind, I wanted to be able to control the robot from well beyond the range of WiFi, and have something that would easily work outdoors. That’s where my project comes in. You can see the full history of the build if you go back and look on my Instagram page here, but here’s the broad strokes:
I designed all of the project in Tinkercad, mostly because it’s still the fastest and most comfortable way for me to work through a design. There are clearly limits, but I can move fast in Tinkercad. In the photo below you can see the first set of parts printed via my FDM printer, a Prusa MK3.
I had a first on this project- I had measured the joystick with a set of digital calipers and my part in white plastic below fit on the first try! I could have easily proceeded with my Prusa printer, as you can see from the test version in black and white PETG below.
I ran across a mention of the Elegoo MARS resin printer and took a chance- I had heard great things about resin printers, and a small project like this was just the thing. It was easy to assemble, but looking back there are some real limitations:
- The resin plastic is quite stiff, but threading the screws in and out will likely strip the threads. It’s probably a good idea to figure out how to use threaded inserts with resin.
- Resin can be brittle- and it needs plenty of UV to cure.
- The resin needs UV, but not heat! Putting the parts in direct sunlight gets too much heat where I live, and warps the parts badly. I highly suggest a simple UV lamp or a more expensive curing solution.
- Resin printing is messy, and has fumes- I worked in a well-ventilated workshop and always wore gloves when handling parts.
- Resin has consumables like gloves and isopropyl alcohol that FDM printers don’t have. Be ready to use a ton of gloves and 99% isopropyl alcohol.
Comments ()