Two Spools of Filament - the N100 Obelisk
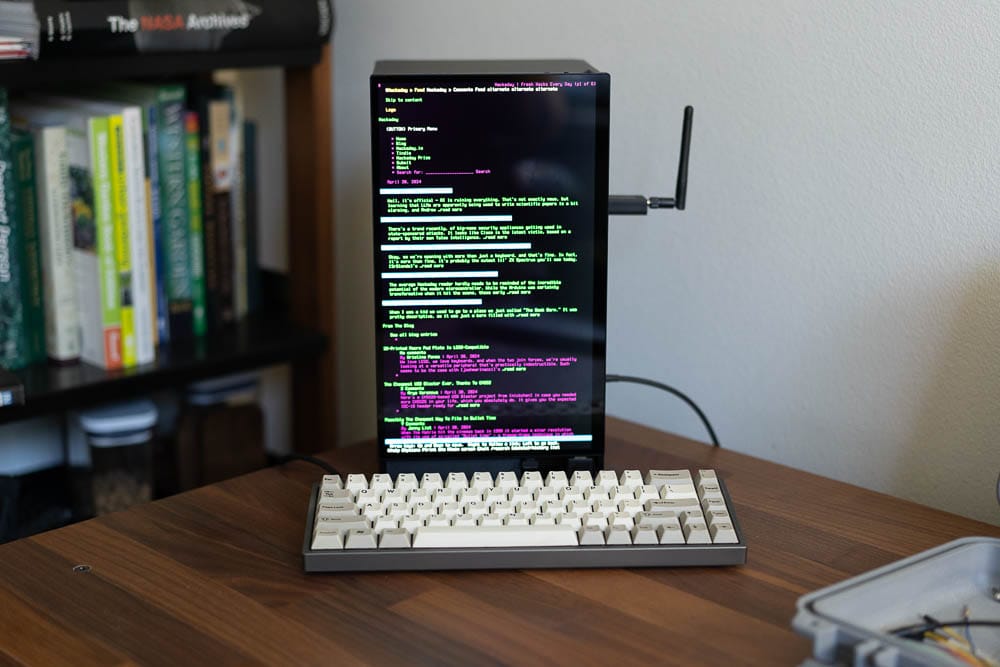
I'm a frequent and vocal advocate of small computers, but I will be the first to admit my daily is usually a power hungry desktop. Intel and AMD always seem to be battling it out for YouTube street cred, at least enough to generate content for the big tech reviewers. What may be flying under your radar and making you second guess your next Pi purchase are the plentiful and powerful N100-based mini-PC's on places like Amazon.
There are others like the LattePanda Mu, but I haven't ordered one yet. I bought a Beelink last year and it's been bouncing around my projects, most recently in the Flat Hack PC that fits on a monitor arm. As with most projects around here, I highly value the re-use of parts, so even things like the newer Recovery Kit 2 can be disassembled and repurposed when a fun new project comes around. I will admit that the new Fallout TV show has me thinking about a wasteland-ready prop! The show is fun, even if you haven't played the games.
Anyway, there's a simple project here where I am replacing all my spinning disks with NVME and SSD's and my larger AMD and Intel systems with N100 computers. I have four of them doing different tasks, although Proxmox is a great way to use them for flexible jobs, and stuff like the homelab-friendly update script really helps. However, they are a little ungainly with a bunch of little boxes where the power supply and Ethernet cable are enough to drag them off a desk. I thought I could have some fun and stack them up. I've done similar projects with Pi's in the past like my Pi Cluster Deck, but this time there's no soldering and just lots of screws- I mean more than a hundred. It's a little tedious to assemble, but the pattern is simple and you can take it apart to remove a single PC without too much fuss.
The big gain here is that each of the N100 computers is about $250 with 16GB of RAM and a cheap 512GB NVME. These have a spot for a SATA SSD, and before you know it you have a full system cheaper than an old school RAID or HBA card. The N100 is sweet too- it has plenty of Intel oomph from efficiency cores, just no performance cores. This means that the Intel chip has transcoding via QuickSync, which is as powerful as a dedicated GPU for things like streaming or transcoding for streaming, but only a dozen watts or so under load. Your mileage may vary, but given that I am running productivity containers for just a couple people, I get all the benefits of some good hardware without the high power bill. The Pi5 is close, but with the dropping of hardware transcoding from the Pi5, it's a bit of a step back.
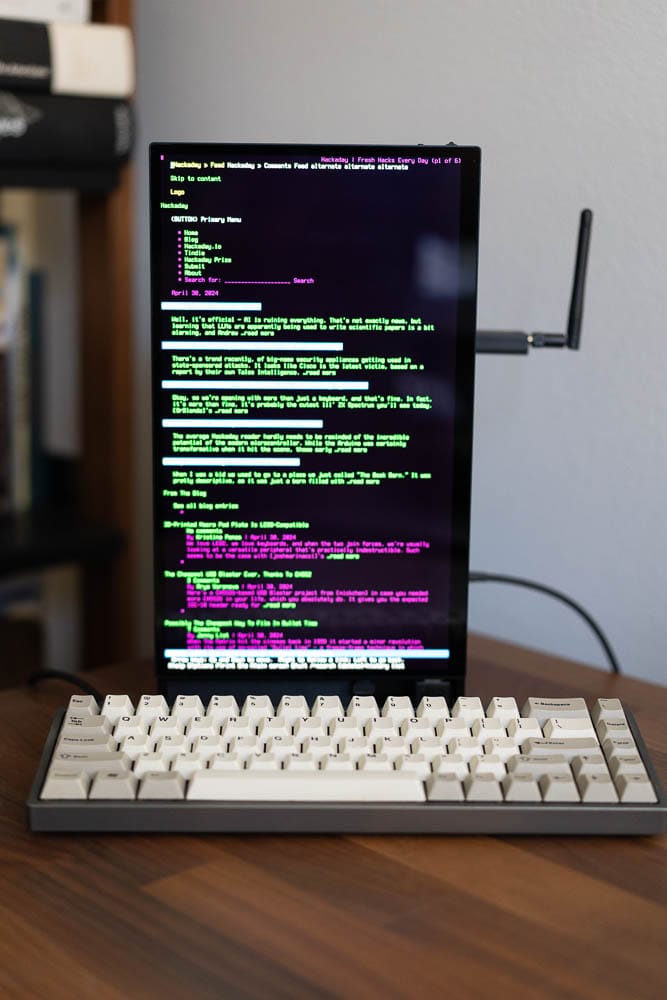
Here's a tour, starting with a little closer look at the front. It's the same 13" Waveshare AMOLED display from the last Flat Hack, this time oriented in portrait mode and a little rotation mod to Ubuntu. While I did most of my editing via ssh sessions, this little display is quite wonderful for editing configs, but I did need to scale it a little larger for my aging eyes.
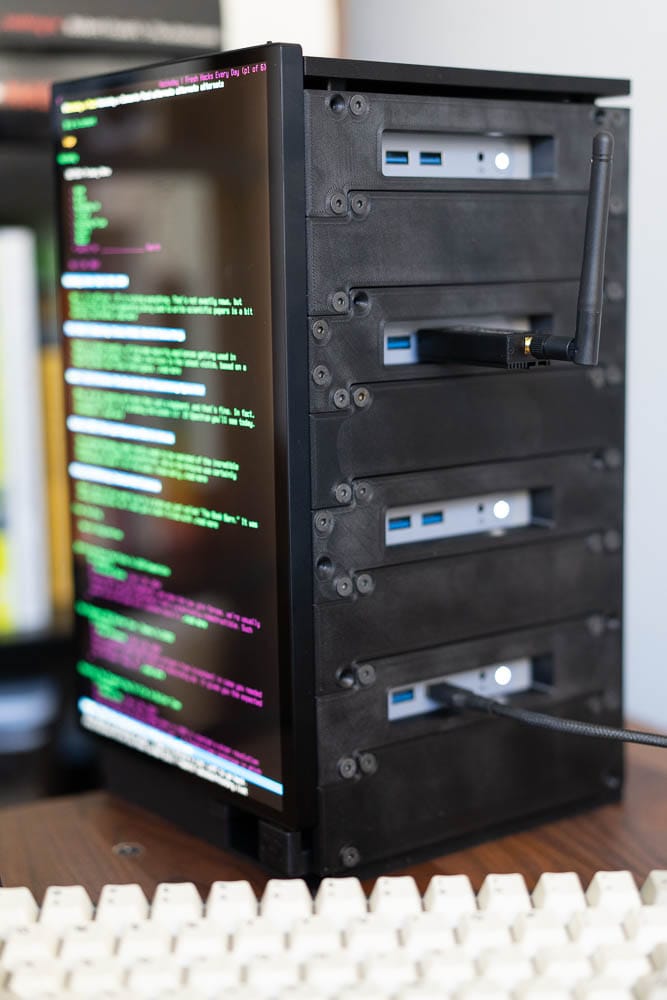
The right side reveals the "front" IO panel for each of the four Beelink QC series computers. The top panel and bottom panel on the sides are unique, but the middle ones scale nicely. Two PC's worth is what I could consider a minimum for this display to work, but you could easily re-use the "back" panels on my project and forego the display altogether. You may notice that I have a USB dongle there- that's my Zigbee controller via Proxmox USB passthrough- quite easy to setup!
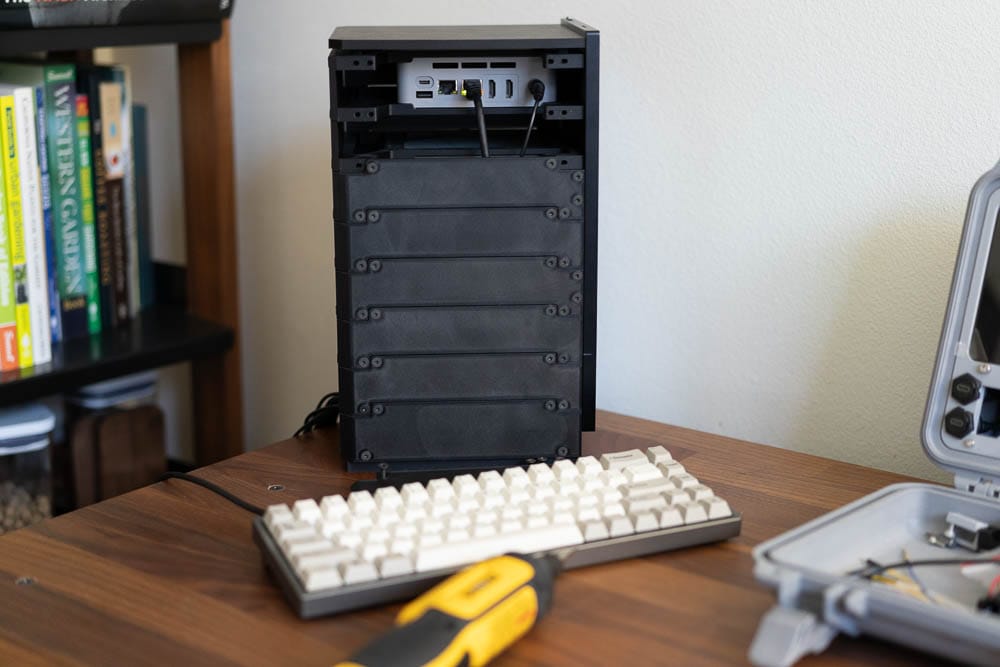
The other side as a cavity about 30mm deep to allow for gentle bends in cables, as well as easy routing of everything down and out the bottom on the back. The top has a gap to allow airflow passively, and the entire panel stays warm to the touch without the computers ever really throttling. I think this vent would need some serious engineering attention to attenuate the small fan noise in a quiet room- this setup is fine for an office, but not OK for something like a living room. In some ways going with a fanless N100 would probably be easier.
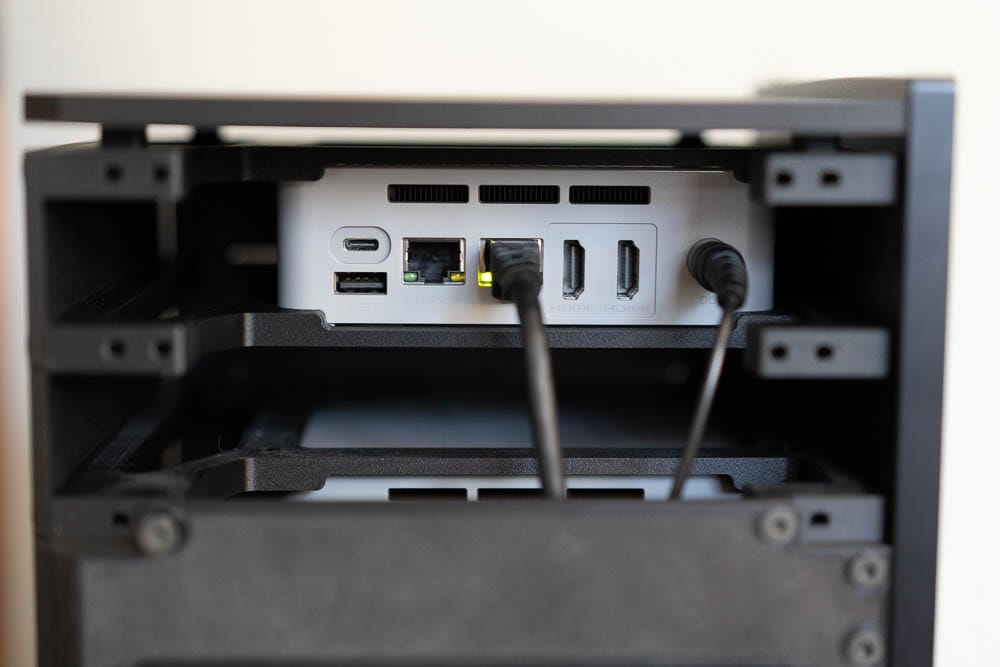
This is probably the best real-life photo to show the sandwich nature of the build. There's a top and bottom adapter for each mini-PC, with a space in between to help a tiny bit with thermals. These pairs of top/bottom can be added in a modular approach so you can easily have 2,3,4, or maybe even 5 of them stacked. The fifth would probably suffer thermally from the four below, so the next idea might be to lay them on their sides. There is no internal structure beyond those top/bottom pairs, so you can simply take of 3 sides to bisect the obelisk wherever you want.
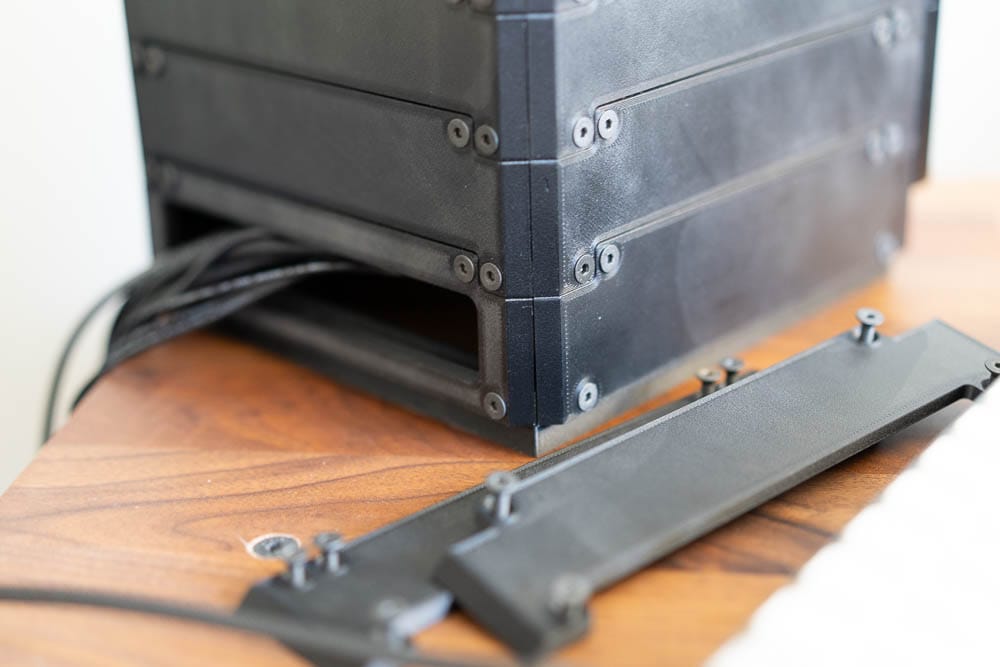
Nothing too fancy at the back- I wanted a large inlet for air, as well as easy (or lazy) cable routing. The bottom plate even has a large square hole so you can lay the obelisk on its side to get to the bottom internals.
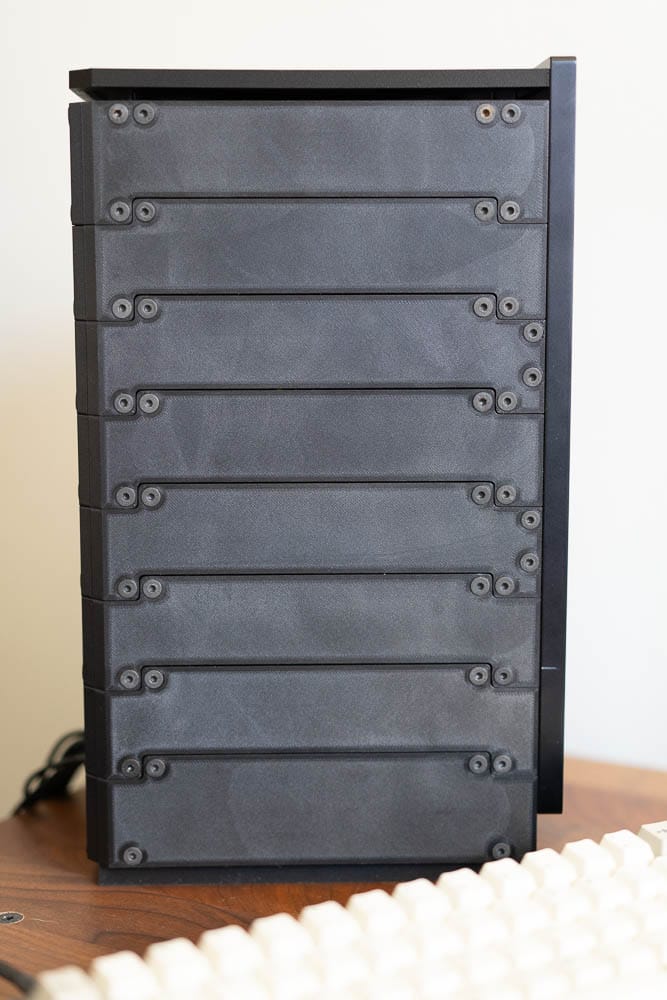
Screws! So many screws. Yep, I exhausted an entire 50 count back of M4 screws on this, but it has the weird brutalist look I was going for.
This design is included in the membership for paid subscribers- thank you to all for supporting my projects. You can find the link to the design files here if you are an STL subscriber, and the CAD file is here for our highest subscription tier.
As for parts and inventory, the below links are affiliate links on Amazon that help support my projects.
Components
- M4x12mm Tapered Screws (this project uses about 90 of these screws) - McMaster Carr
- Waveshare 13" AMOLED Display - Amazon
- Beelink QC12 Mini PC's - Amazon
- Right Angle HDMI Connector (for connecting to a PC) - Amazon
- Thin & Short HDMI Cable - Amazon
- Right Angle USB-C Connector (for monitor power) - Amazon
- USB-C Cable for Power (be sure to grab a wall adapter if you need one) - Amazon
Comments ()